When to Start Seeds Indoors in Zone 5b (Seed Starting Calendar & Tips)
Starting plants from seeds is one of the most satisfying and budget-friendly ways to grow a garden. If you garden in Zone 5b like me, timing matters more than almost anything else. Our growing season is shorter, which means starting seeds indoors at the right time can make the difference between a thriving garden and plants that never quite catch up.
After learning through trial, error, and a few lessons along the way, I’ve developed a simple system for starting seeds indoors that works beautifully in our climate

On my blog Living Large in A Small House, I may sometimes use affiliate links, which means a small commission is earned if you purchase via the link. The price will be the same whether you use the affiliate link or go directly to the vendor’s website using a non-affiliate link. You can find my full Disclosure Policy HERE
Why Start Plants from Seed
Starting plants from seeds allows you to:
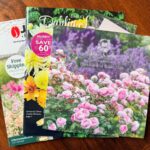
- Save money (seed packets cost far less than nursery plants)
- Grow varieties that are not available locally
- Get a jump on the growing season in colder climates
- Control growing conditions from the very beginning
Like many gardeners, I used to spend hundreds of dollars every spring at the garden center. Starting seeds indoors has helped me reduce that cost and grow more of what I love.
When Should You Start Seeds Indoors in Zone 5b?
In Zone 5b, most seeds should be started 6-8 weeks before the last frost date, which is typically around May 15. That means many flowers and vegetables should be started indoors between early March and early April, depending on the variety and germination time listed on the seed packet.
Quick Timing Guide for Zone 5b
- Late February—Early March: slow-growing flowers
- Mid-Late March: tomatoes and herbs
- Early April: cucumbers and zucchini
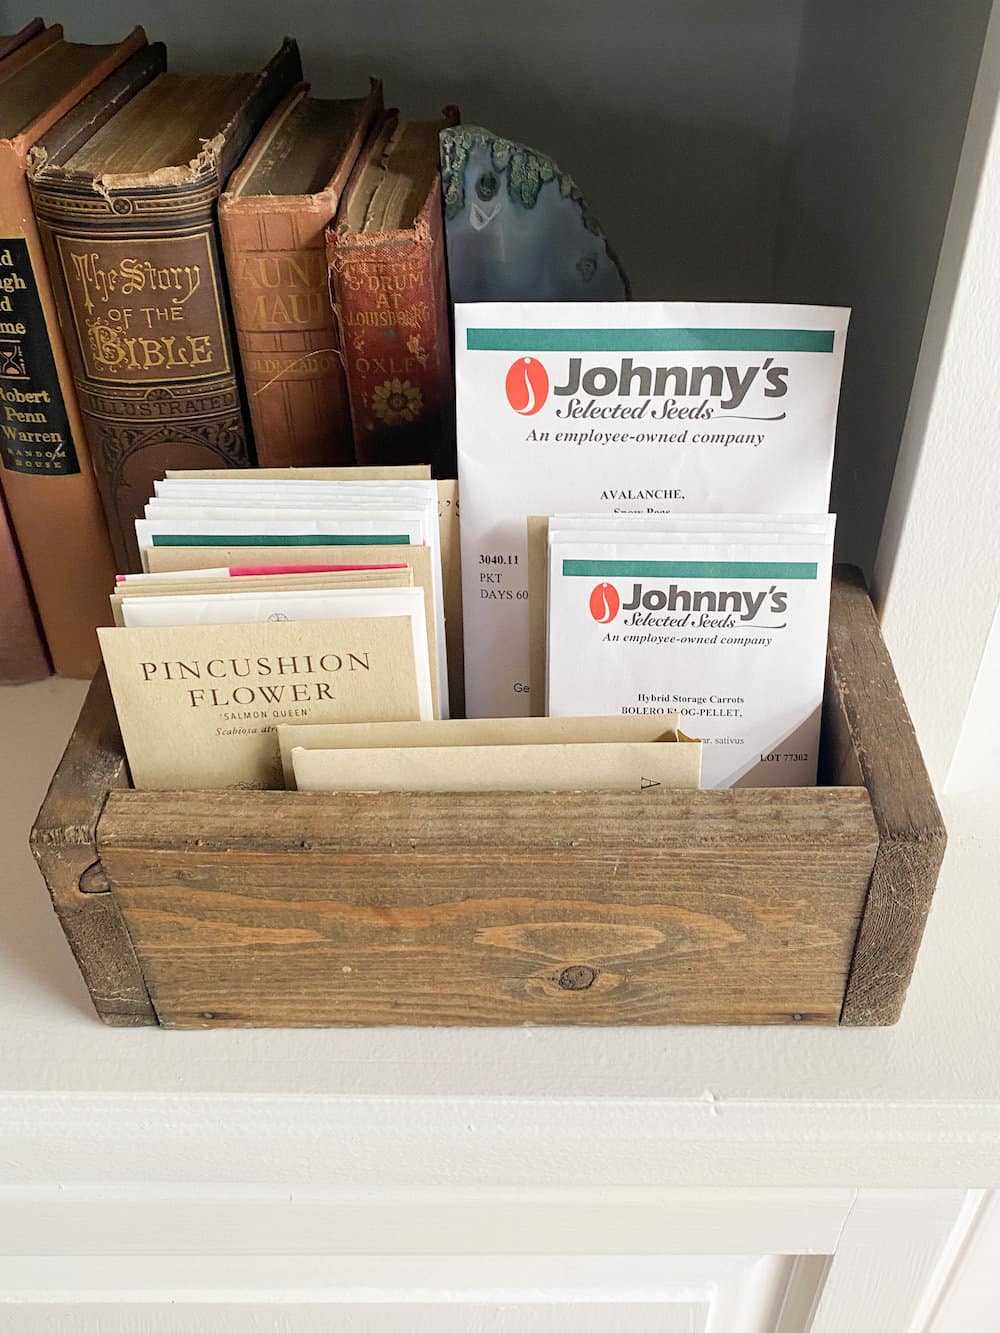
How I Plan My Seed Starting Calendar Each Year
One of the easiest ways to plan when to start seeds indoors is to look at the back of each seed packet. Most will tell you how many weeks before your last frost date the seeds should be started.
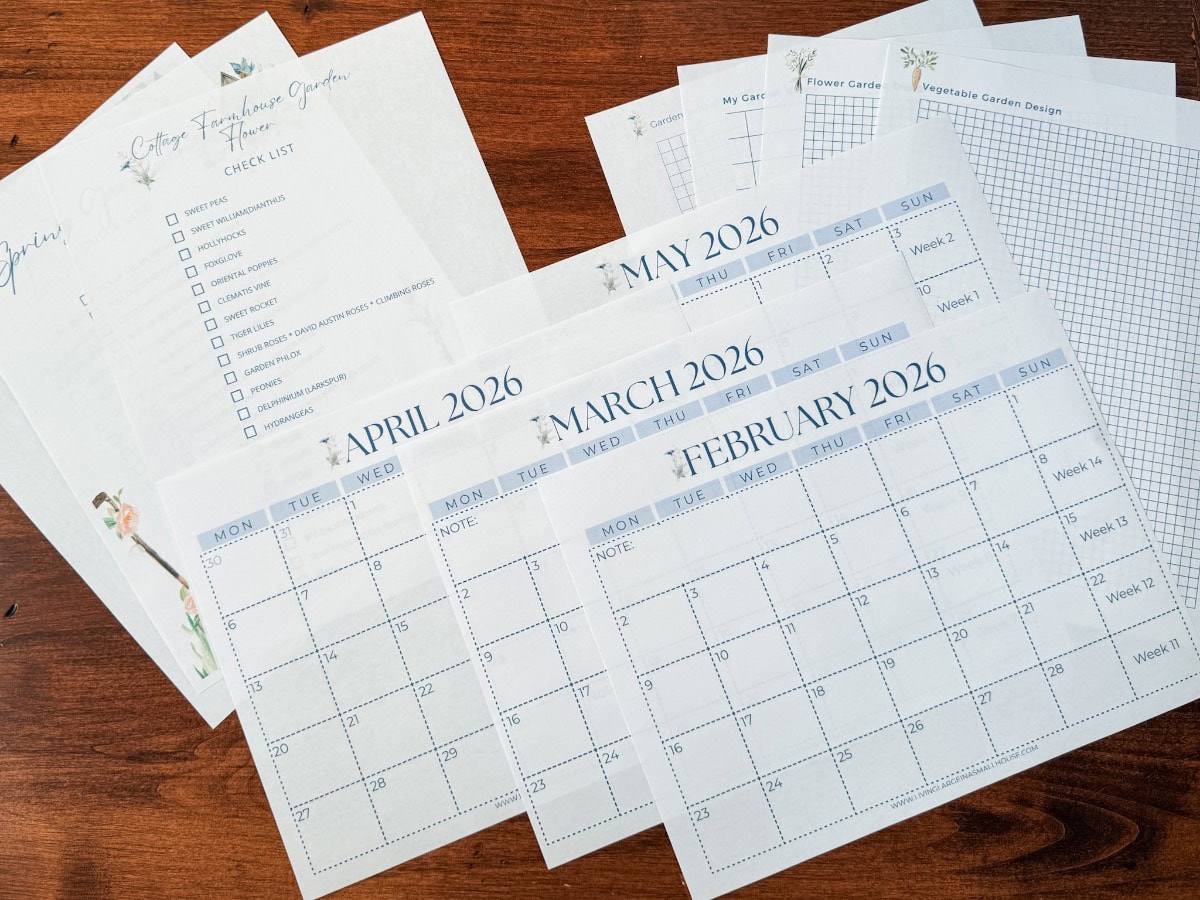
Here in Zone 5b, our average last frost date is around May 15, so I start by working backwards from that date. I print or pull out a calendar for February, March, April, and May, count back the recommended number of weeks, and write in what needs to be planted each week.
If you’re not sure of your frost date, you can check the USDA Plant Hardiness Map to find your zone and typical planting dates.
To make this easier, I created a Zone 5b Seed Starting Calendar Printable with the weeks already marked off, along with garden journal pages where you can track what you planted, germination dates, and how your seedlings performed. Both are available in my Resource Library, which you can access by joining my email list. I designed it to take the guesswork out of planning and help you improve your garden year after year.
Each year I also keep notes in my journal about what worked and what didn’t. Last year I realized I needed to start my sweet peas, impatiens, and tomatoes a little earlier to give them enough time to grow strong before planting outdoors.
Planning ahead like this has made seed starting far less overwhelming and much more successful. A simple calendar and my garden journal have become two of my favorite tools in the garden.
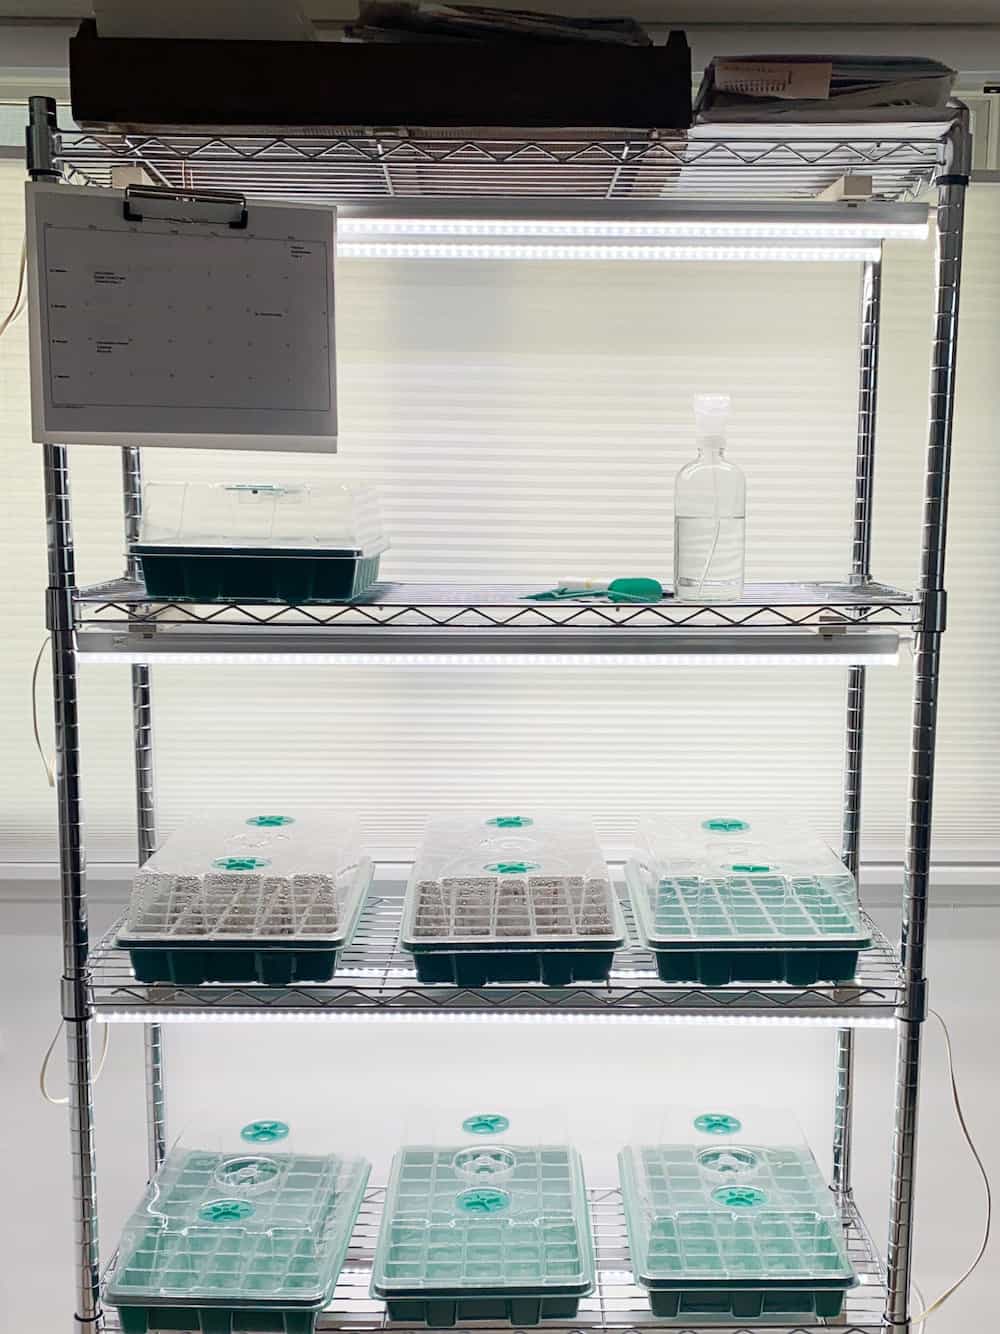
Setting Up a Seed Starting Station (Budget-Friendly)
You don’t need an elaborate setup to start seeds successfully.
A simple seed station can include:
- Metal shelving
- Grow lights
- Seed trays with humidity domes
- Seed starting mix
- Heat mats (especially helpful in cooler homes, basement set-ups, or unheated greenhouses)
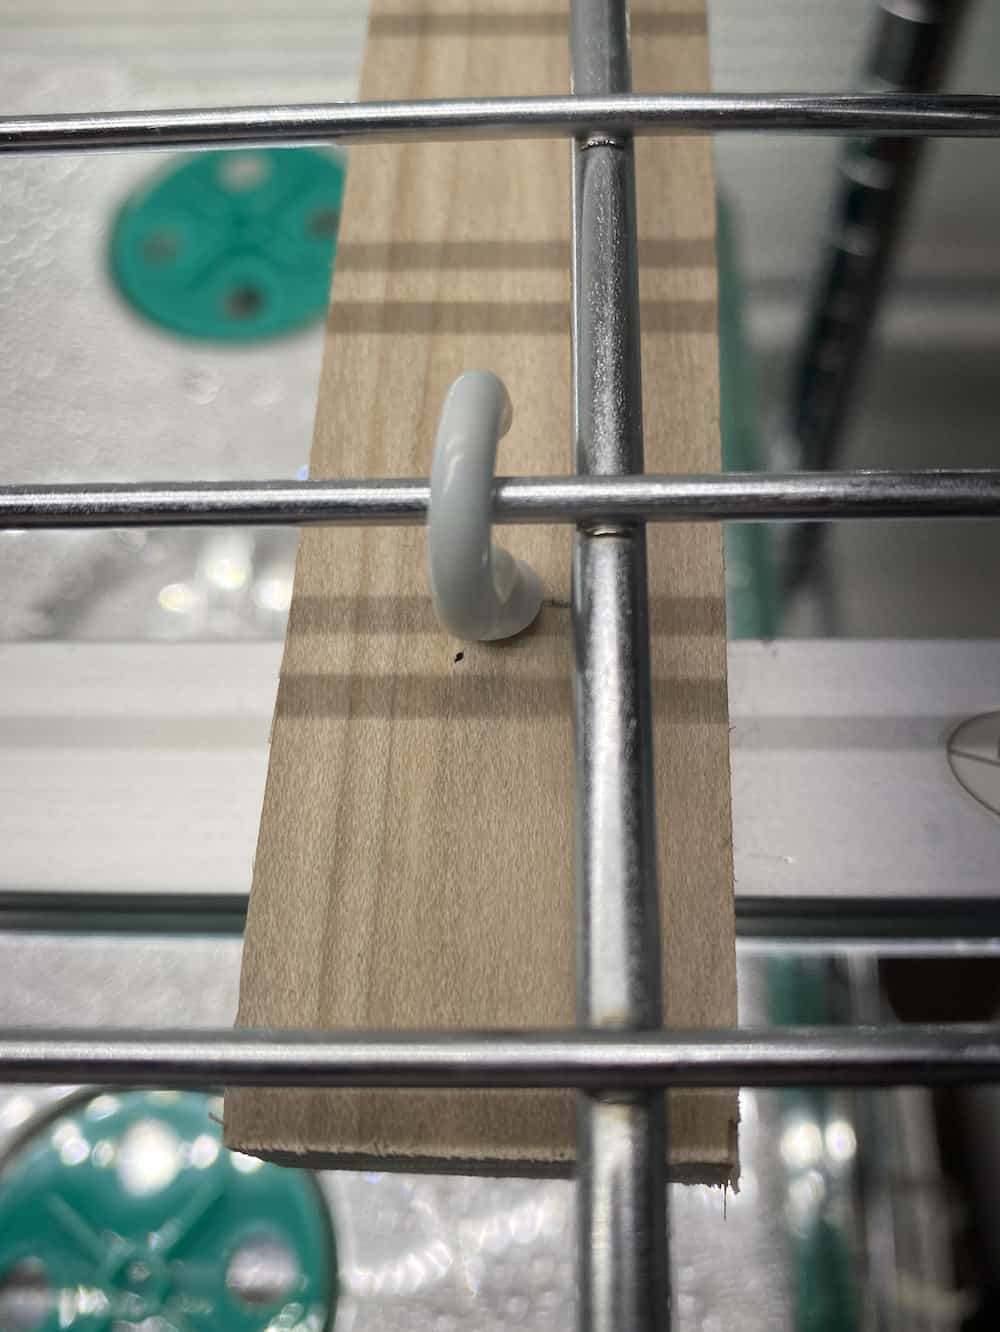
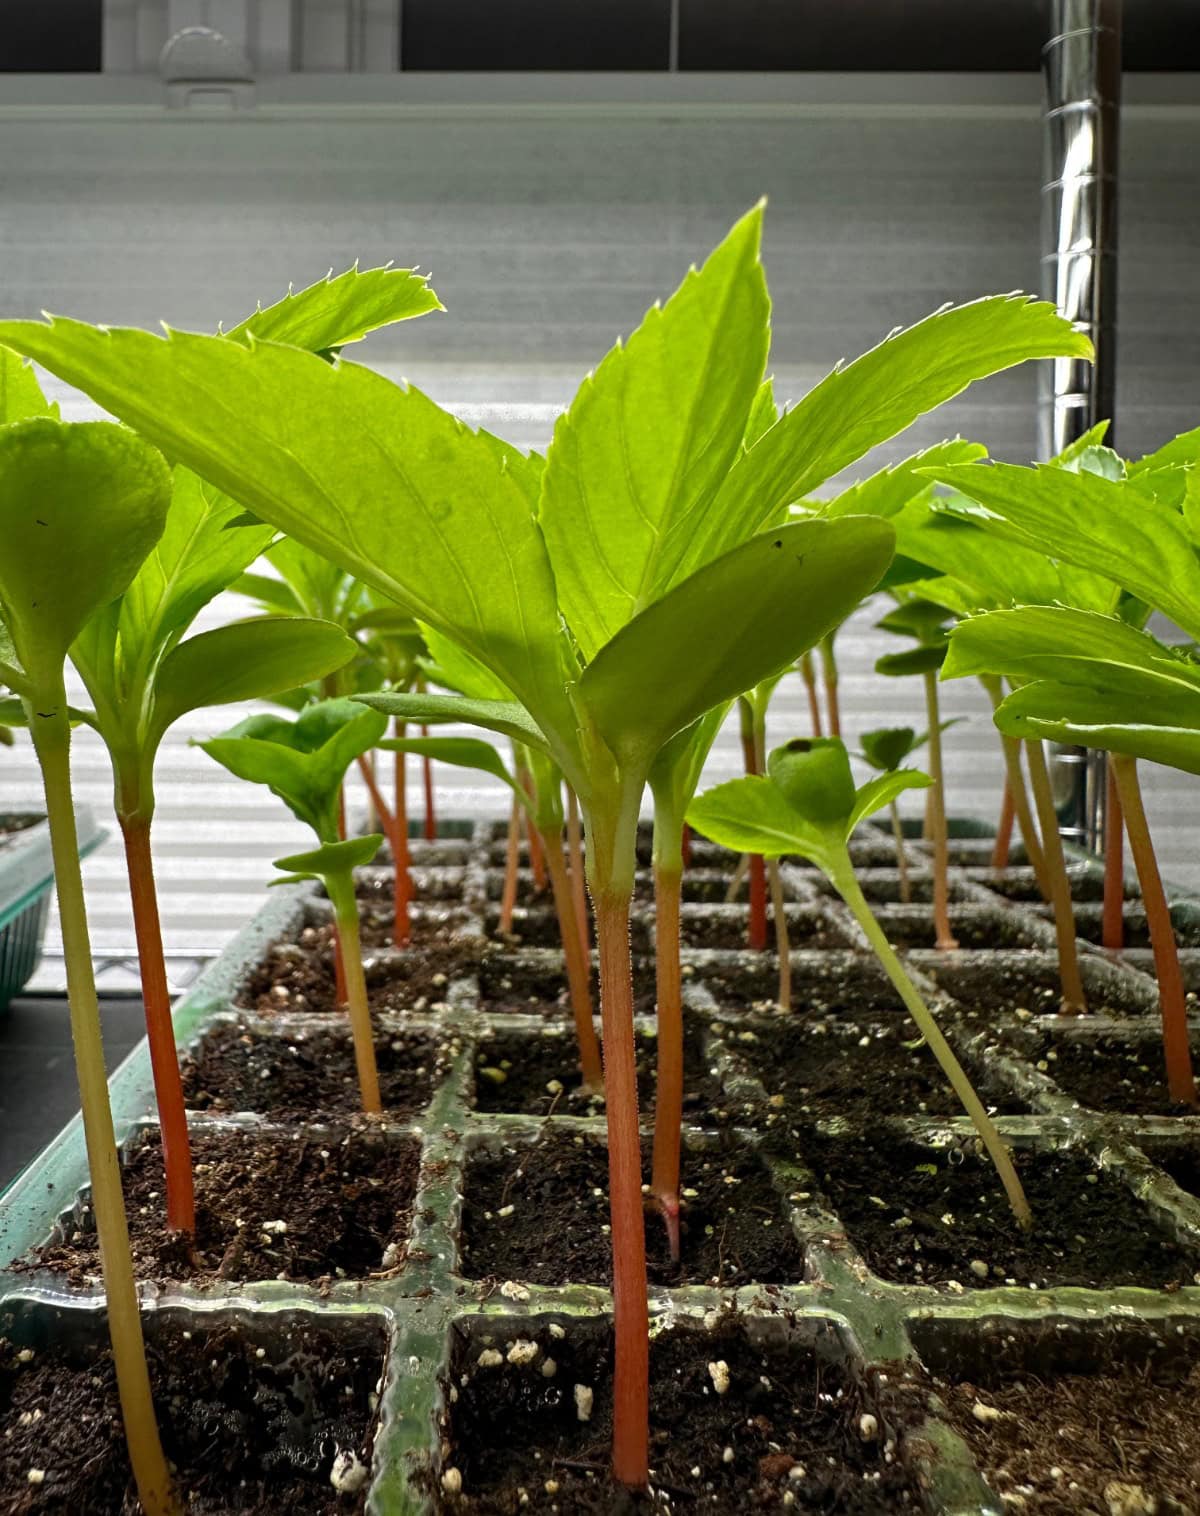
I built my growing station using a metal rack and grow lights hung with S-hooks, creating an affordable system that can be reused year after year.
If your home doesn’t have strong natural sunlight, grow lights make a huge difference in producing sturdy seedlings.
Do You Need a Heat Mat?
In Zone 5b homes, especially in late winter, indoor temperatures can cause the soil to be too cool for germination.
Heat mats help:
- Improve germination rates
- Speed up sprouting
- Produce stronger seedlings
I noticed significantly better results once I added heat mats to my setup. The results improved again when I eliminated the heat mats after the seeds sprouted and the heat lamps took over the growing cycle. When I used the heat mats too long, my plants got root bound and didn’t do as well towards the end of the seed-starting season.
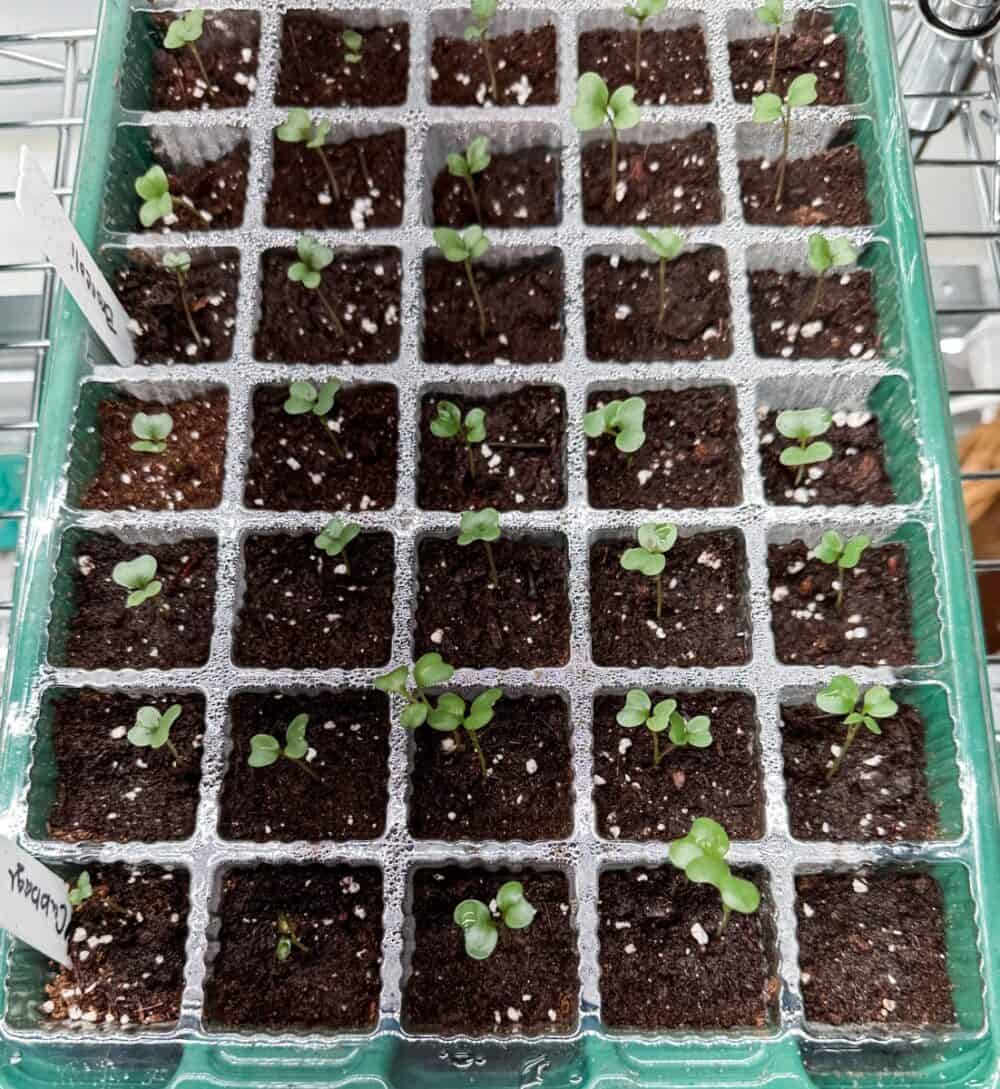
Containers You Can Use to Start Seeds
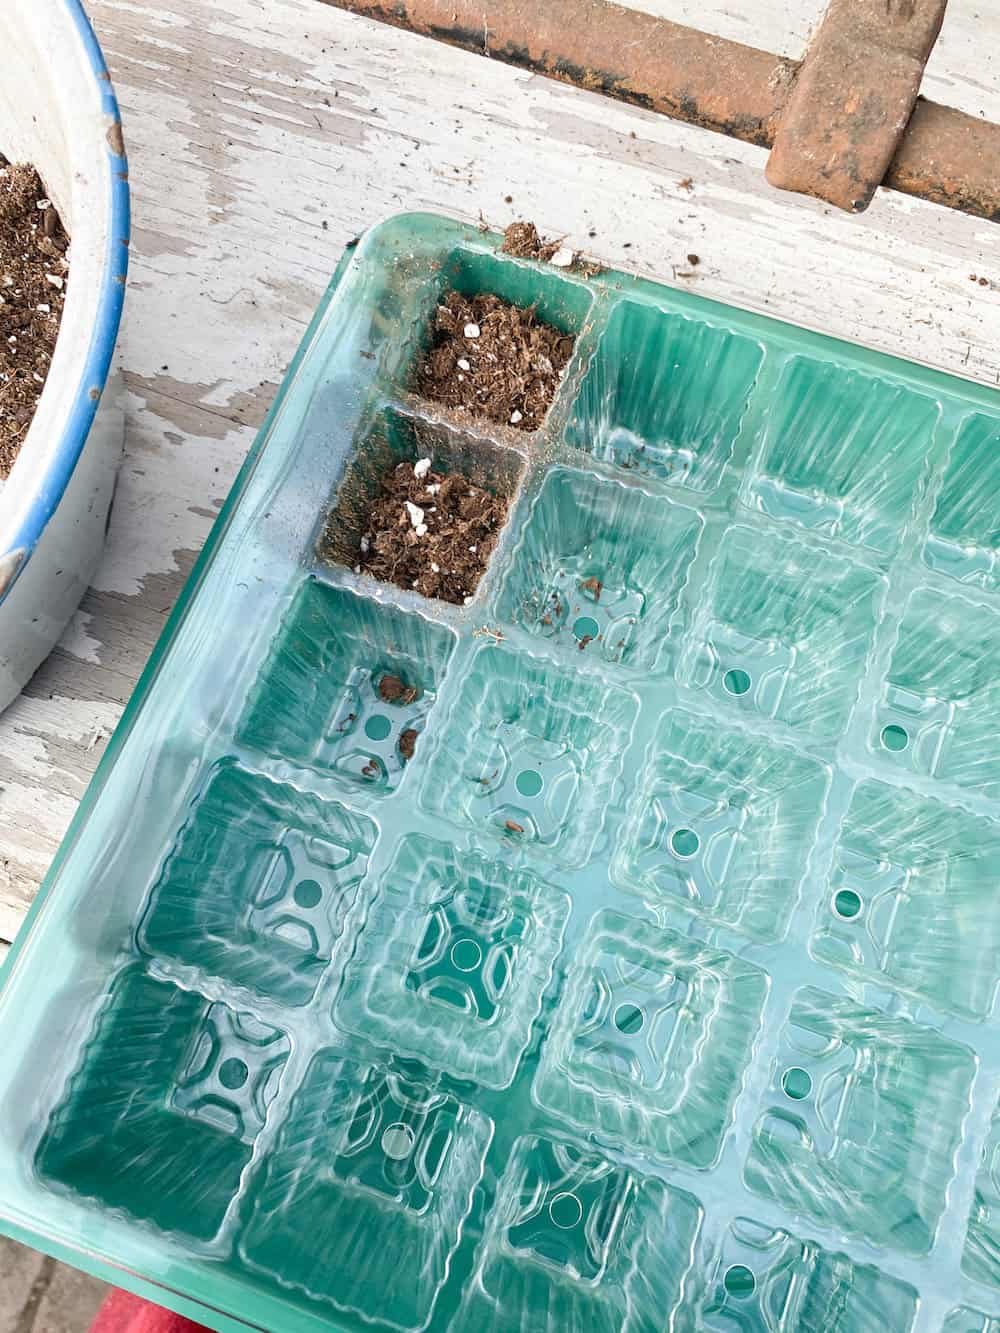
Seed trays are a convenient all-in-one system (tray, seed plug, humidity dome), and their consistent size is helpful on the racks; however, you can also use:
- Egg cartons
- Yogurt cups
- Plastic pots collected from the nursery
- Newspaper pots
- Peat pots
Just make sure your containers have drainage holes and a way to retain humidity during germination.
How to Plant Seeds Indoors
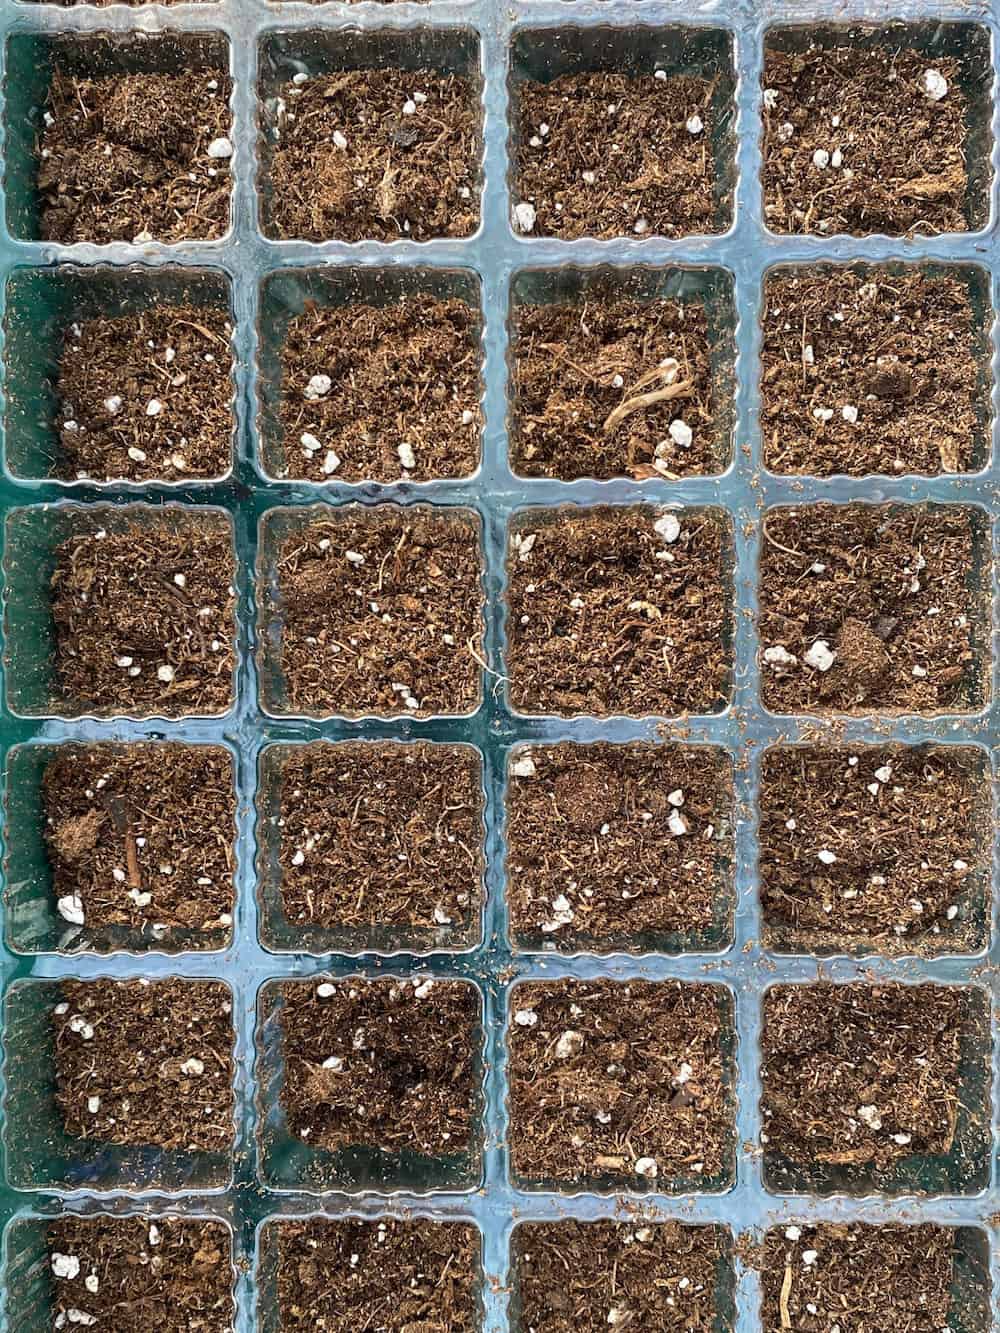
- Fill containers with seed-starting mix
- Moisten soil before planting
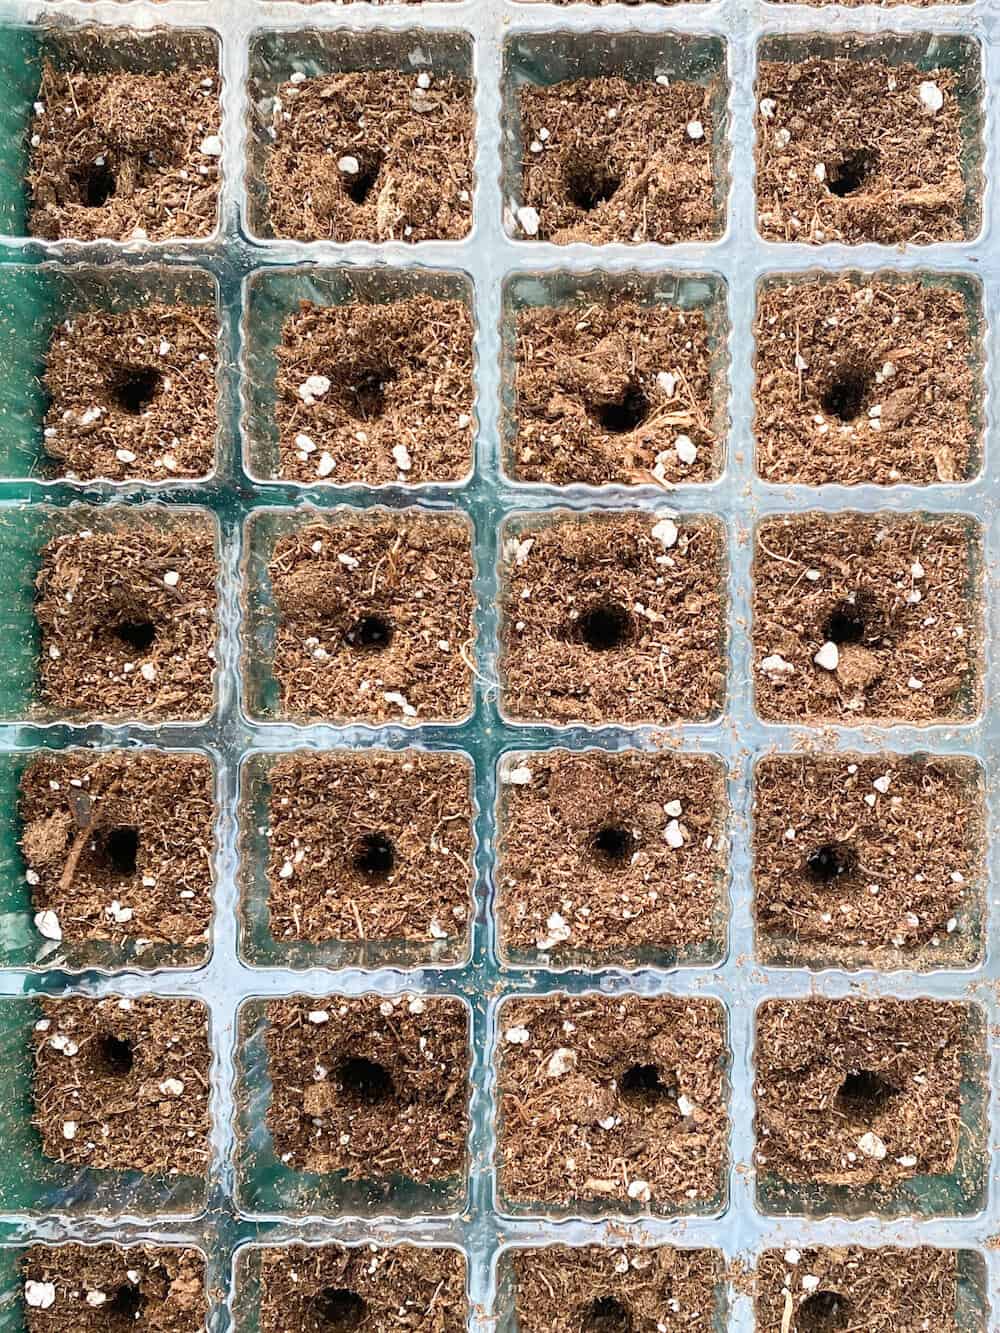
- Plant seeds at recommended depth
- Cover lightly with soil
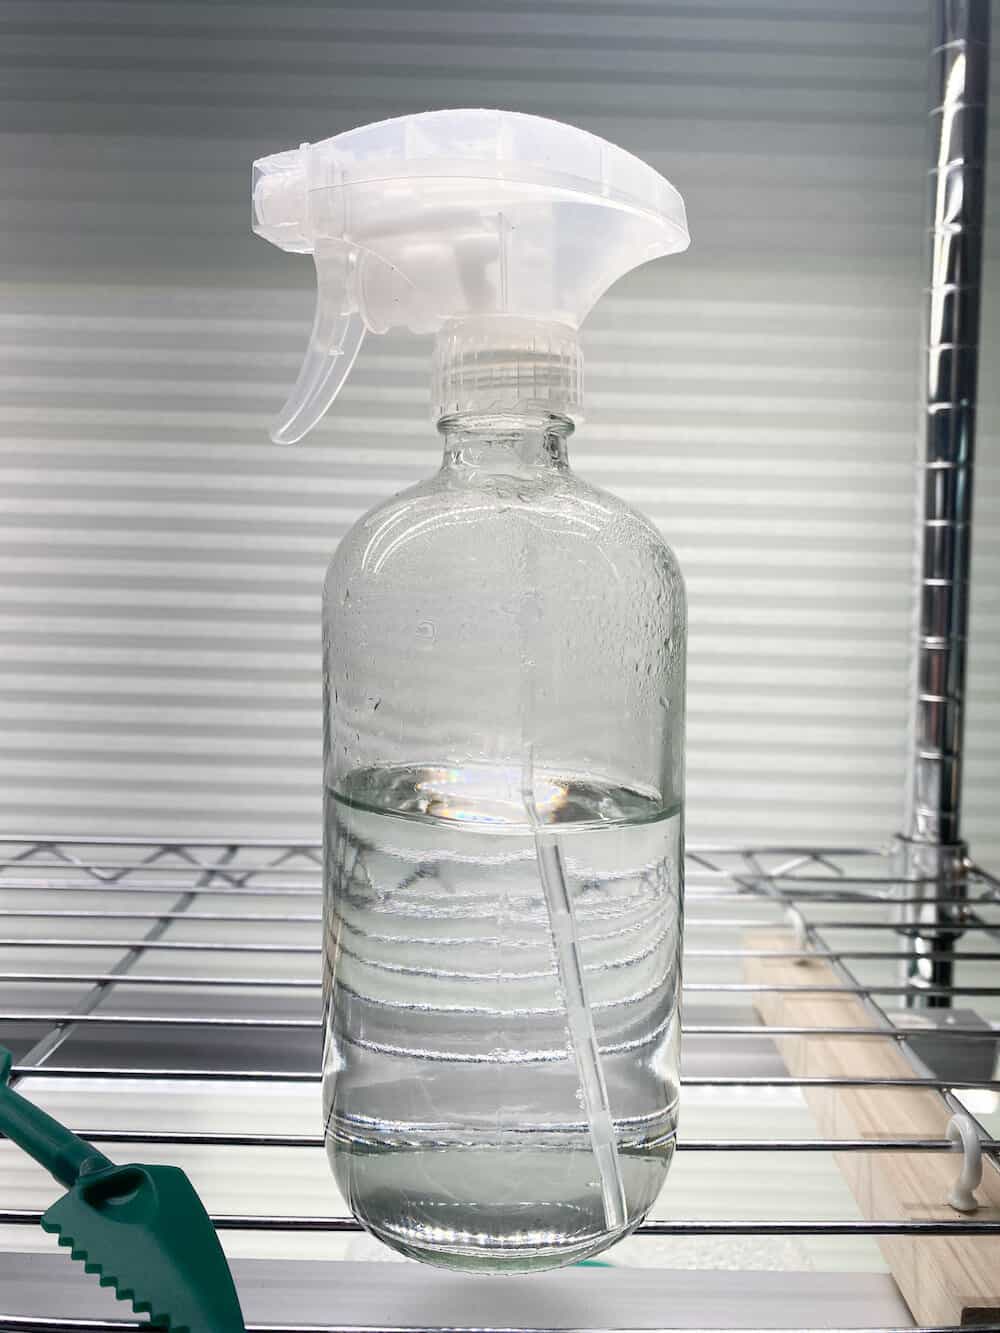
- Mist gently
- Cover with humidity dome
Seedlings need three things:
- Moisture
- Warmth
- Light
The Importance of Planting Seeds at the Right Depth
Be sure to follow the seed pack recommendation for seed depth in your soil. Some seeds need light to germinate, and those seeds will just be sprinkled onto the moist soil and lightly misted.
Others just require a bit of soil covering them. And then there are the seeds that need to be buried into the soil 1/4 – 1/2”.
This is such an important part of the process.
Would you like to save this?
Label Everything (Trust Me on This)
It’s surprisingly easy to forget what you planted where.
Use:
Be sure to label both ends of a row or individual plug labels if you’re just starting a few plants of one kind. I’ve learned the hard way that guessing rarely works.
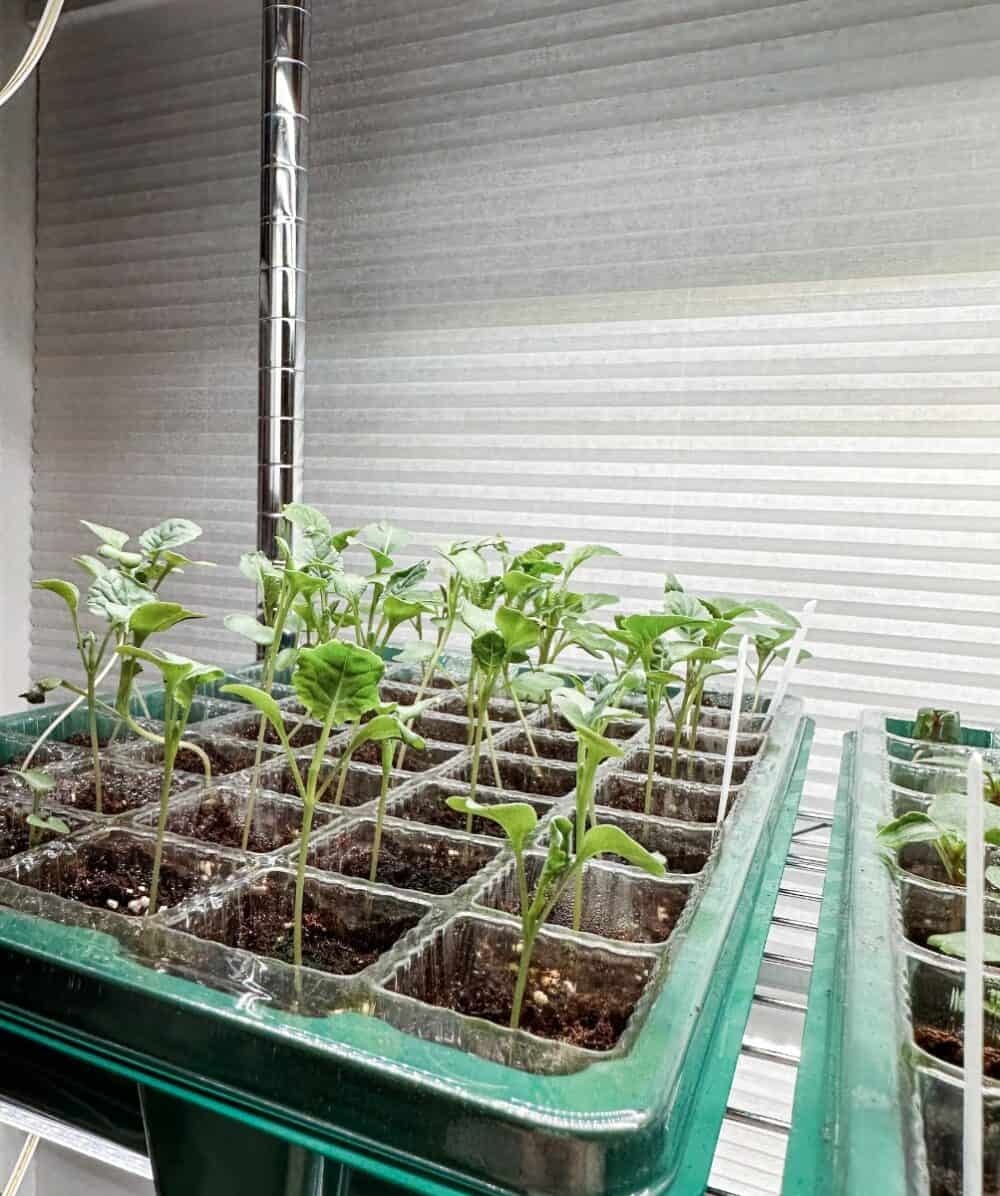
What Happens as Seedlings Grow?
As the seedlings mature, they may need to be:
- Thinned
- Pinched
- Repotted into larger containers
- Fertilized lightly
One of the biggest mistakes beginners make is letting seedlings become root-bound. Moving them into a larger container at the right time keeps them growing strong.
Seeds That Grow Well Indoors (My Zone 5b Favorites)
These are the plants that I put into my garden and have had success with growing from seed.
Vegetables & Herbs
- Cucumbers
- Zucchini
- Broccoli
- Kale
- Peppers
- Cabbage
- Cauliflower
- Eggplant
- Basil
- Lavender
Flowers
- Impatiens
- Sweet Peas
- Bells of Ireland
- Celosia
- Strawflowers
- Scabiosa
- Snapdragons
- Foxglove *
These have performed reliably in my garden and are great for beginners.
* Note on Foxglove: Foxgloves are a bi-annual in Zone 5b. Since they are a staple in my country cottage garden, I plant more every year. The first year they just have green leaves, and the second year they flower. Succession planting allows me to have flowering plants every year.

Seeds I Sow Right into the Ground
There are many seeds that I, personally, think do better if I sow them directly into the ground once the danger of frost has passed and the soil can be worked.
- Carrots
- Radishes
- Lettuce
- Peas
- Beets
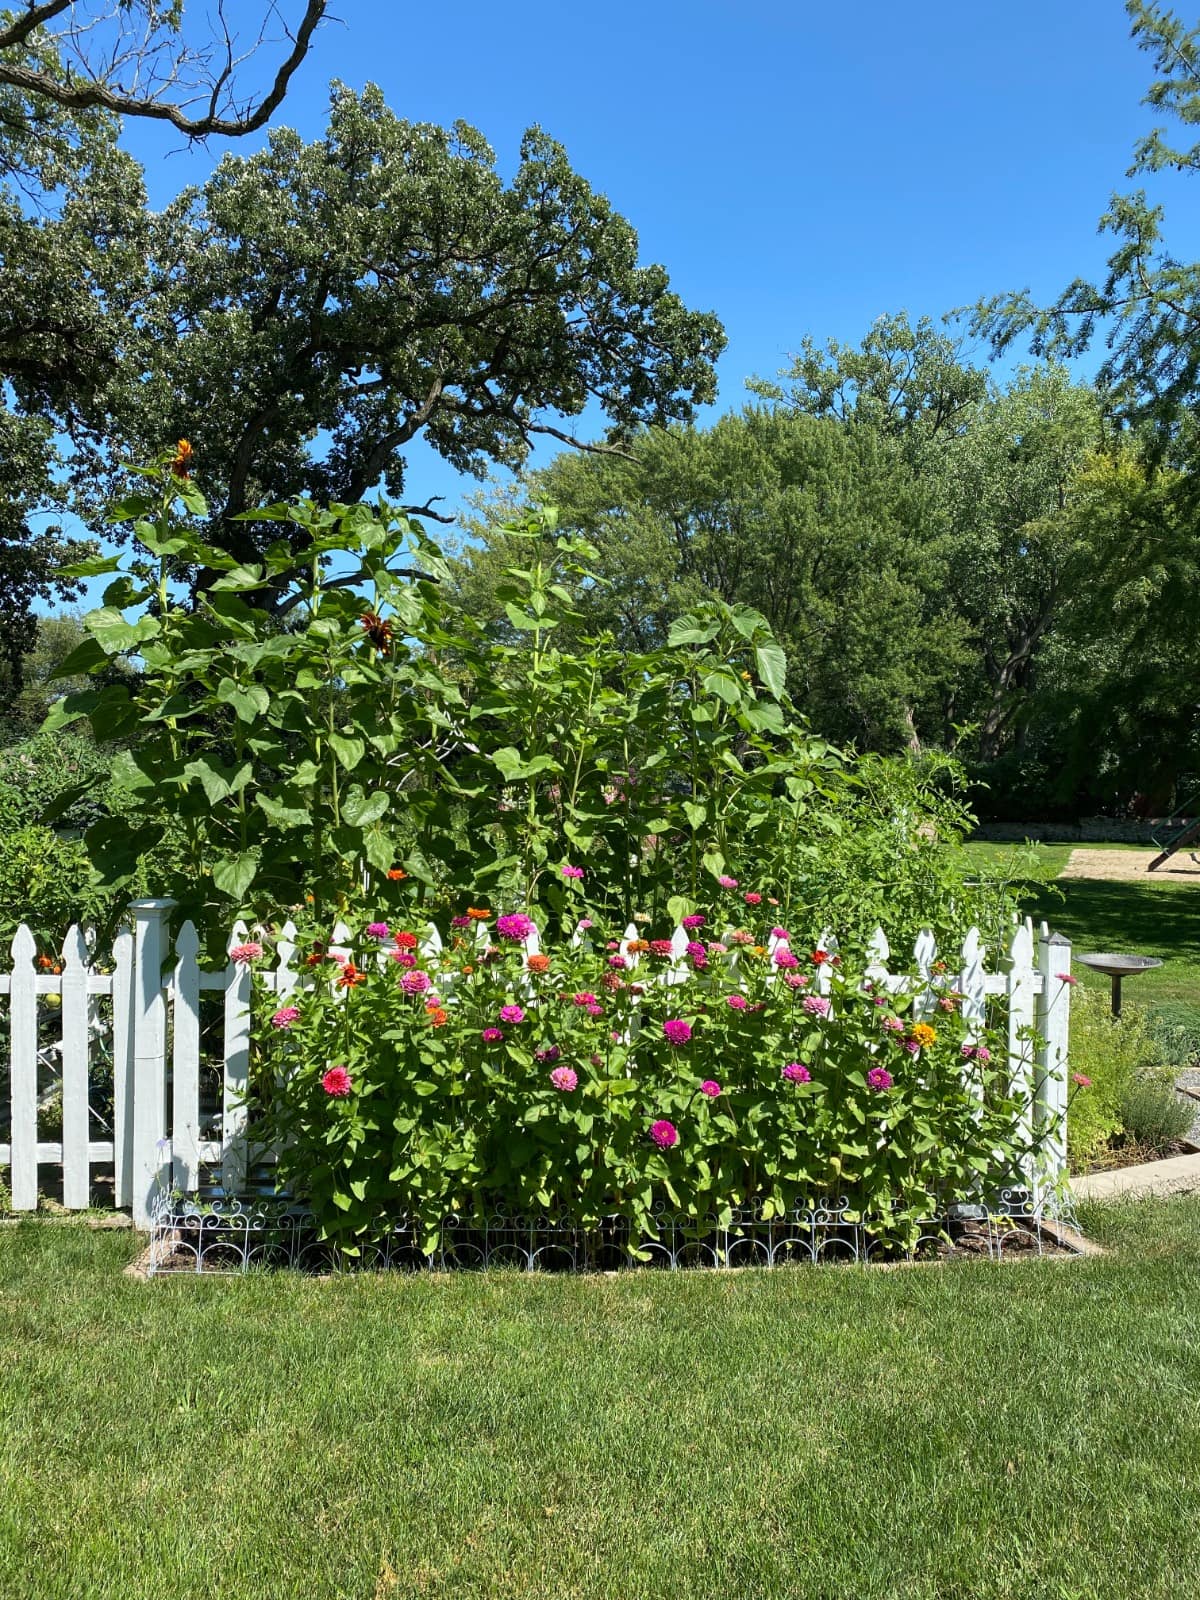
- Sunflowers
- Zinnias
- Calendula
- Cosmos
- Sweet Alyssum
Common Seed Starting Mistakes
Avoid these common pitfalls:
- Starting seeds too early (follow seed packet instructions)
- Not providing enough light
- Overwatering (avoid putting water in the drip tray—I mist from the top. I only use underwatering if I’m going to be away for a few days)
- Forgetting to harden off plants
- Letting seedlings become root-bound
Every season teaches something new, and even experienced gardeners adjust their timing and processes every year.

Final Thoughts
Seed starting has quickly become one of my favorite parts of the gardening season. There’s something incredibly hopeful about watching those first tiny sprouts appear when winter still feels so long.
Become a Friend of Living Large
Be the first to see affordable decorating ideas, gardening tips and tricks, along with great organizing, entertaining ideas and easy recipes
And in a colder climate like Zone 5b, starting seeds indoors isn’t just fun; it’s one of the best ways to extend your growing season and grow more of what you love.
Peace, Love, and Happy Gardening!
A great way to save this idea is to add it to one of your Pinterest boards. You can find the pin button on the top left of the photo when you click on it. Also, don’t forget to follow me on Pinterest

Meet Me
My name is Lynn. I live in the suburbs of Chicago in a 1,300 sq. ft. home with my Handy husband, Keith.
I’m an open book about my life on my blog. You can find out more about me by visiting my “About Me” page.


This was so informative Lynn! I love your set up and I hope you don’t mind but I will be copying it!!! Can’t wait to see all your flowers and veggies!
Absolutely you can copy it!
This is such a great post Lynn, full of valuable info. Thanks for sharing.
I’m three weeks in now and some of my seeds aren’t sprouting. Not sure I have a handle on this yet. But it is a learning year.
Awesome post ! I’ve been wanting to try this ! Thanks for the info!
Hi Marlene – It makes my heart happy when I can encourage another person to up their gardening game! Happy Planting