
My Hall Linen Closet is Now a Hosting Closet: And Here is Every Step It Took
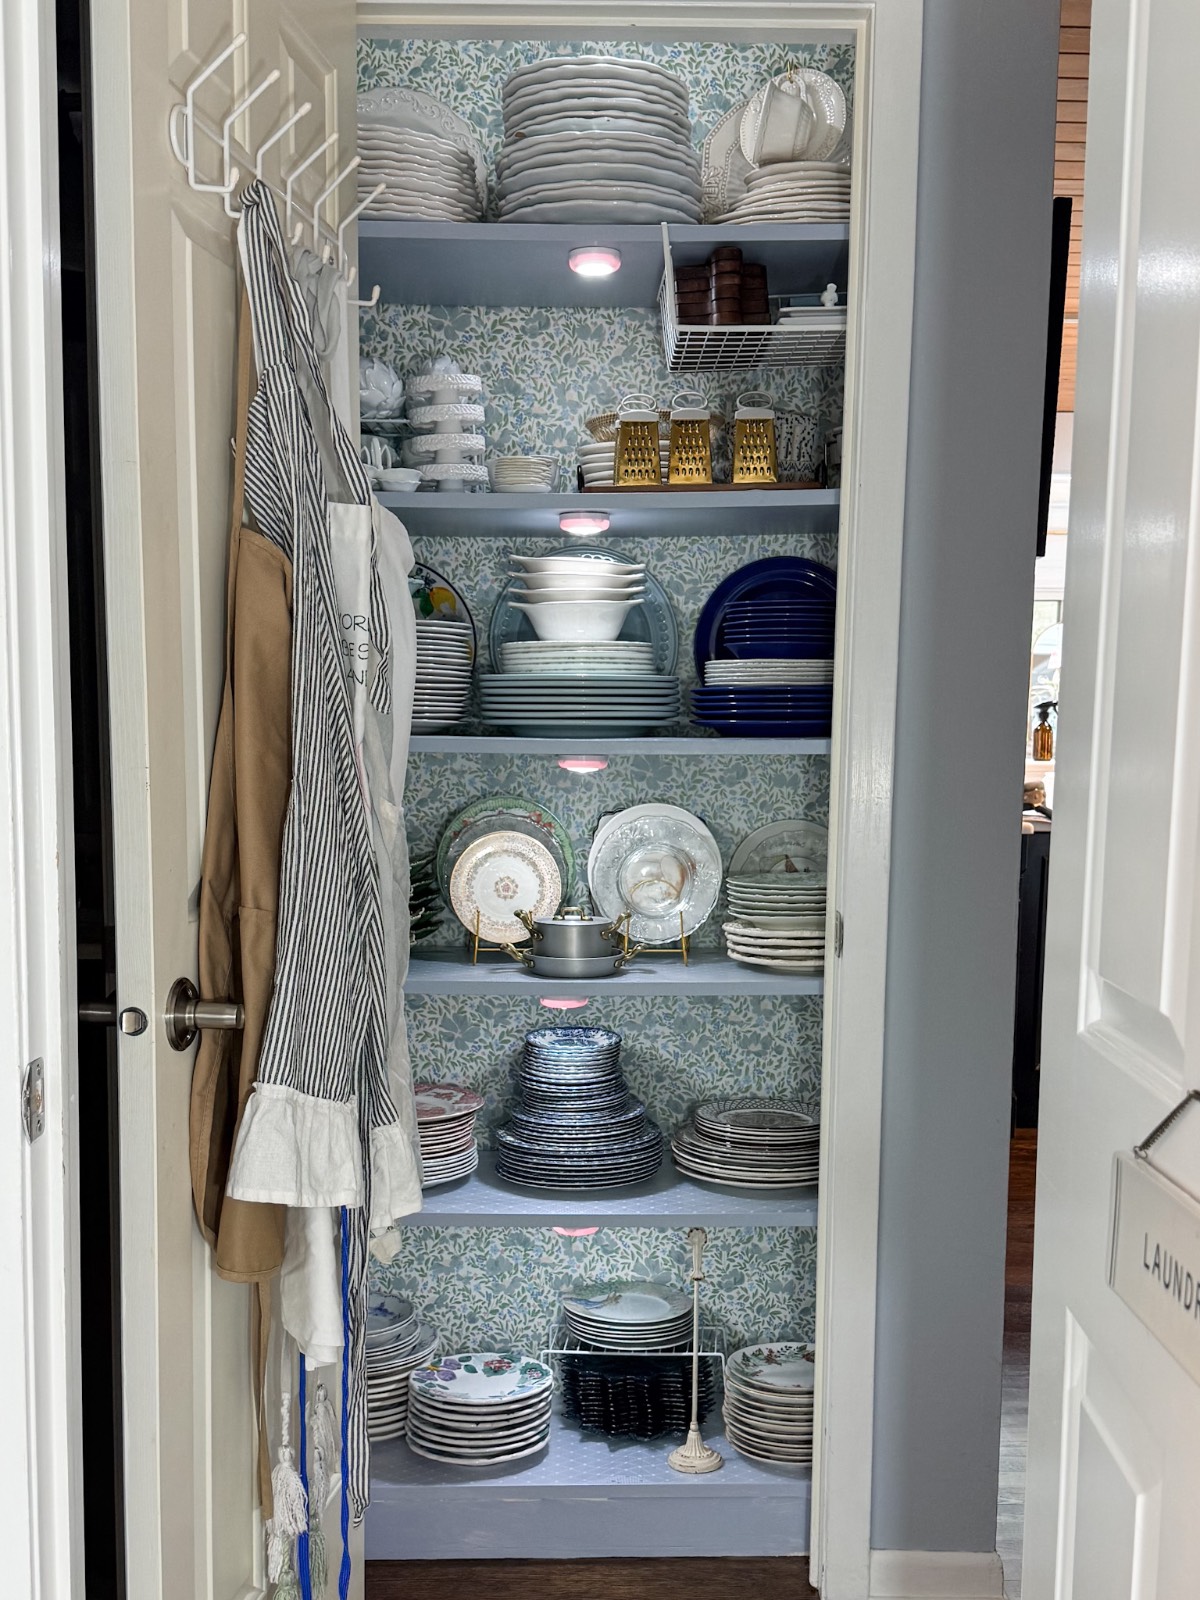
When my kids were growing up, our hall linen closet was exactly what you would expect. Extra sheets, towels, beach towels, blankets for sleepovers, and everything else a busy family house seems to collect behind closed doors. It worked perfectly for that season of life.
But life looks different now. The kids are grown and living full lives of their own. That being said, they walk through my door (which I love) frequently, and so do our friends. I’m loving this season of life, and hosting has taken on a whole new meaning. It is no longer something that happens around the chaos of daily life. It is more intentional. The dinner parties, the holiday tables, the weekend visits, and the friends who we have known for decades. These are the moments I find myself planning for and looking forward to the most.
So when I looked at that linen closet, knowing most of the items inside were no longer used or could have a more appropriate home, I got to thinking about what this closet could be! The answer was not a linen closet at all but a hosting closet. A beautiful, dedicated space for every piece I can reach for when I want to set a beautiful table. I love for the people I love to feel genuinely welcome when they come to our home.
Getting there, I will be honest with you, required many closets and cabinets to get a whole lot worse before anything got better. And I will share all those steps with you.
On my blog Living Large in A Small House, I may sometimes use affiliate links, which means a small commission is earned if you purchase via the link. The price will be the same whether you use the affiliate link or go directly to the vendor’s website using a non-affiliate link. You can find my full Disclosure Policy HERE
The Domino Effect: Why So Many Areas Had to Get Worse First
Here is how this project actually unfolded, because I think it will help you understand why it took a little longer than I originally planned.
My linen closet was organized, but it was filled with so many things that no longer served a purpose in our lives. It needed a complete overhaul.
But here is the thing. The things that were living in the closet that we did need to keep needed to go somewhere so I could create my vision. This meant making room for them in other areas, and so I had to start there first.
The sequence looked something like this:
- Clear out the glass vases and vessels from the built-in cabinets in my office/guest bedroom. I moved them temporarily to the dining room table. This freed up space for sheets and towels for the guest bedroom.
- Empty and reorganized the closet in my second guest bedroom, which became the new home for my table linens, runners, pillow covers, and pillow inserts.
- Reorganize the pantry to make room for the first aid and illness bins that were living in the linen closet.
- Once all of that was done, then I went back to the linen closet and took out the sheets, towels, and tablecloths that I was keeping and rehomed them to their new spots. The rest was either donated or thrown away. I found medicine with expiration dates in the 1990s.
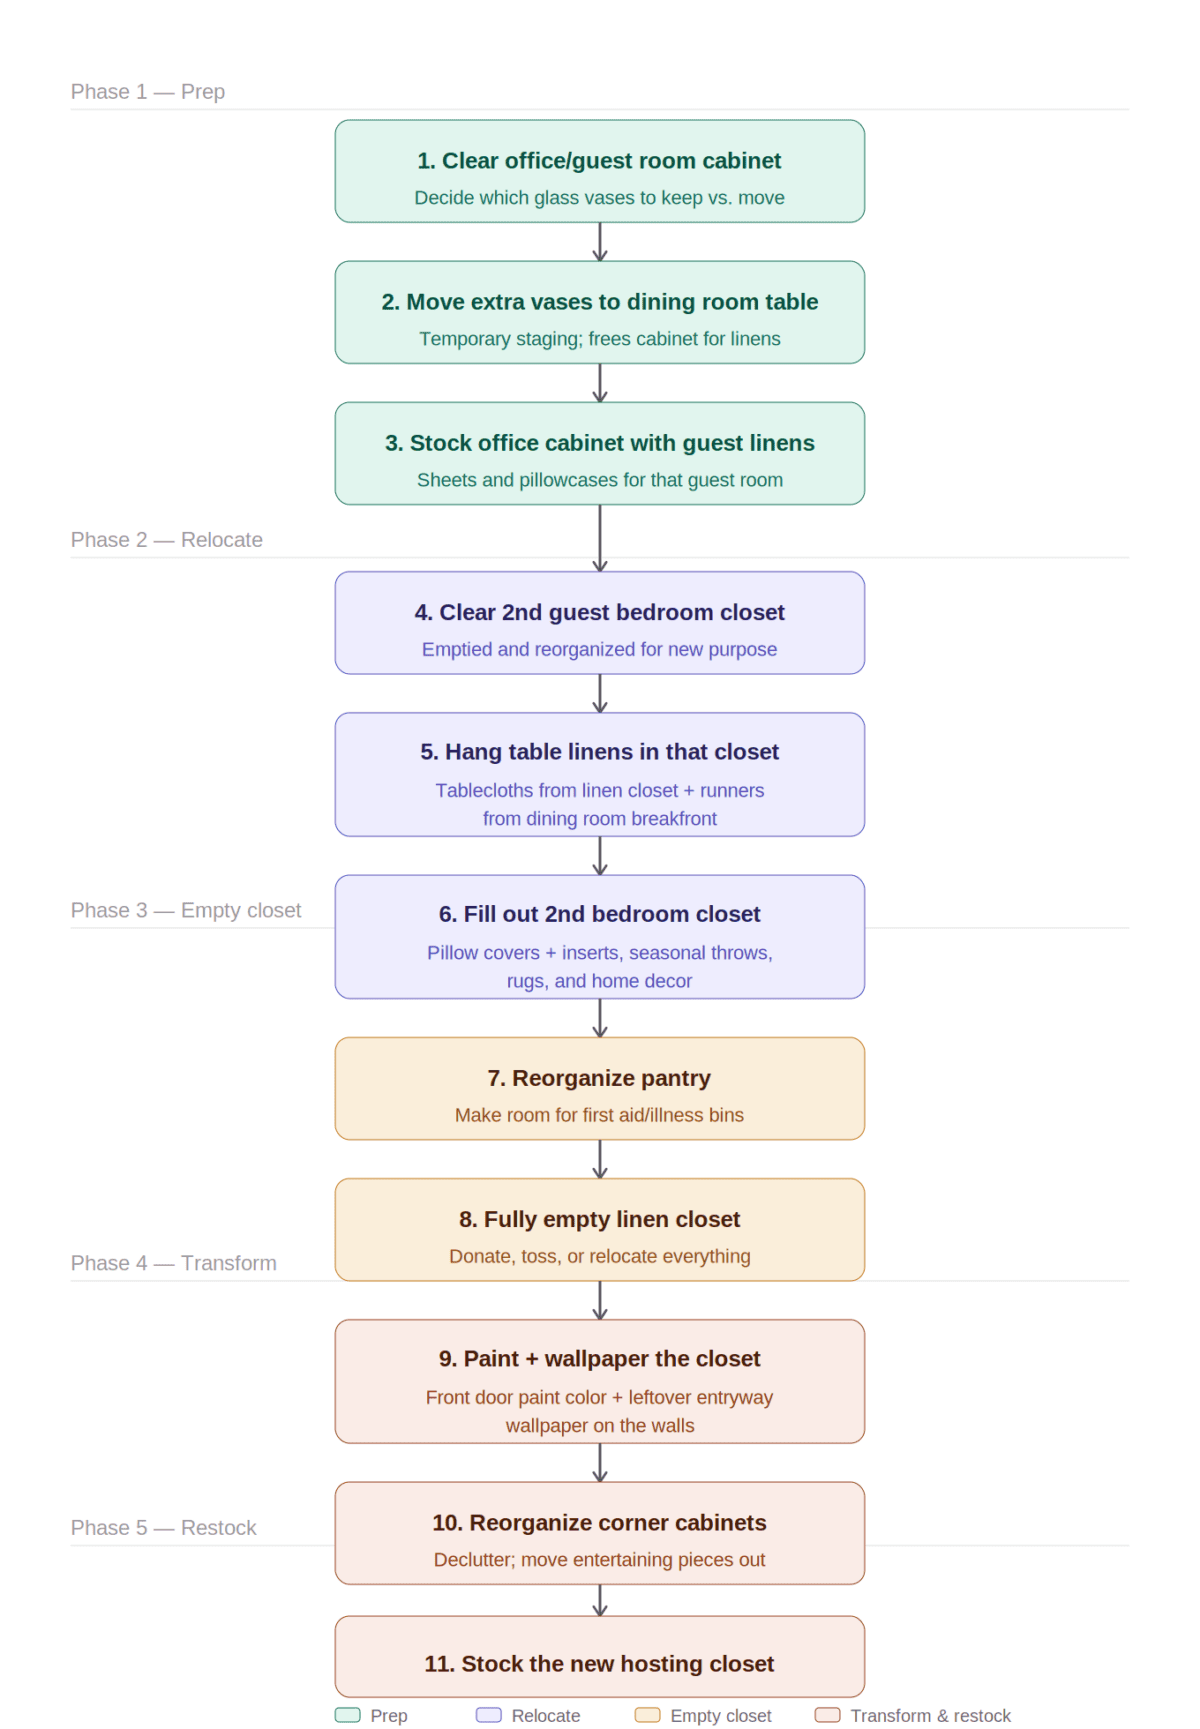
Now let me take you through each step.
Step One: The Office Cabinet and the Great Sheet Audit
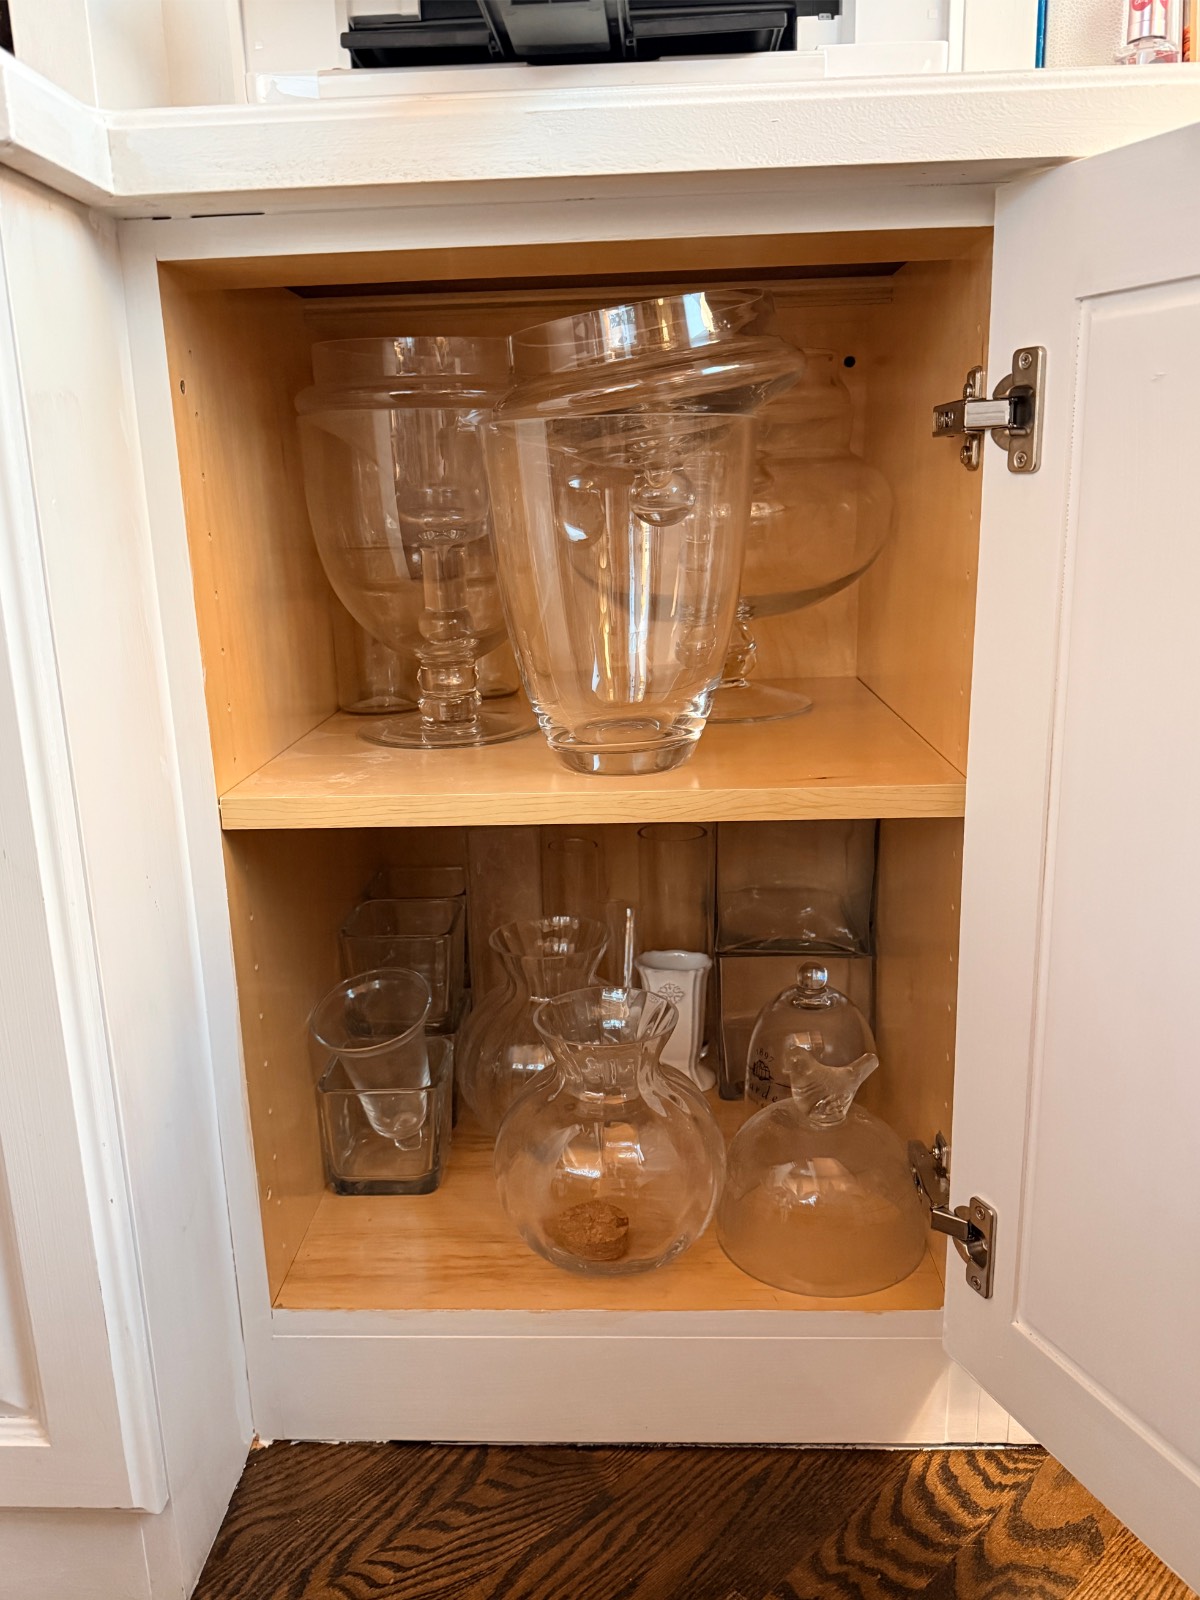
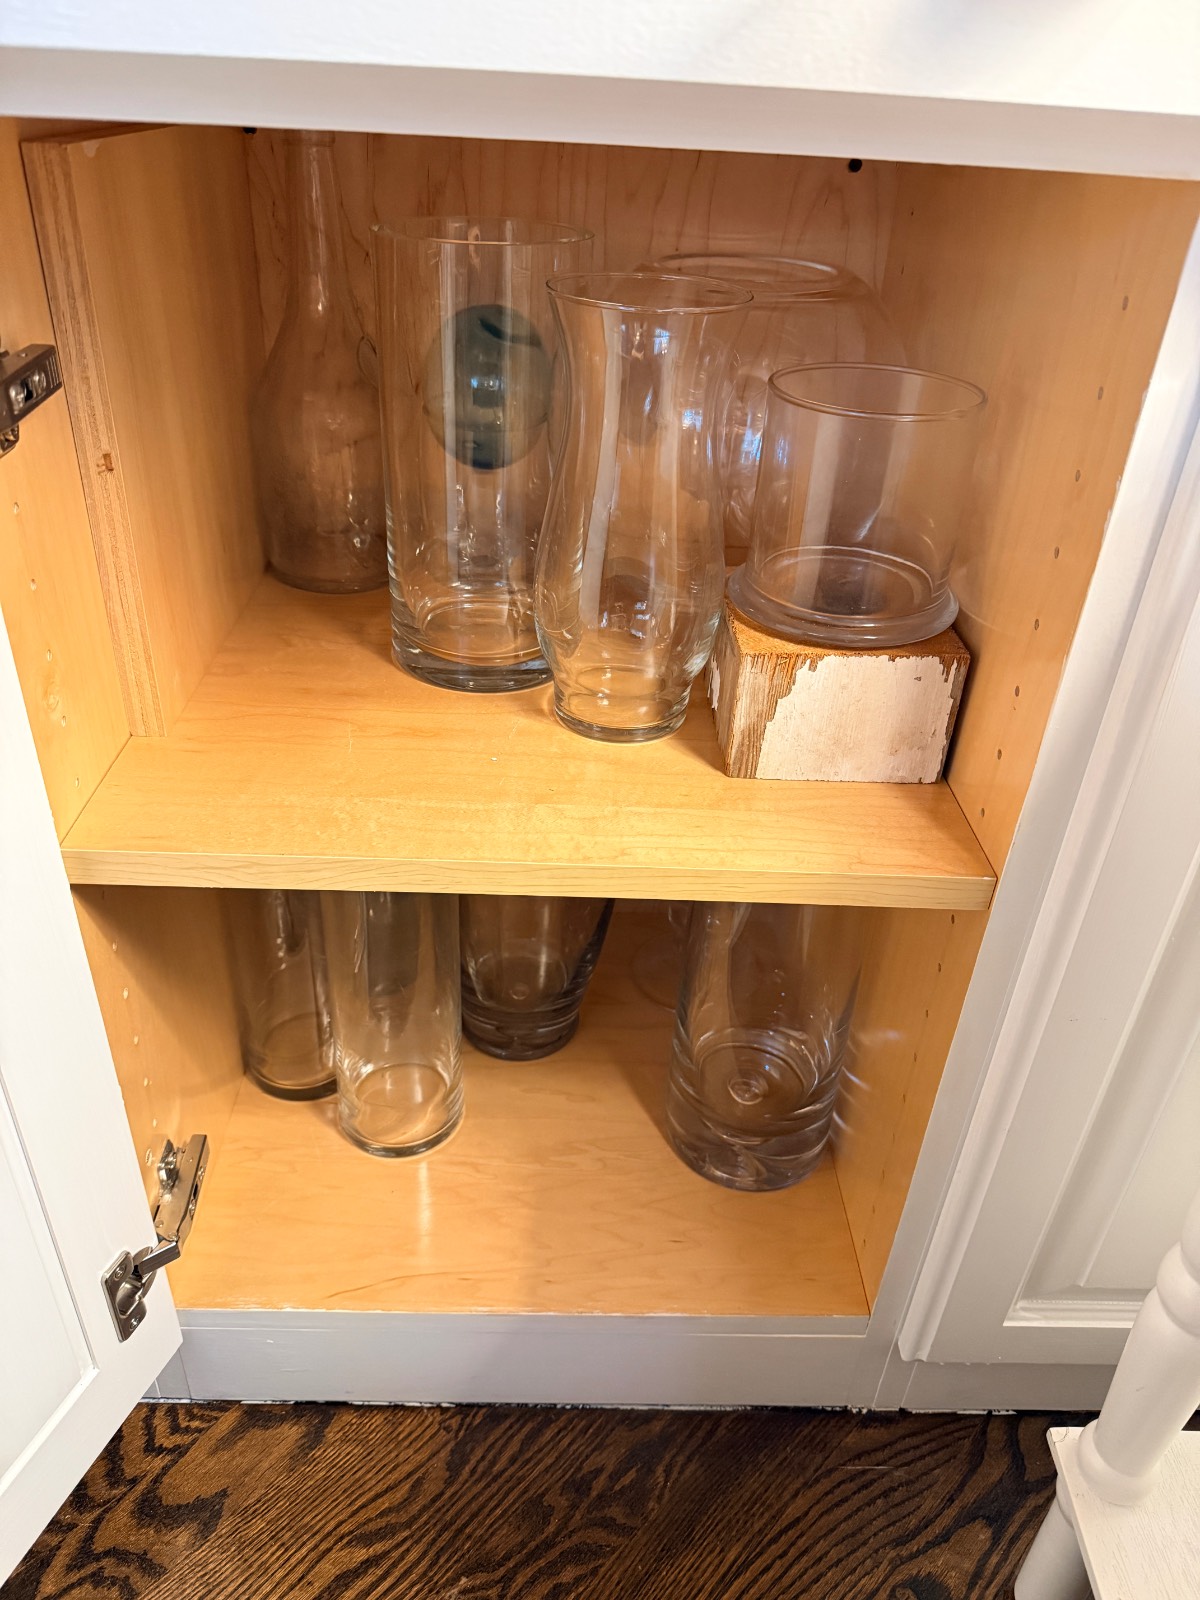
My first move was the built-in cabinet in my office/guest room. It had been storing a collection of glass vases and vessels that I love but had no real home for.
Before I could put anything useful in these cabinets, those pieces needed to go somewhere.
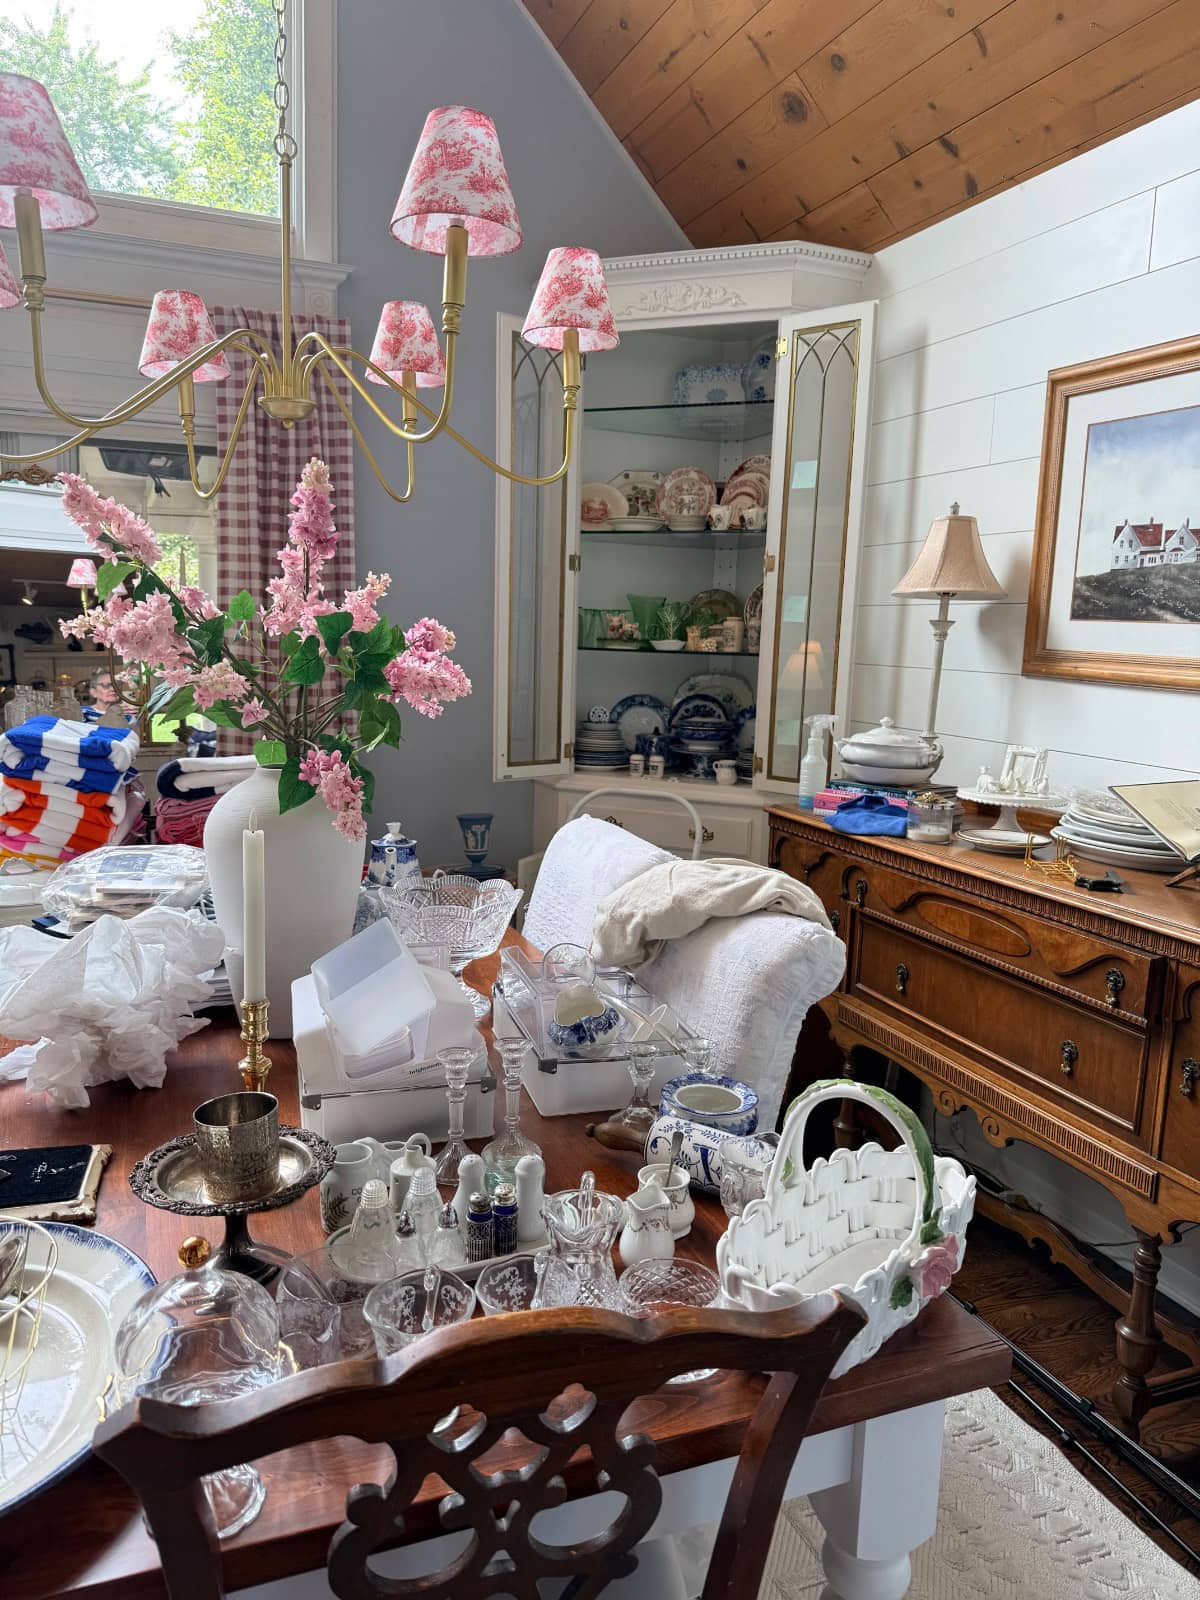
So they went on the dining room table. Temporarily. Which meant that for a stretch of this project, my dining room looked like a flea market.
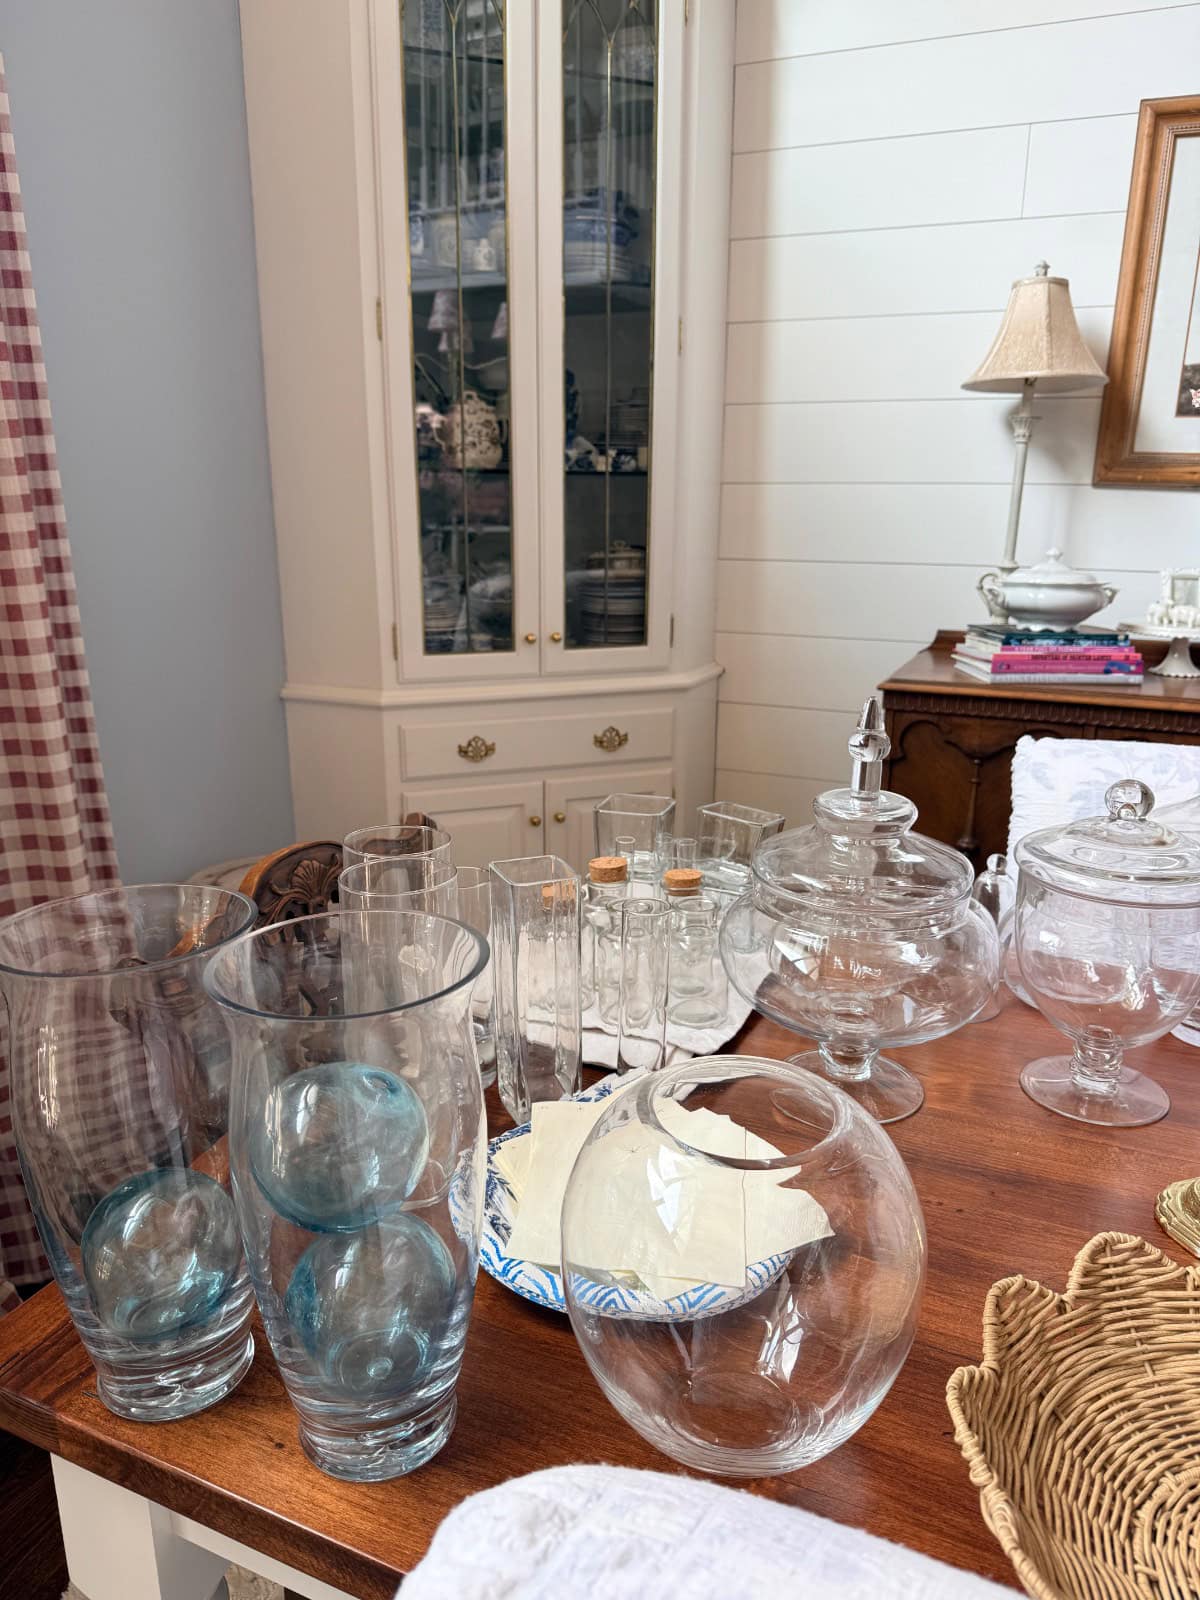
I used sticky notes everywhere during this phase. On the cabinet doors, on the shelves, and even on the items that need to be rehomed. These little paper reminders were great for a visual thinker like me. It worked to keep me organized and on task. I cannot recommend this enough. When you are moving things across multiple spaces at once, you need a system, or you will absolutely forget what was supposed to go where.
While the vases were parked on the dining room table, I turned my attention to the linen closet. I pulled out all the sheets, pillowcases, and towels. To my surprise I found that I had dozens upon dozens of pillowcases, many without a mate. I had top sheets without matching fitted sheets and vice versa. How does this happen? It was like the missing socks. Where do they go?
I pared everything down to just a couple of sets of good sheets and a few extra pillowcases and the nicest and newest towels. They fit beautifully and easily into the office cabinets. Now I had a proper guest room linen station.
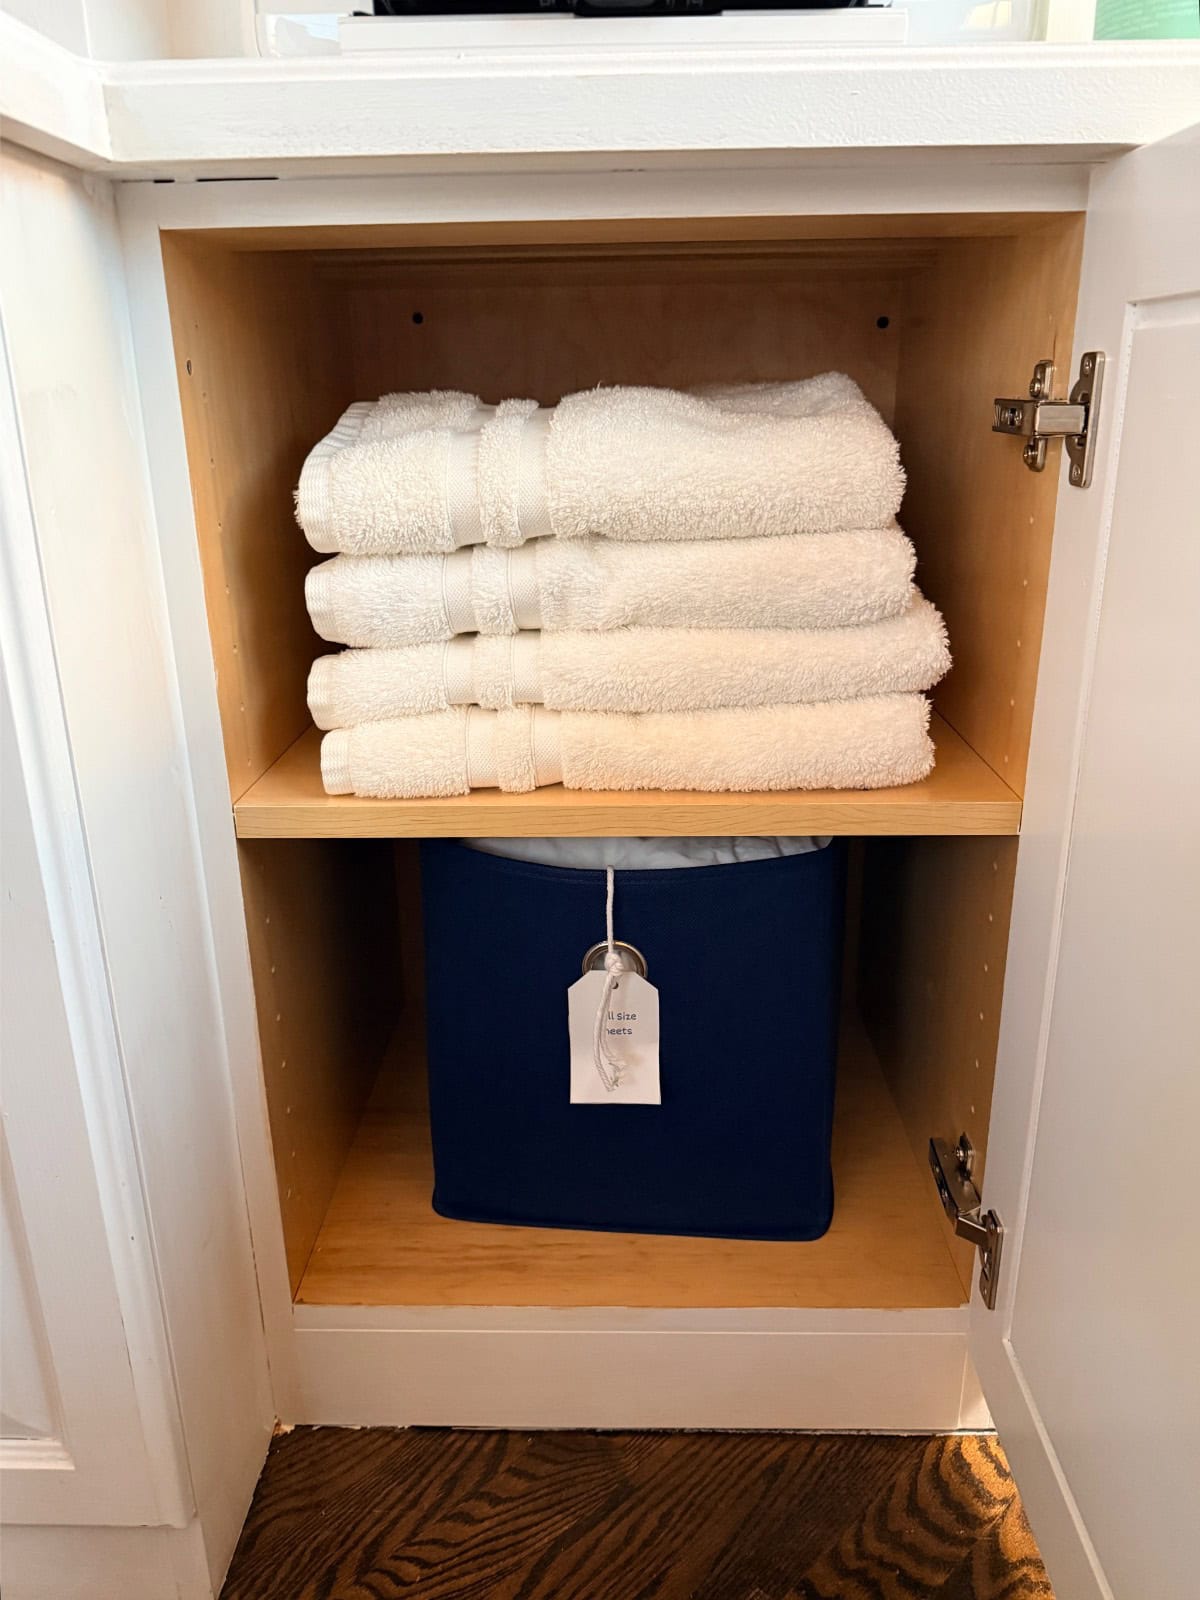
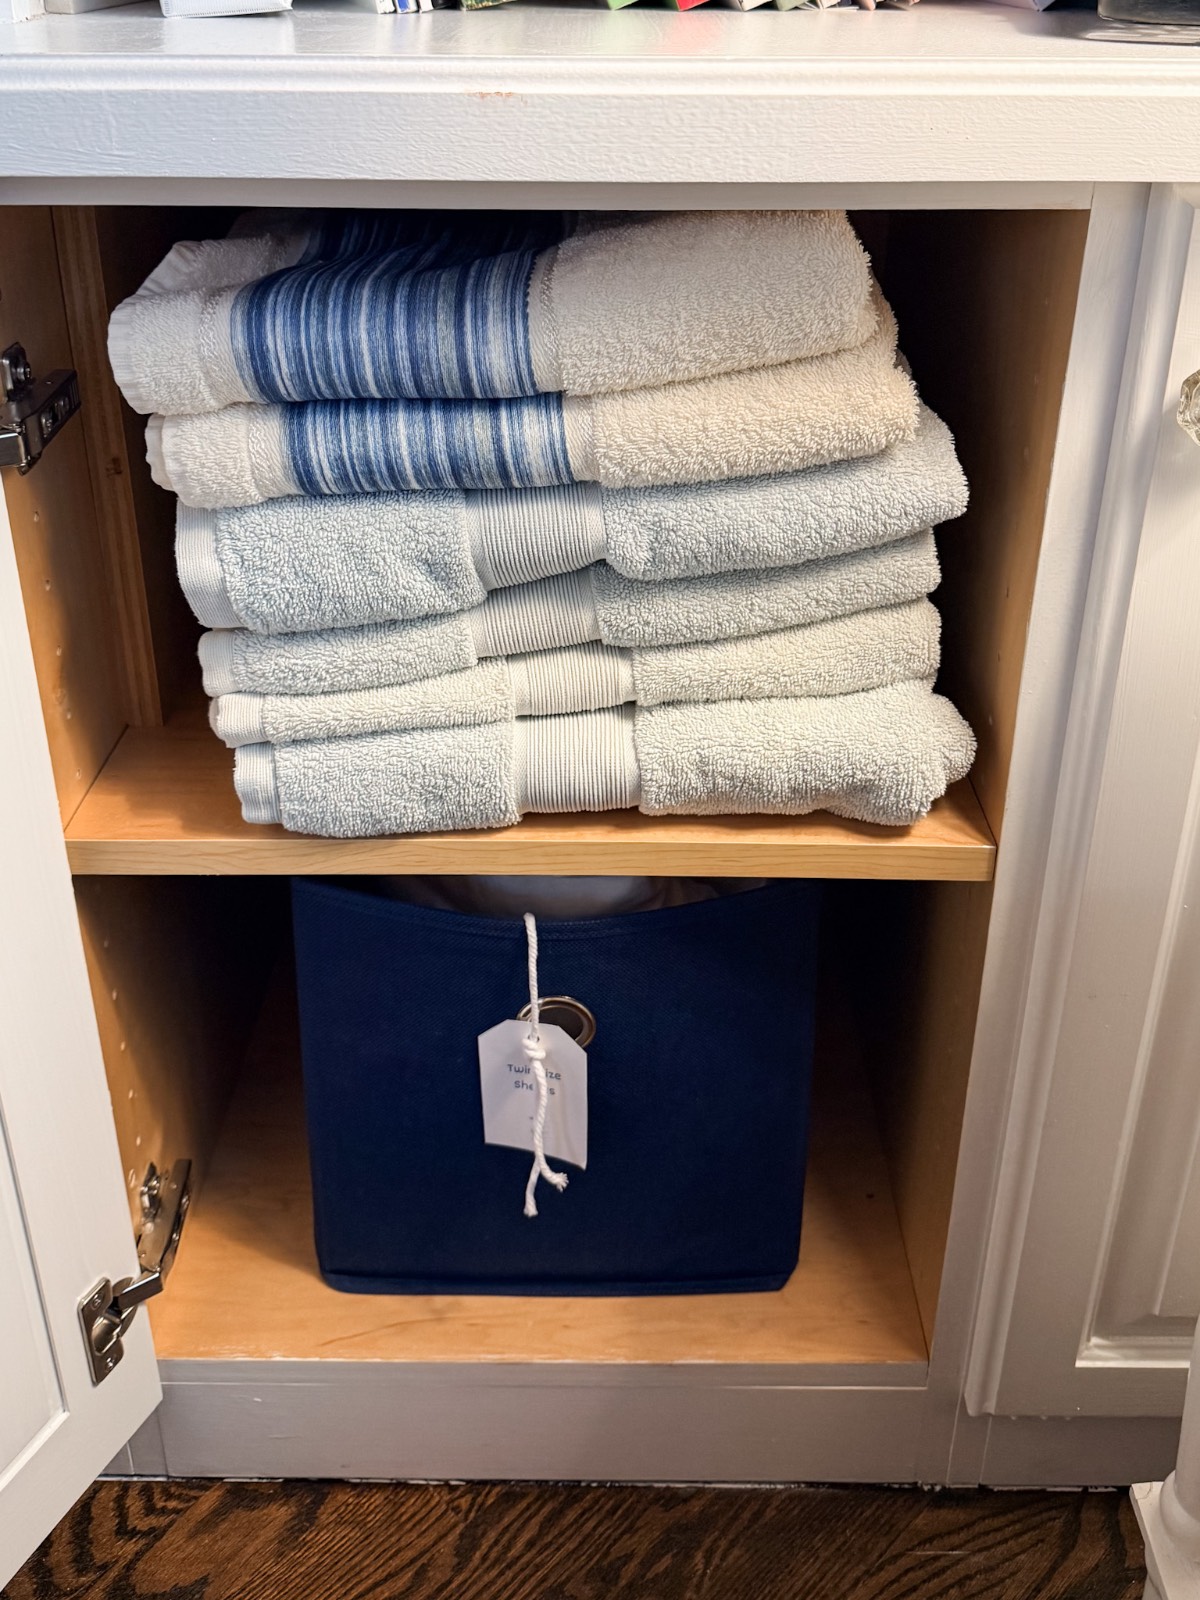
One space done. Many more to go. And the dining room table was still covered in vases.
Step Two: The Second Guest Bedroom Closet Get a New Purpose:
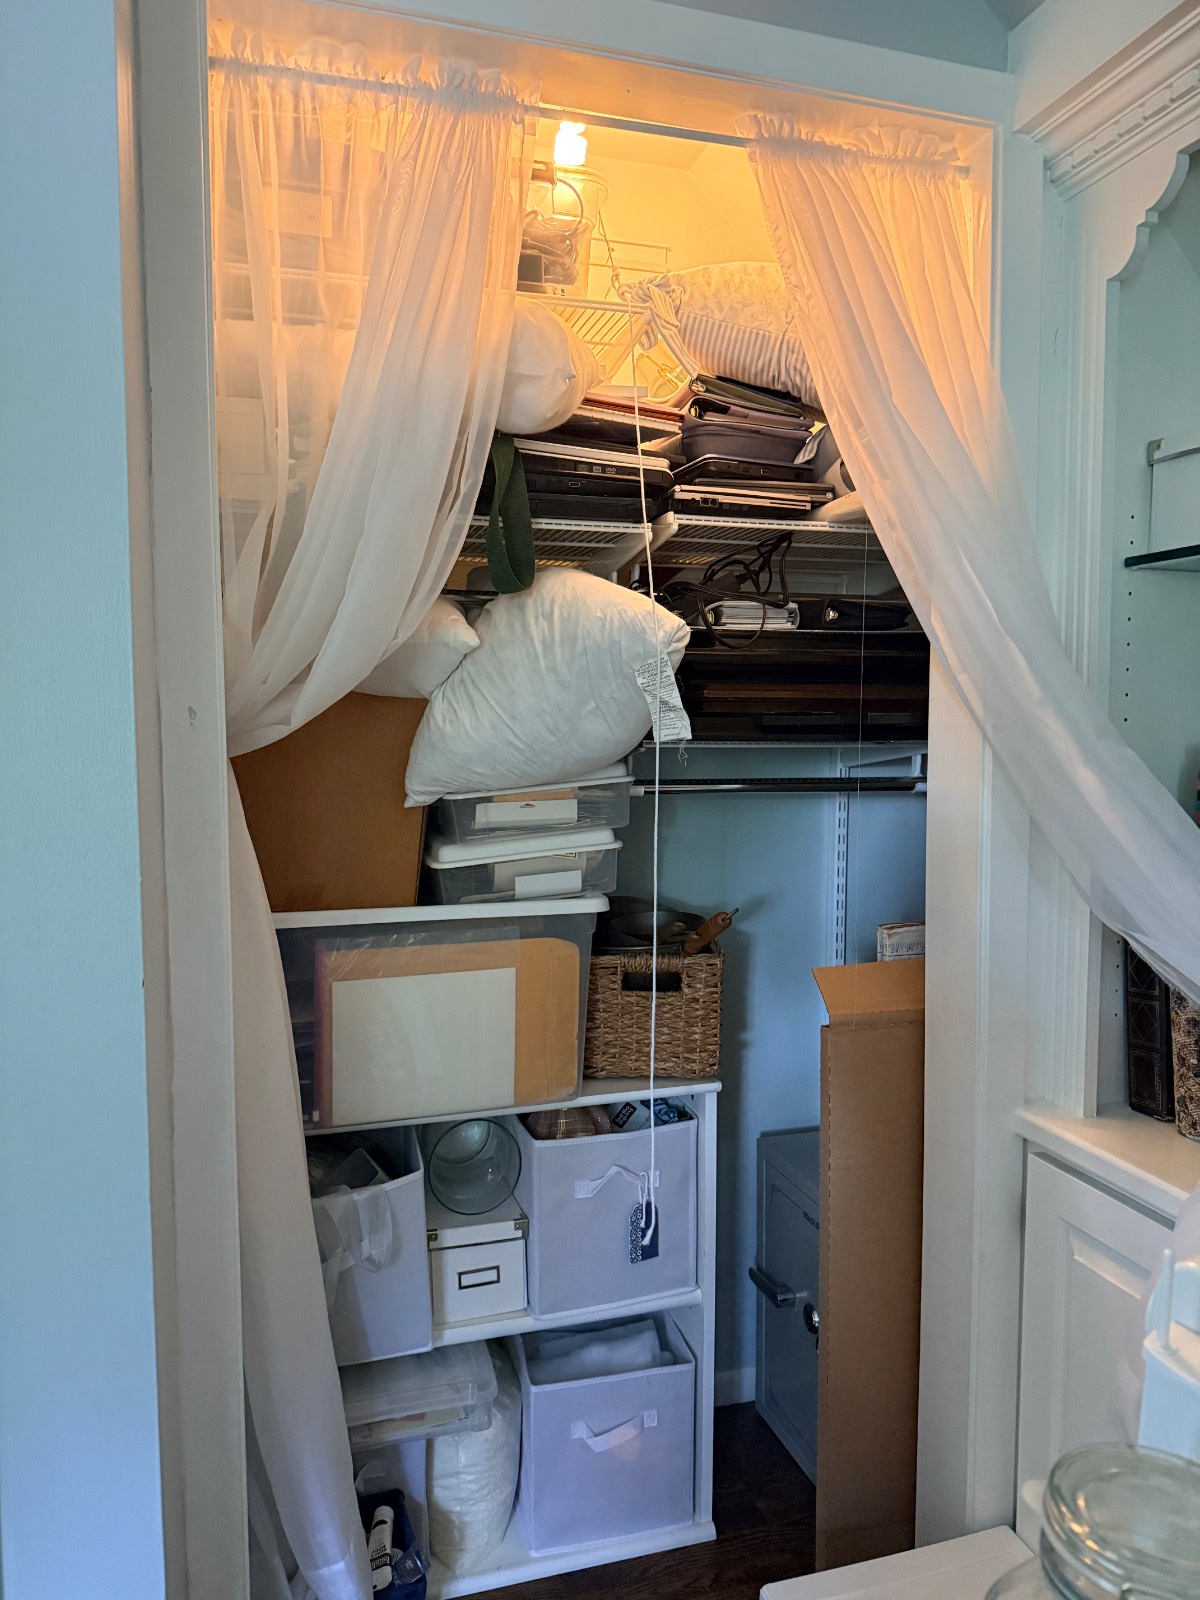
The second guest bedroom in our home is in the middle of a transformation. We love having our kids come and stay on the weekends, and I want them to feel like they have their own little space that feels welcoming and ready for them every time they walk through the door. That meant the closet in that room needed to stop being a catch-all and start earning its keep. This closet was genuinely full of things I no longer need in my home. 5-10 old computers, old craft supplies that are past their prime, and some coats that no longer fit us or are out of style.
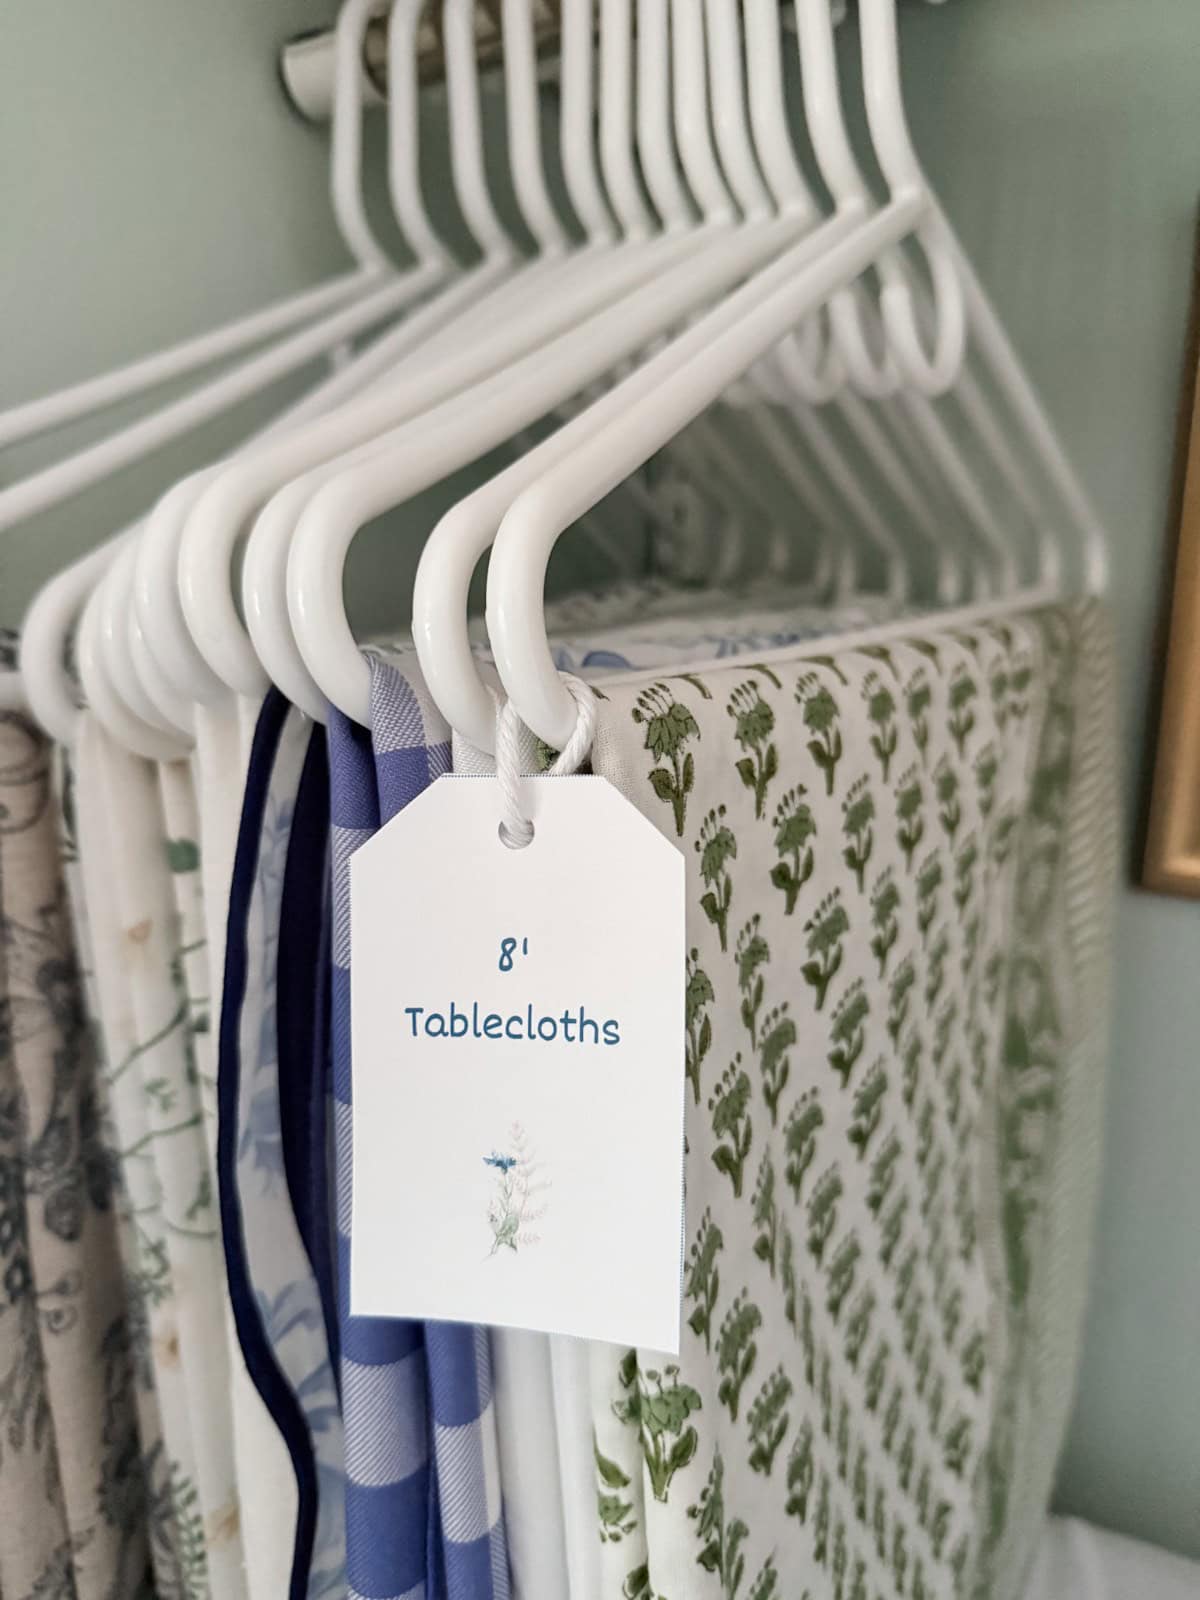
Once it was completely cleared out, this closet became the new home for my table linens, table runners, curtain panels, pillow covers, and pillow inserts. The table linens had been living in the linen closet. The runners had been folded in my dining room breakfront, and the curtain panels and pillow covers were in piles in my office. Getting them all together in one dedicated place was one of those organizing wins that make you wonder why you waited so long. I can now see what I have and use these items more often.
Things are now hanging on individual hangers, which keeps them wrinkle-free and makes it so much easier to see exactly what I have at a glance. I even created some cute tags with the sizes of each item so I don’t have to guess. You can create your own tags using my template. It’s in my resource library and available to friends of Living Large in A Small House.
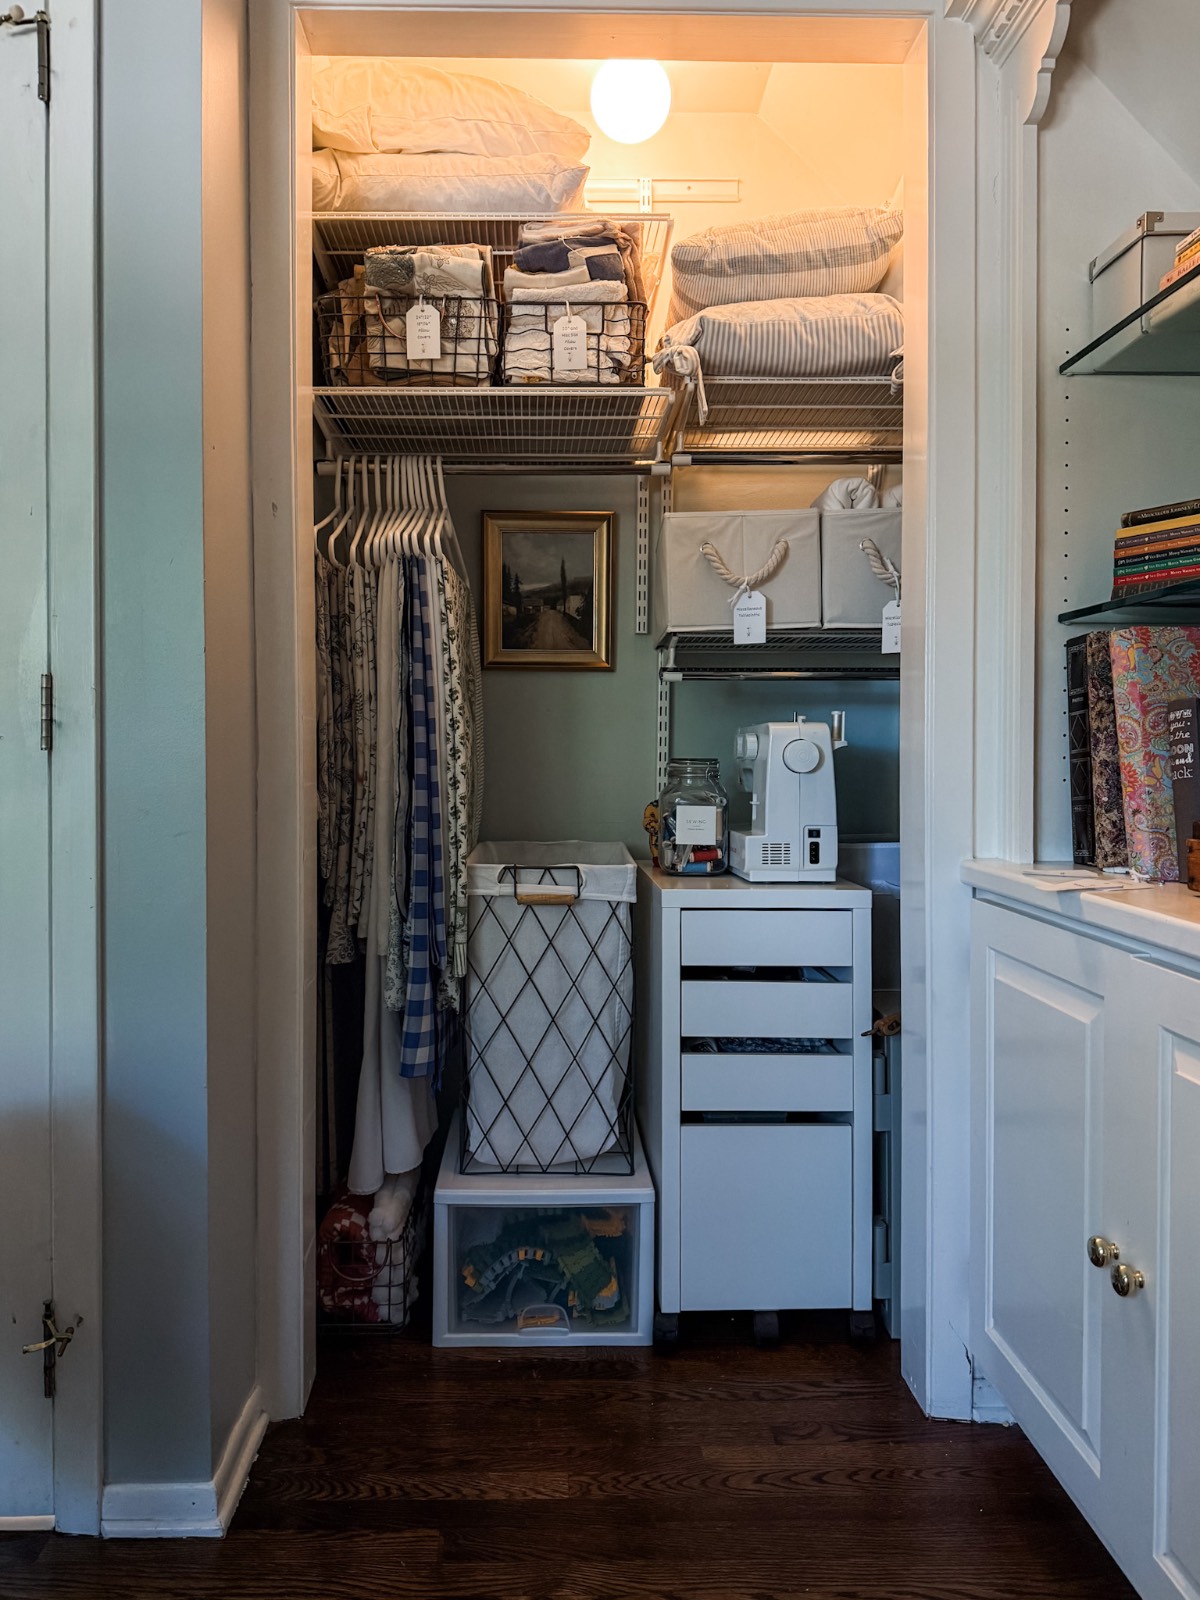
Two spaces done. On to the next step!

Become a Friend of Living Large
Be the first to see affordable decorating ideas, gardening tips and tricks, along with great organizing, entertaining ideas and easy recipes
Step Three: Making Room in the Pantry
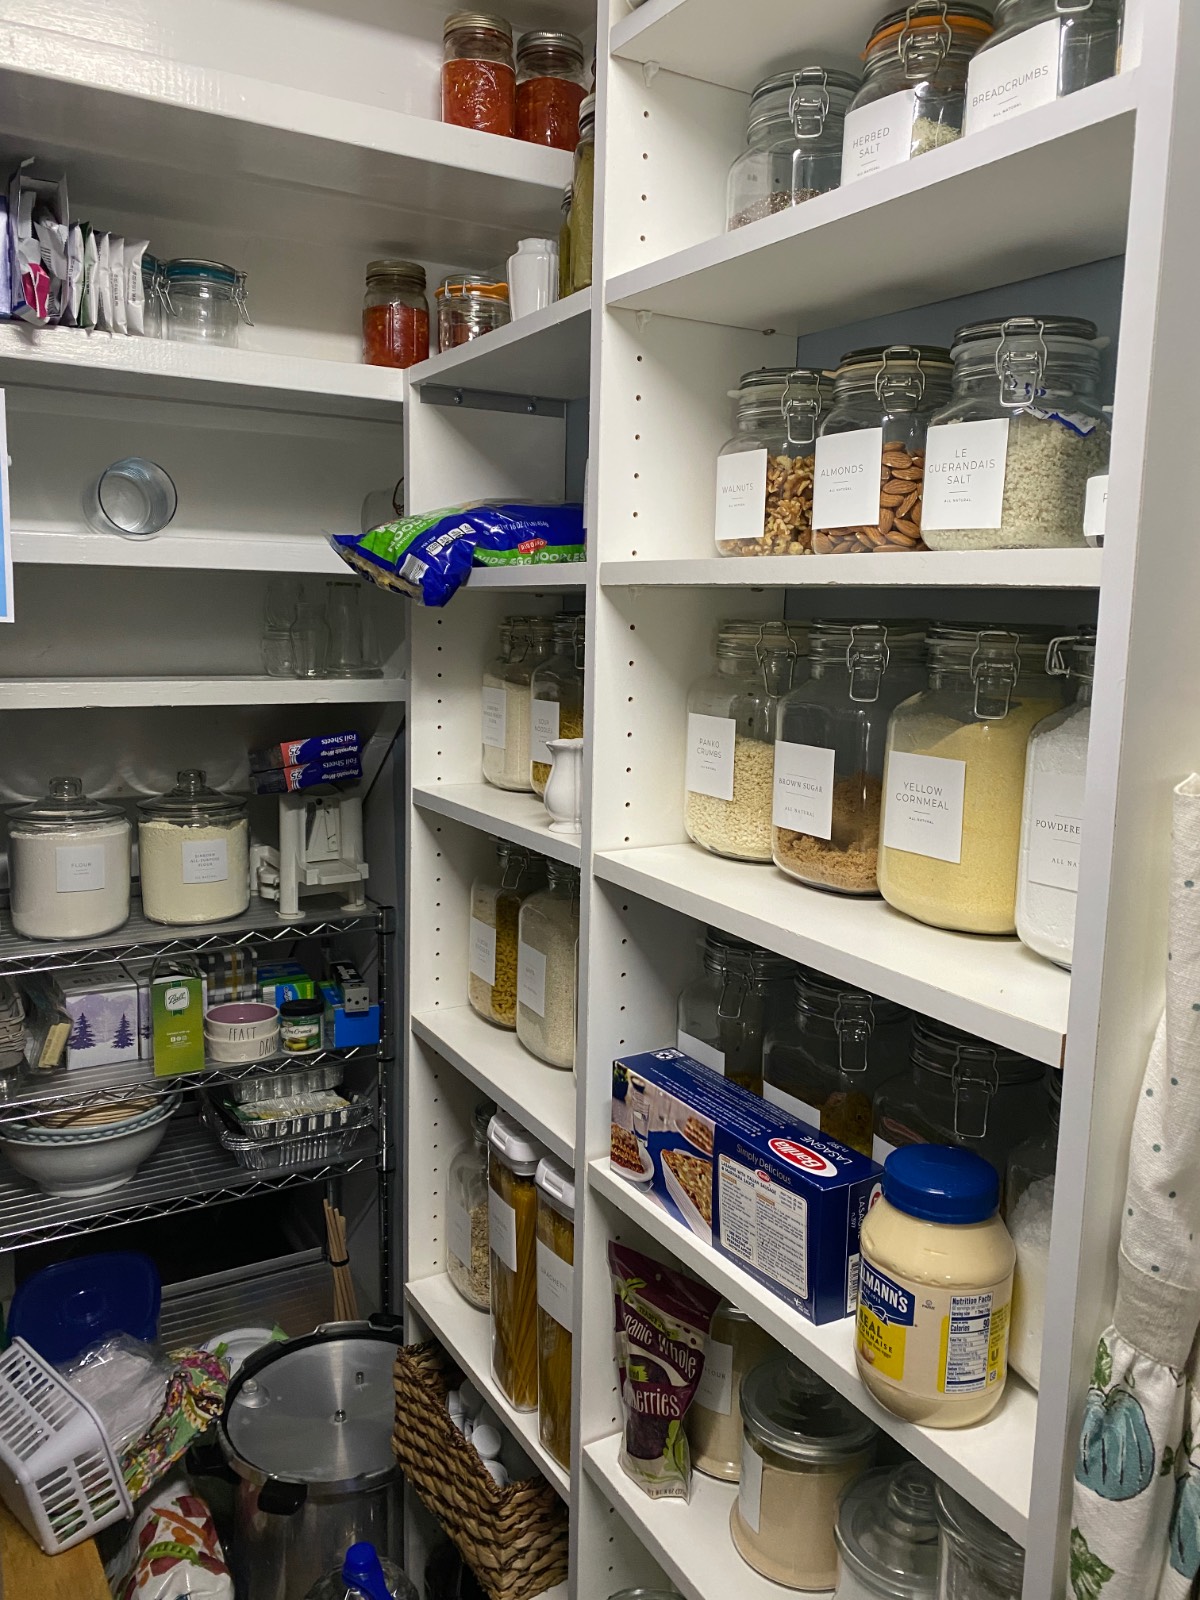
I will be honest with you about the pantry. While I needed to reorganize to be able to move my first aid and illness supplies into it, the truth is that those pretty labeled jars, for the most part, were housing some really old stuff. I mean, how regularly does a person use mace powder or dried black elderberries? It wasn’t a very glamorous job with amazing results, but it needed to be done, and it freed up a lot of space for things that I actually use.
The pantry now has a space for my rehomed first aid and illness products. I was able to pare it down from four plastic totes to two pretty new baskets. I also have space for a basket with snacks for little ones.
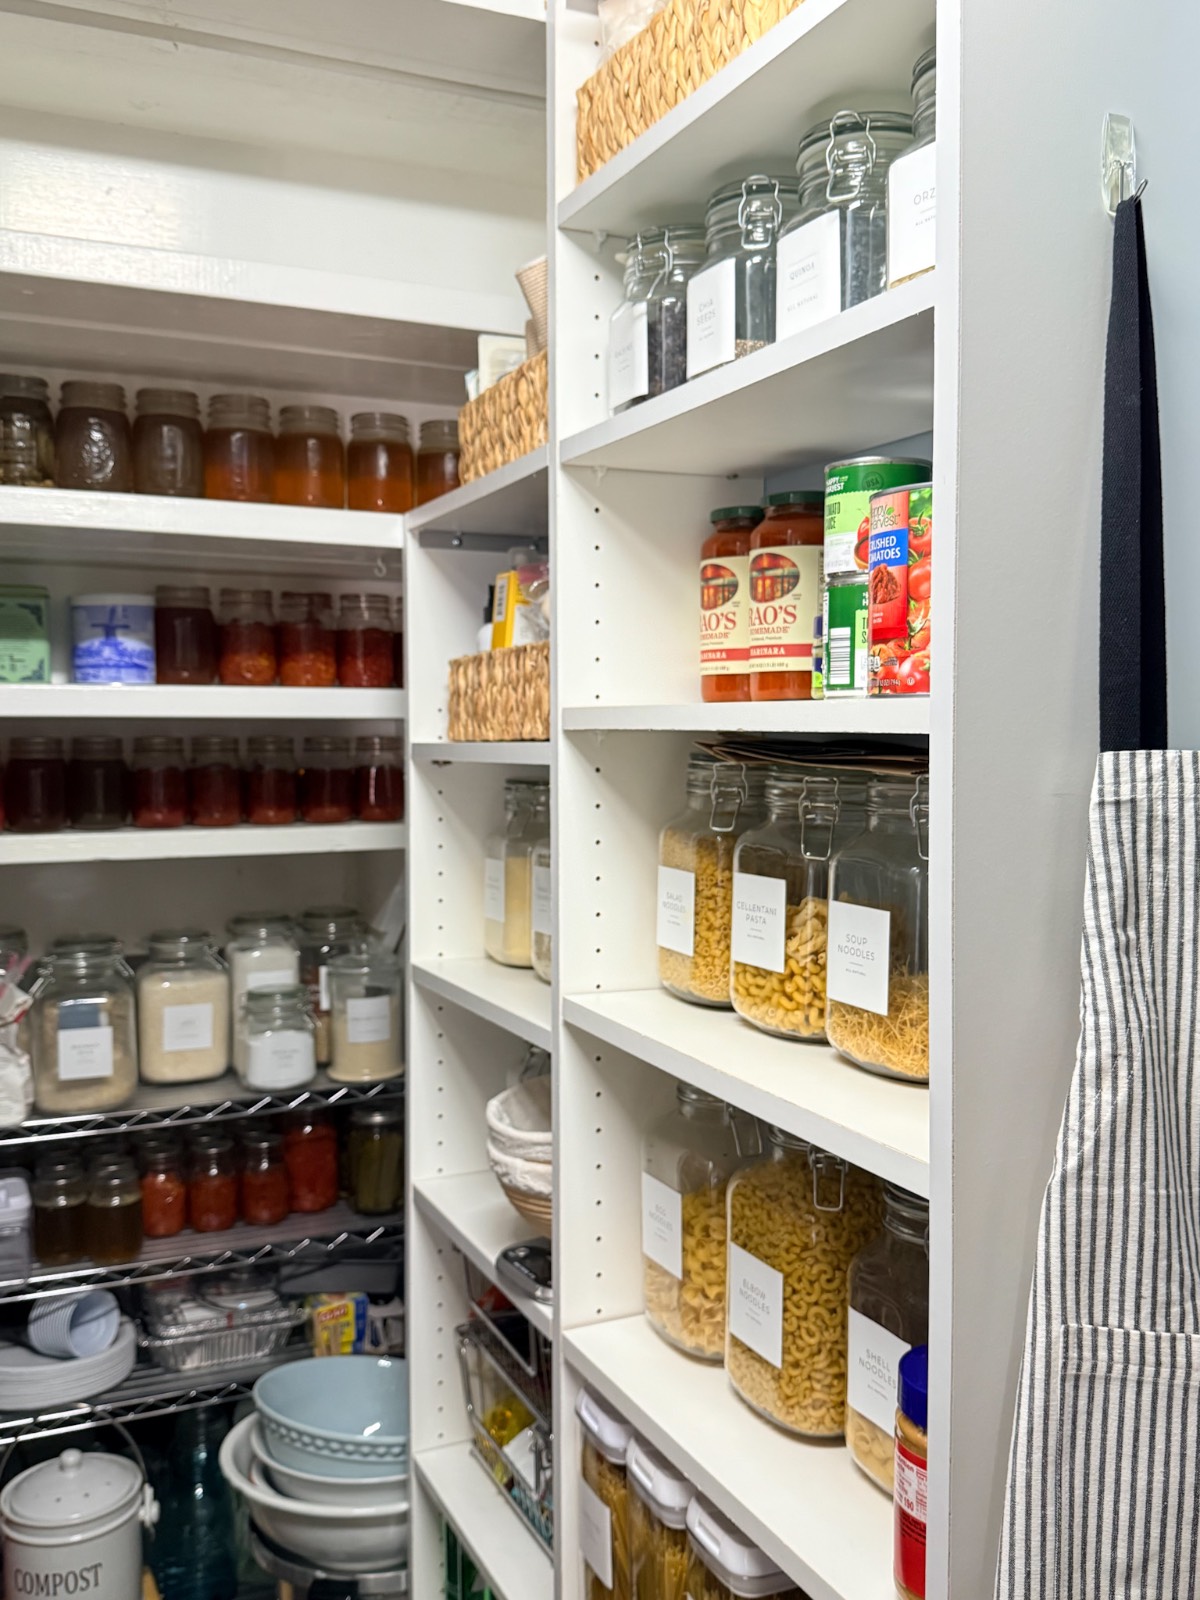
Three spaces sorted. The dining room table is still a disaster. But the end is finally in sight.
Step Four: The Moment I Had Been Working Toward: Emptying the Linen Closet
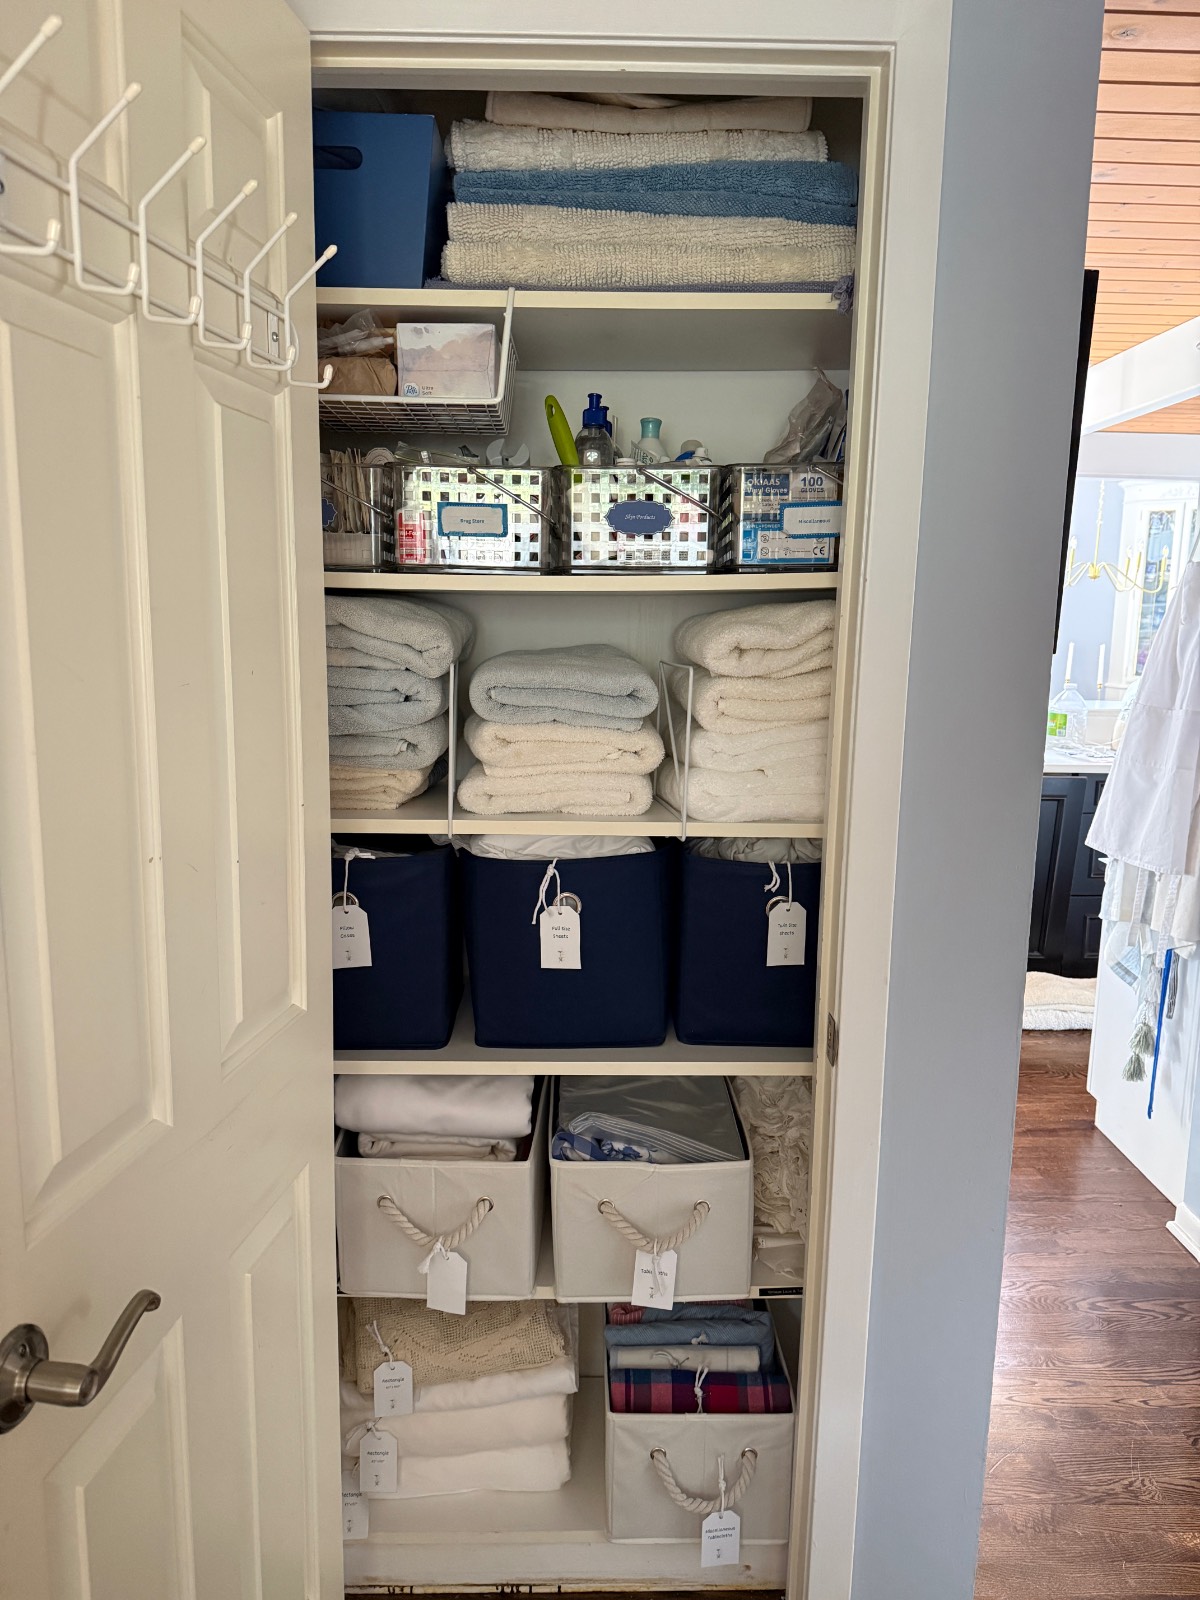
Everything I had done up to this point, the office cabinet, the guest bedroom closet, and the pantry, was all in service for this moment. The linen closet was finally ready to be completely emptied. All the way down to the bare shelves.
By this point, most of the big items had already been relocated. The sheets and pillowcases were in the office cabinet. The table linens and runners were hanging in the second guest bedroom closet. The first aid bins had found their home in the pantry. What was left was pretty much the things that needed to be purged.
Hosting Closet Helpers
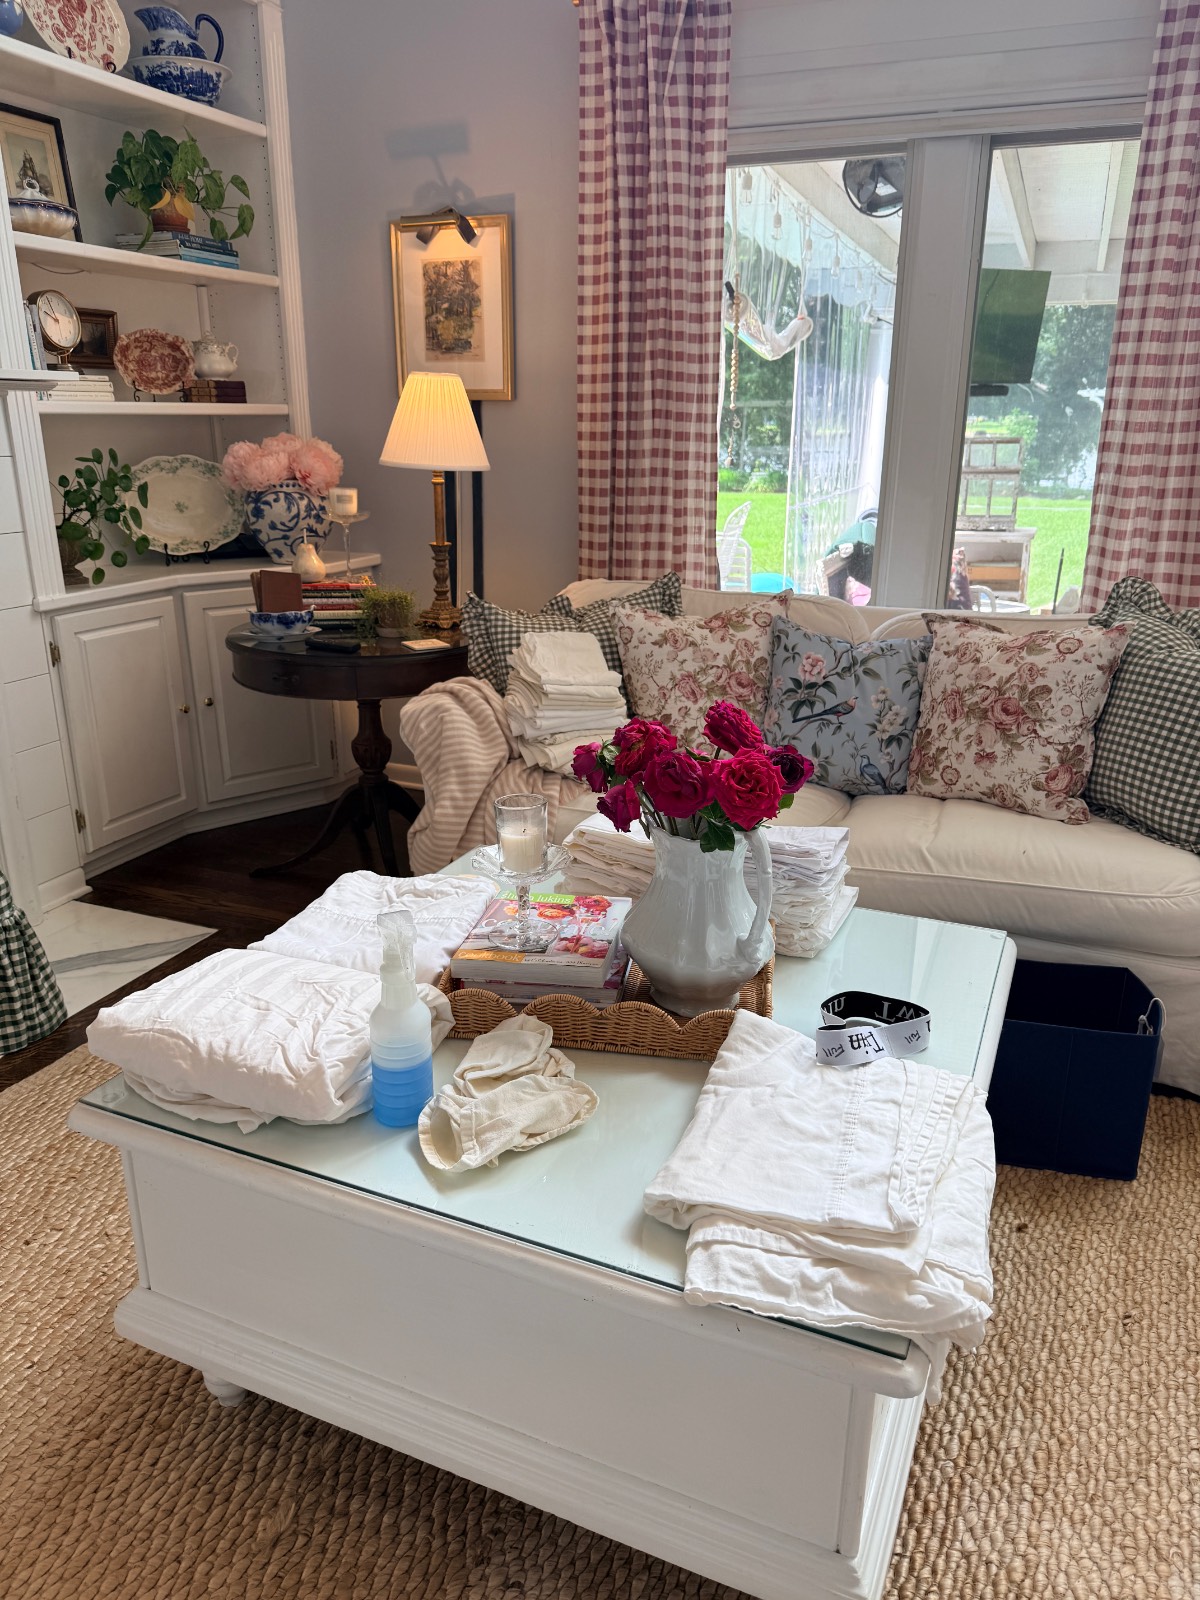
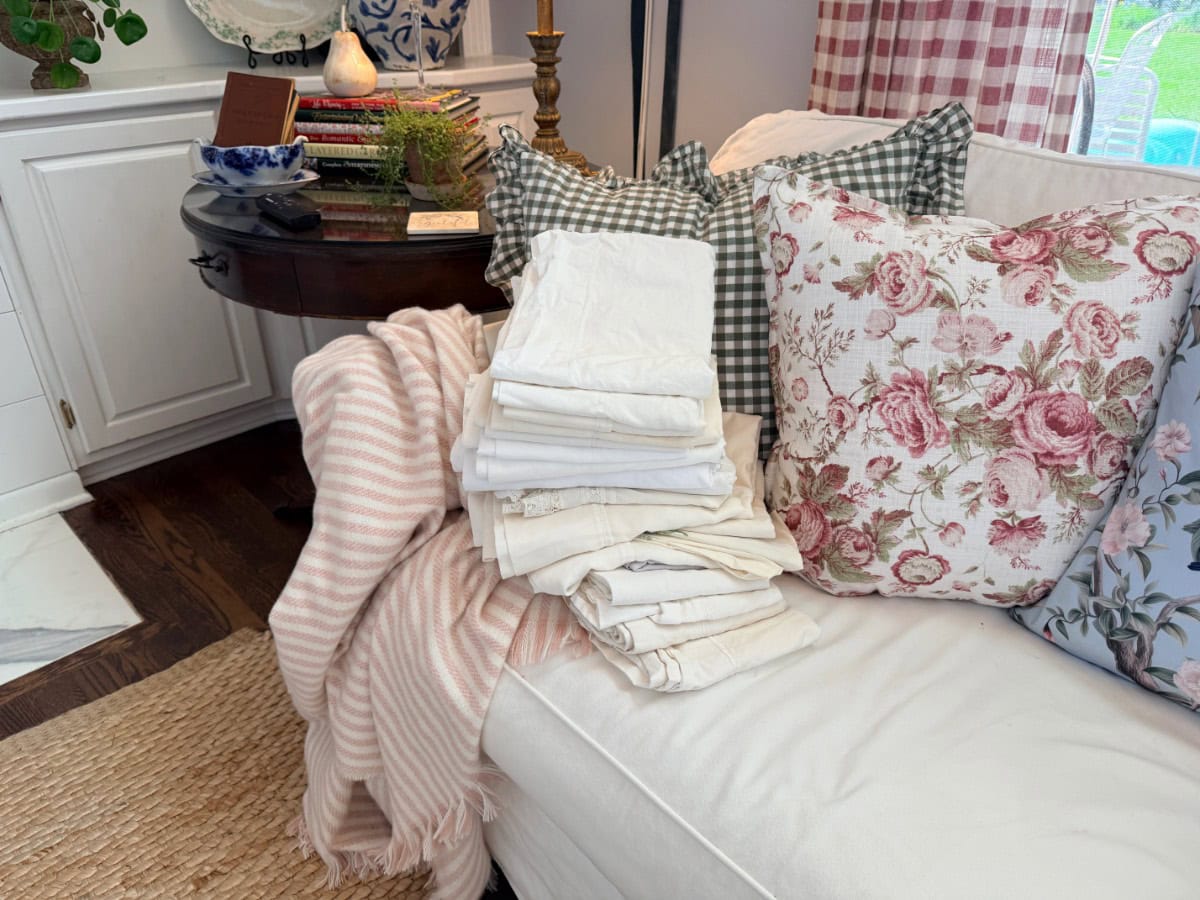
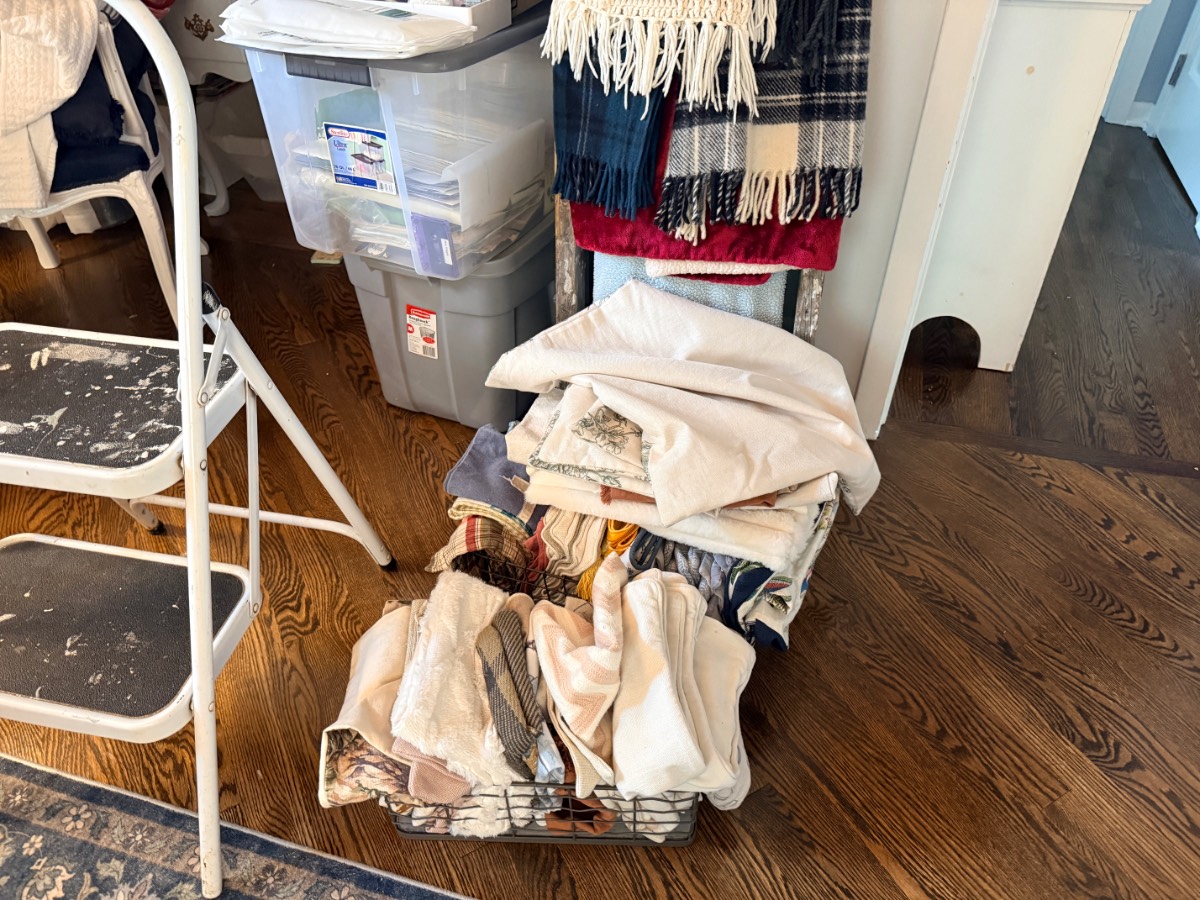
And then the closet was empty. Bare shelves, bare walls, bare floor. Just good bones and a lot of potential.
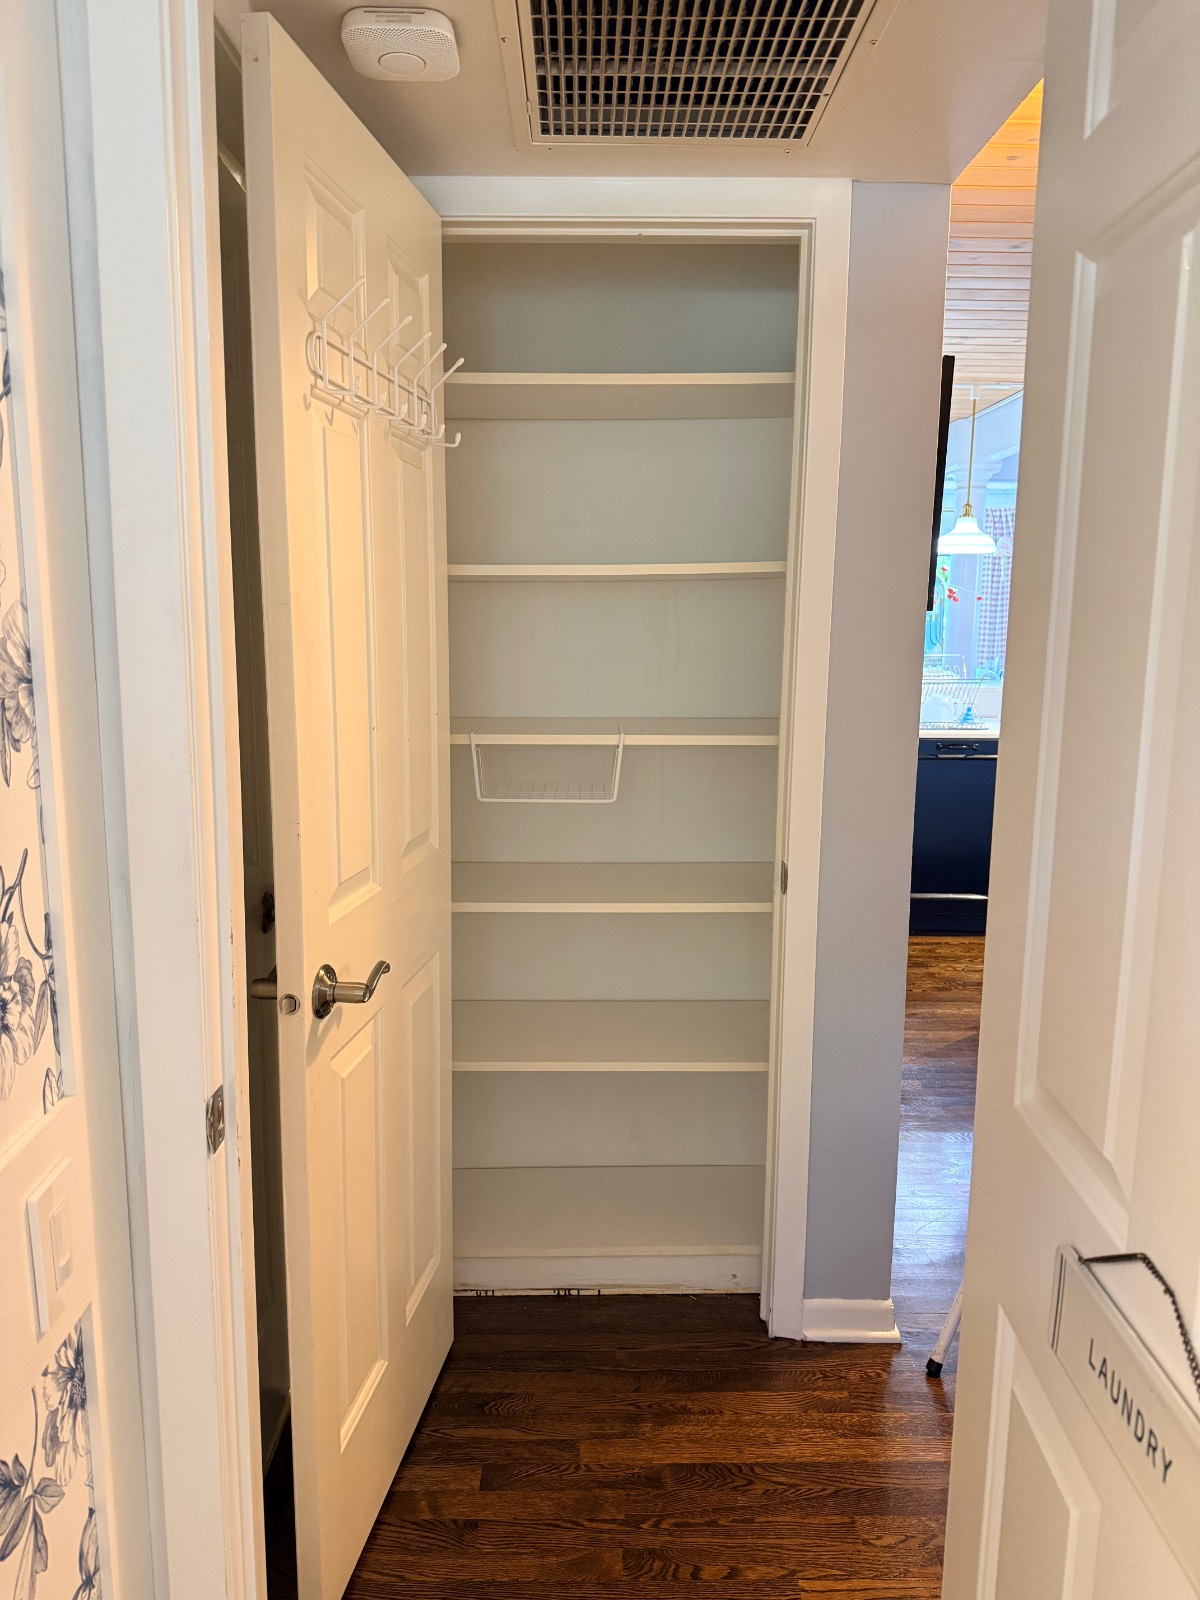
I stood there for a moment and just looked at it. After all the dominos that had to fall to get here, an empty closet had never looked so good.
Step Five: Paint, Wallpaper, and the Part Where It Finally Starts to Look Like Something
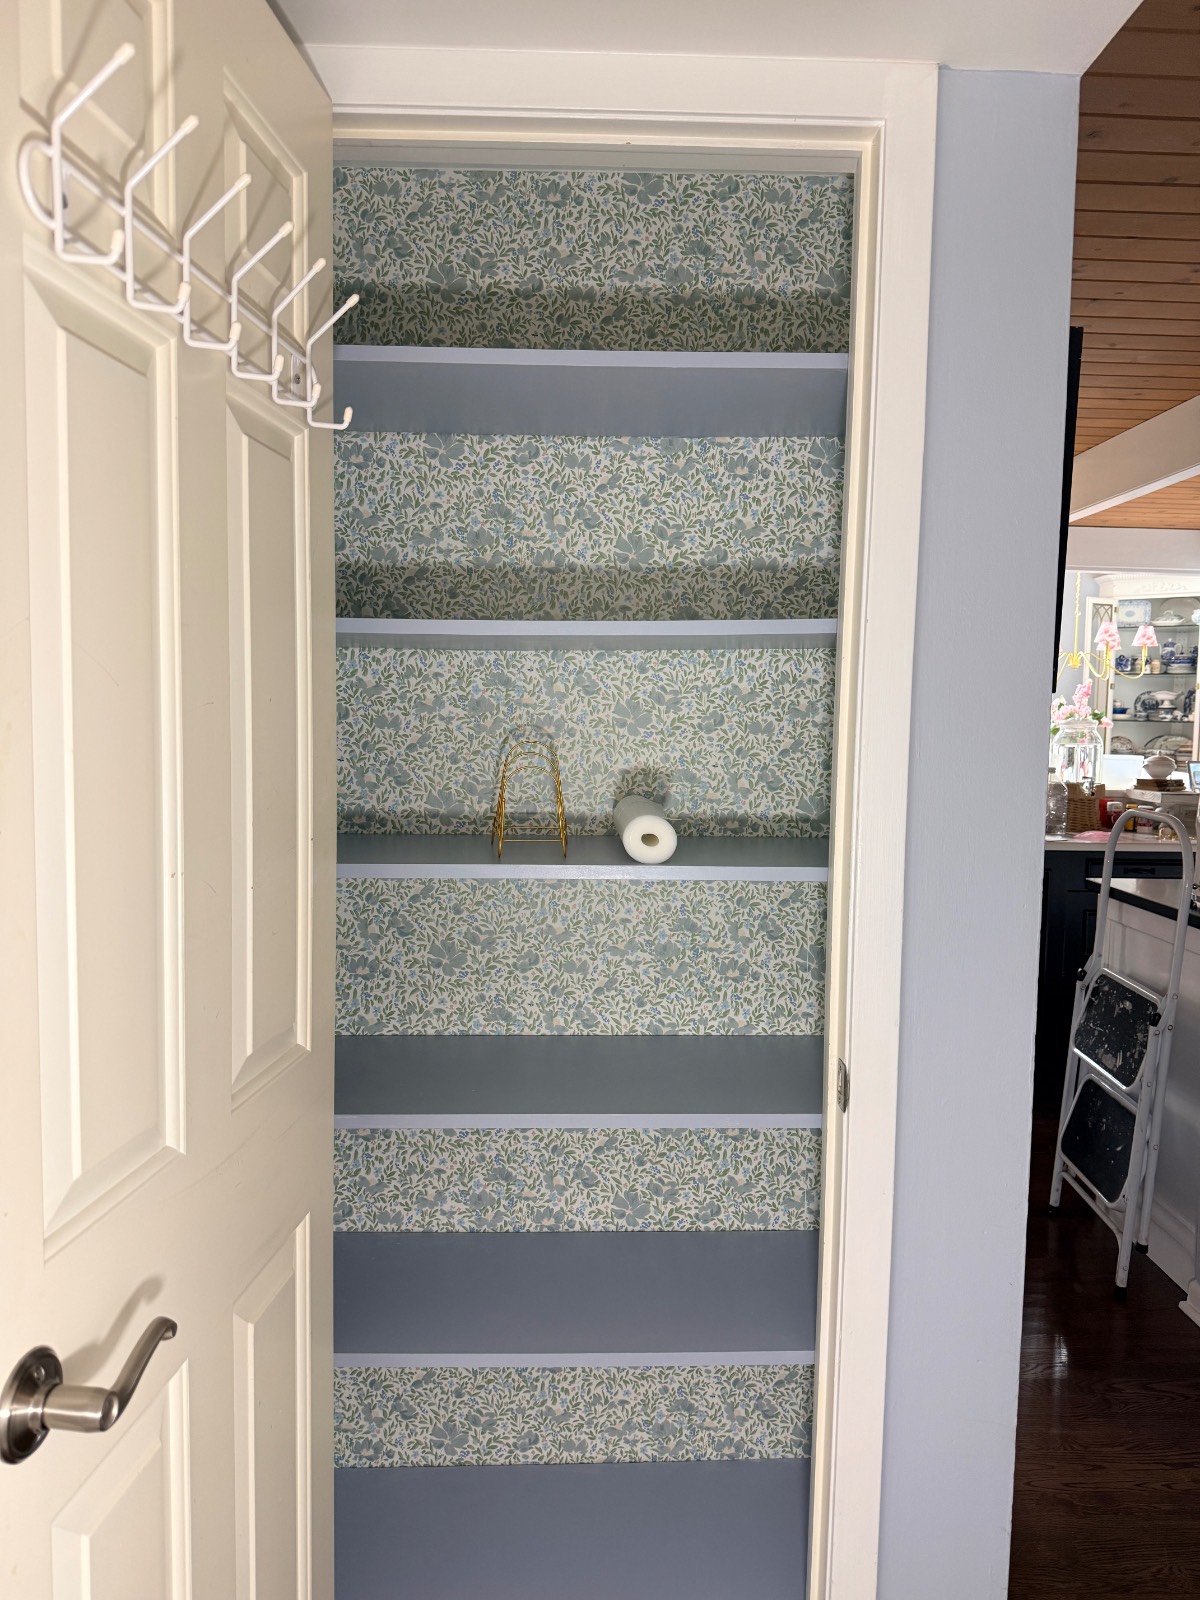
Here is where I have to tell you about one of my favorite things to do in the house, which is to use what I already have.
The paint color I chose for the closet is the same color as my front door. I had leftover paint sitting in the shed, and the color is one shade darker than the walls that surround the closet. The wallpaper on the walls is the same pattern I used in my front entryway. I had enough left over from my collab with Love vs. Design to cover the back and side walls of the closet.
If you’ve been following along here for a while, you know that I love for my spaces to be cohesive throughout my home. Using the same paint and wallpaper across different spaces creates a thread that ties rooms together in a way that feels collected and deliberate. The closet feels like a design moment now, not just an organized closet.
I let everything cure completely and ordered some clear shelf liner and some plate stands, which took a few days. While I waited, I moved on to the final phase of my project. This part was not for the faint of heart.
Step Six: Emptying My Corner Cabinets
The corner cabinets in my dining room were crammed with stuff that I actually forgot that I owned. They were messy, and the shelves were dusty. It was definitely the time for a complete overhaul.
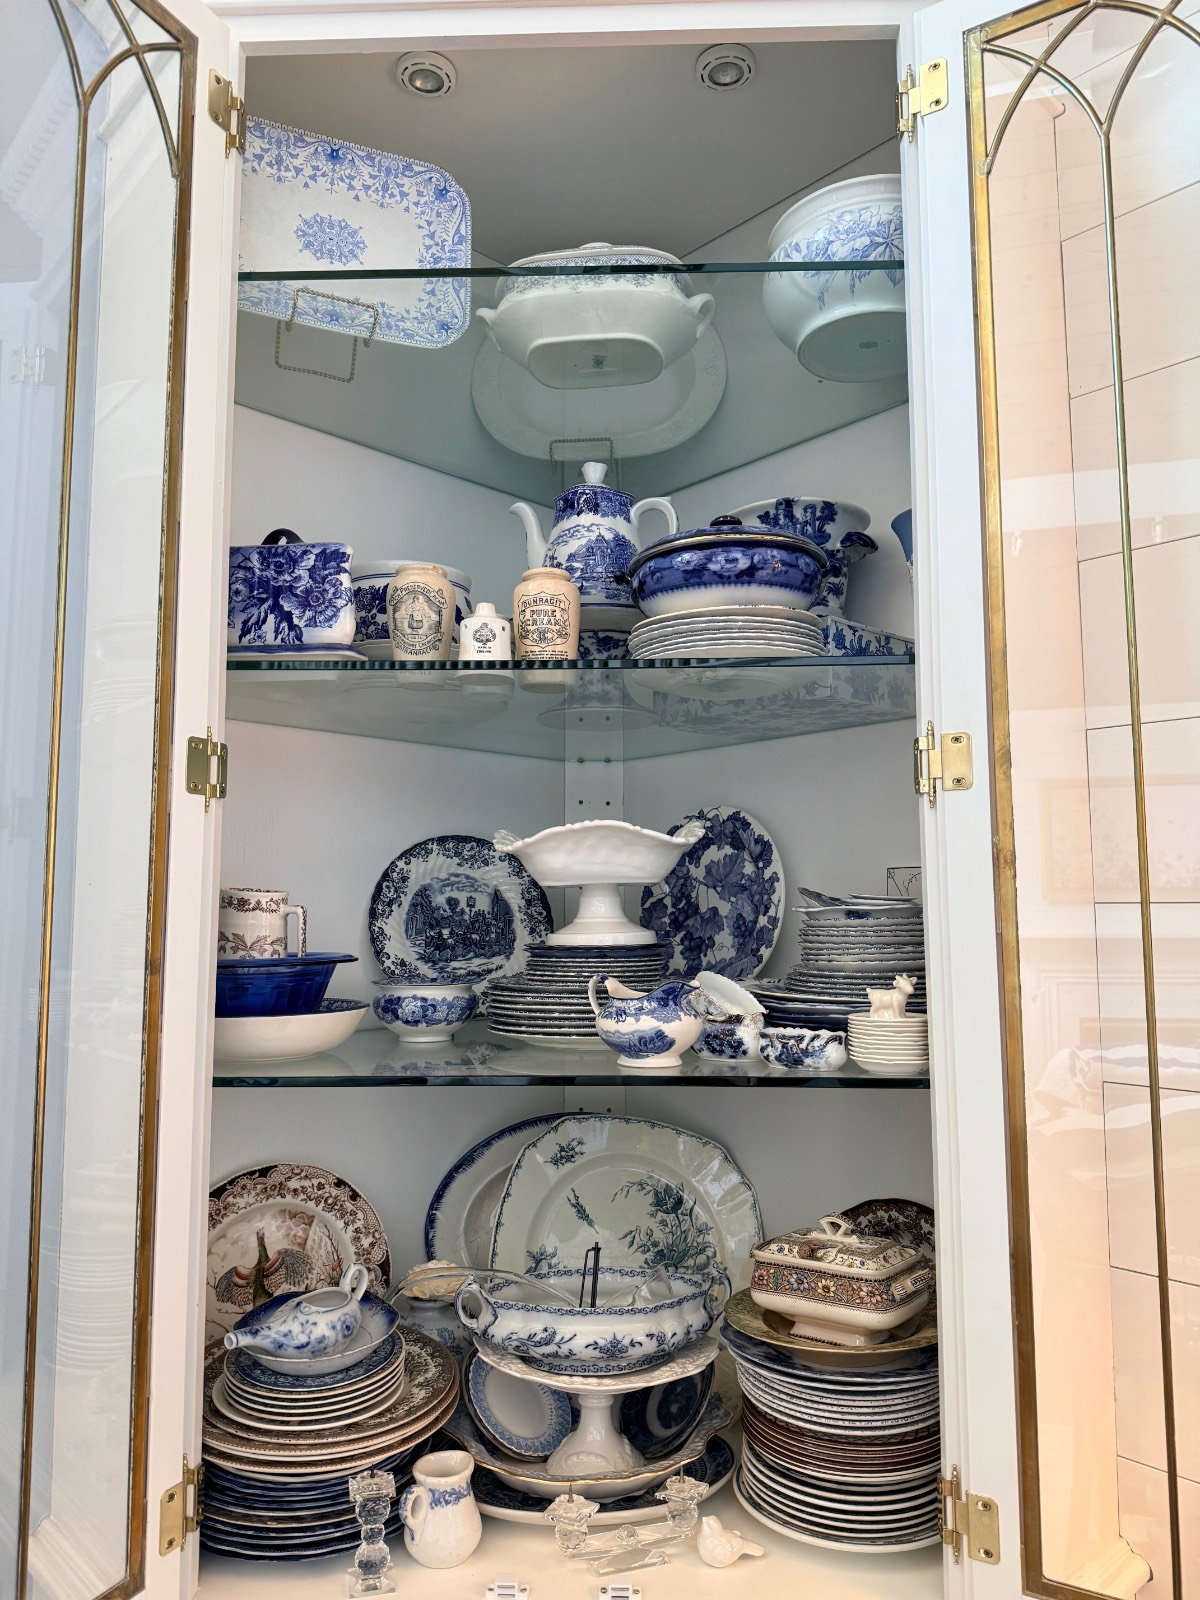
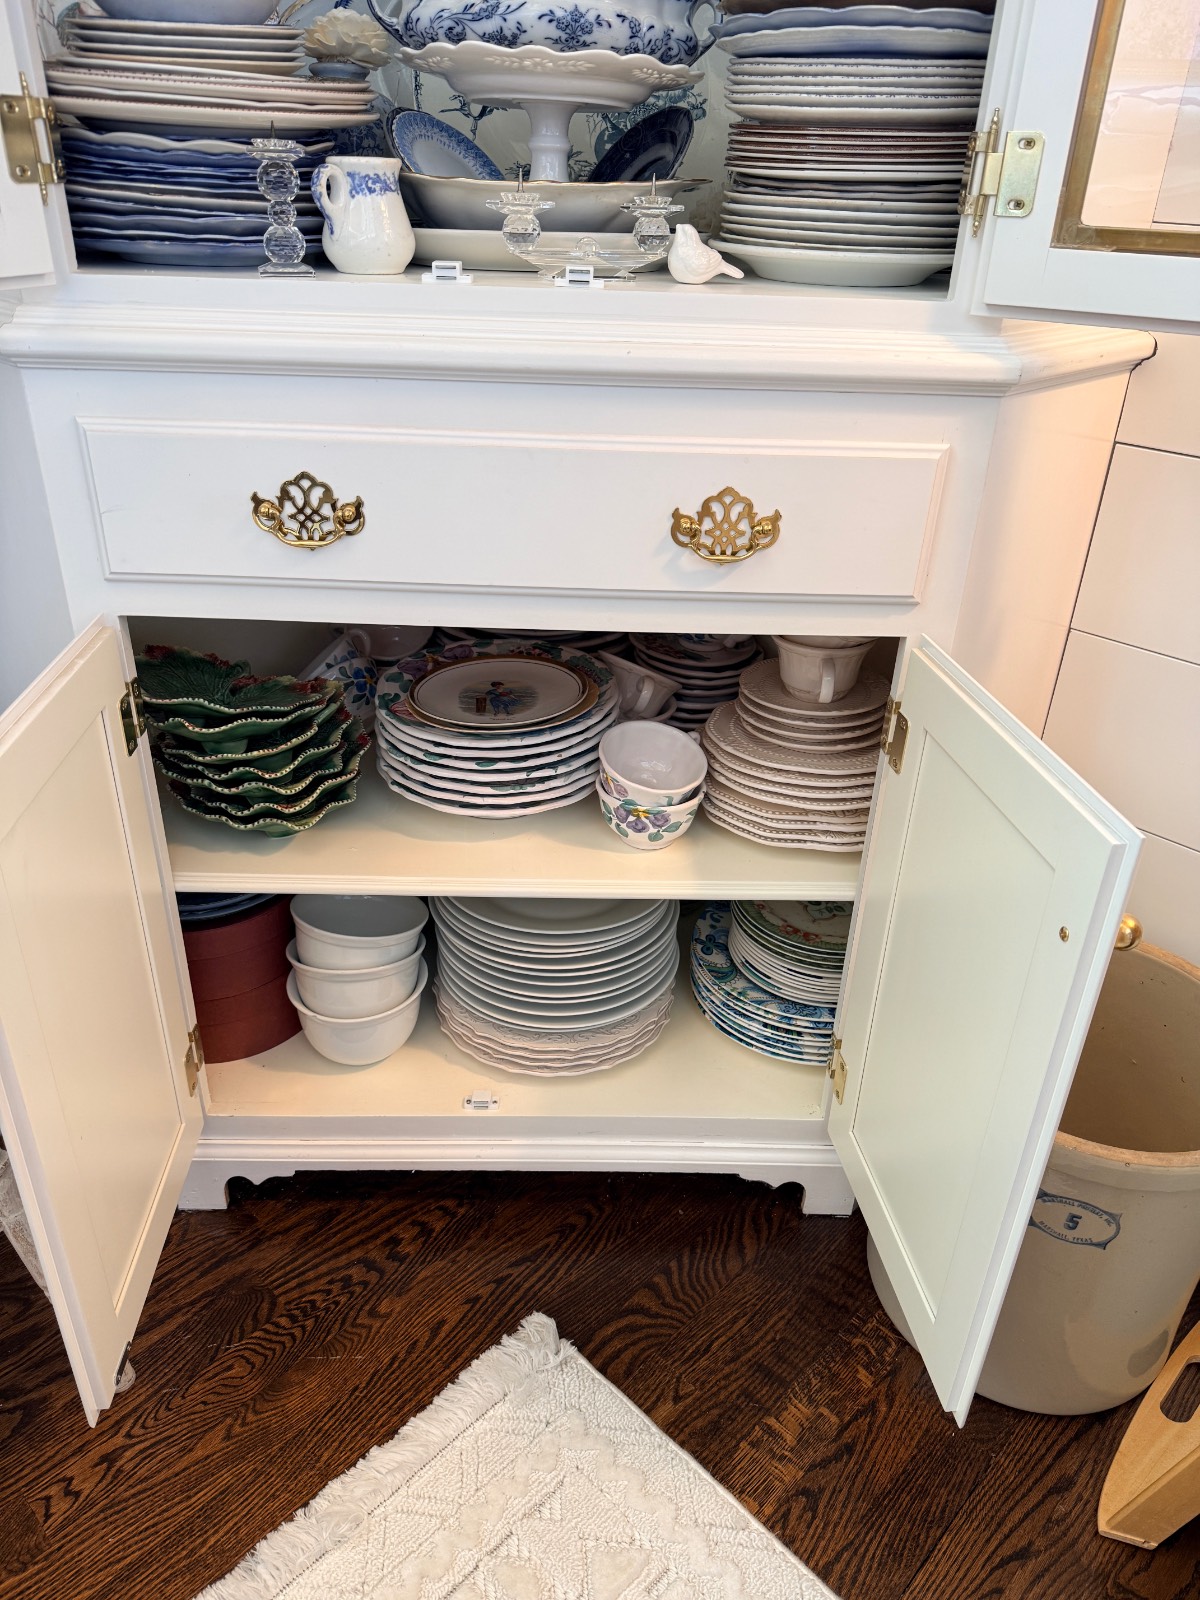
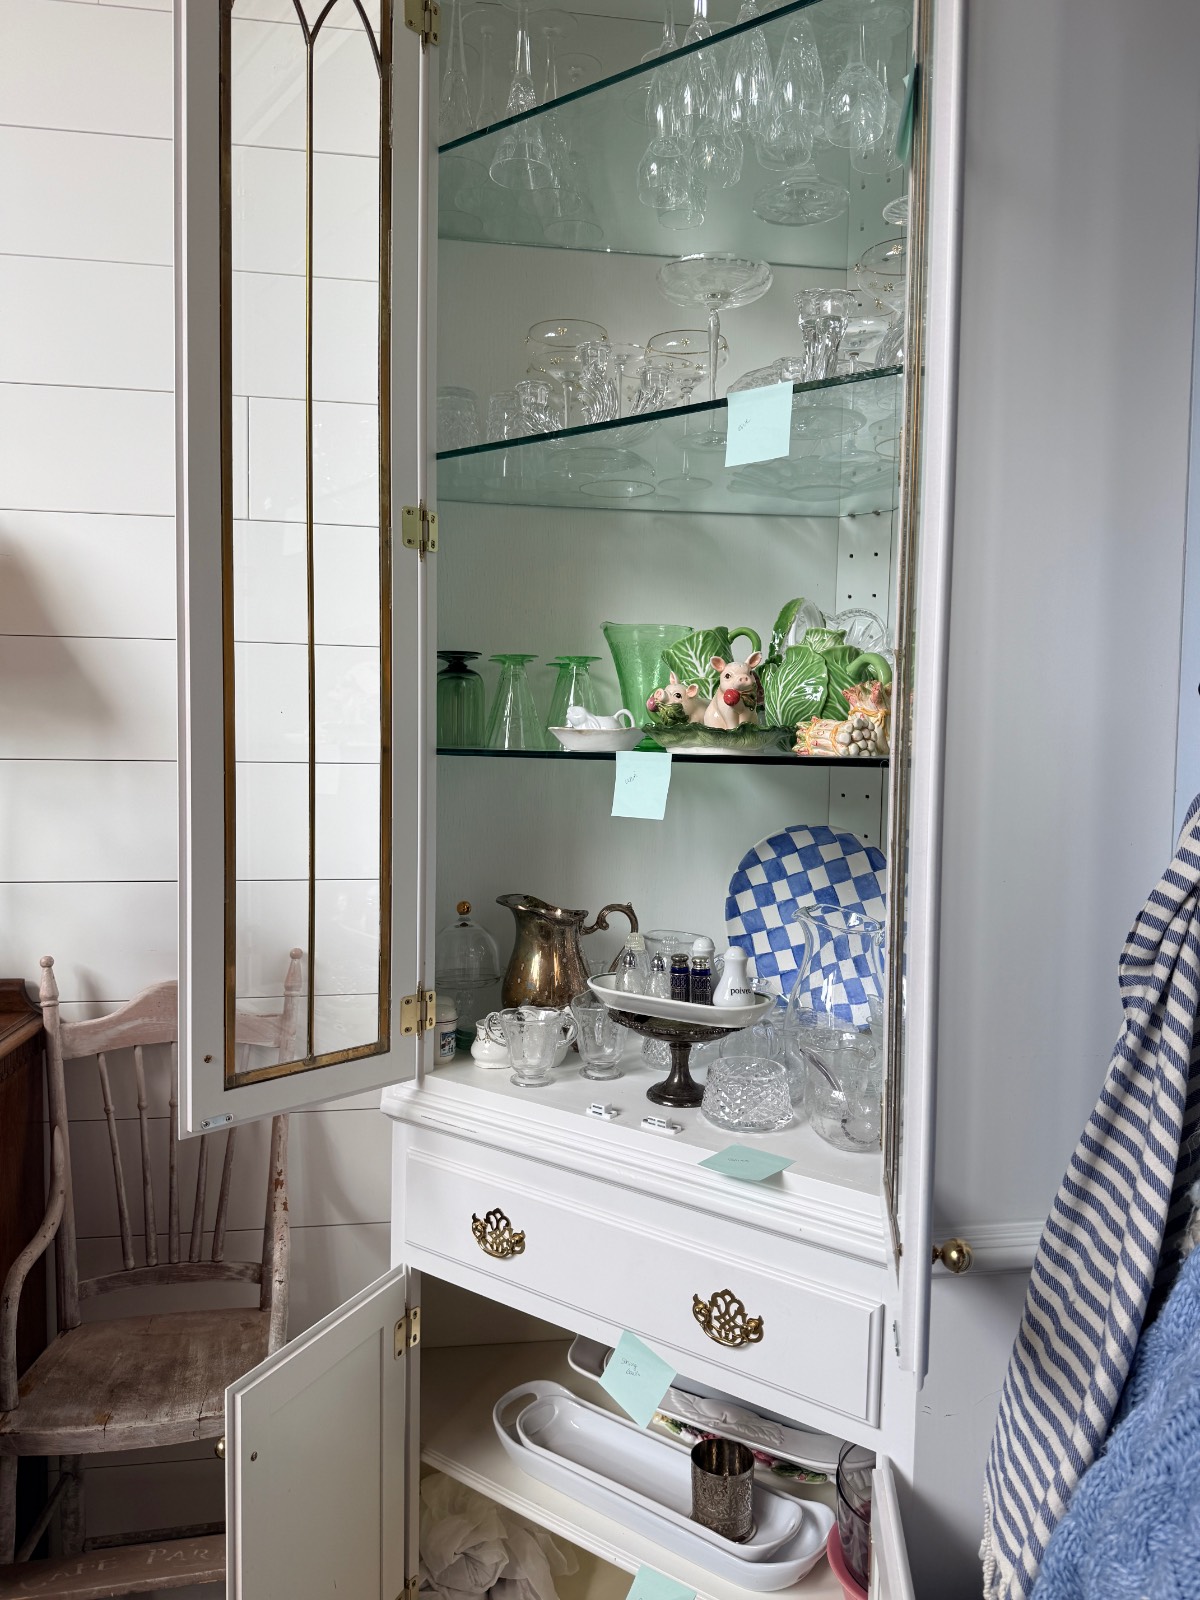
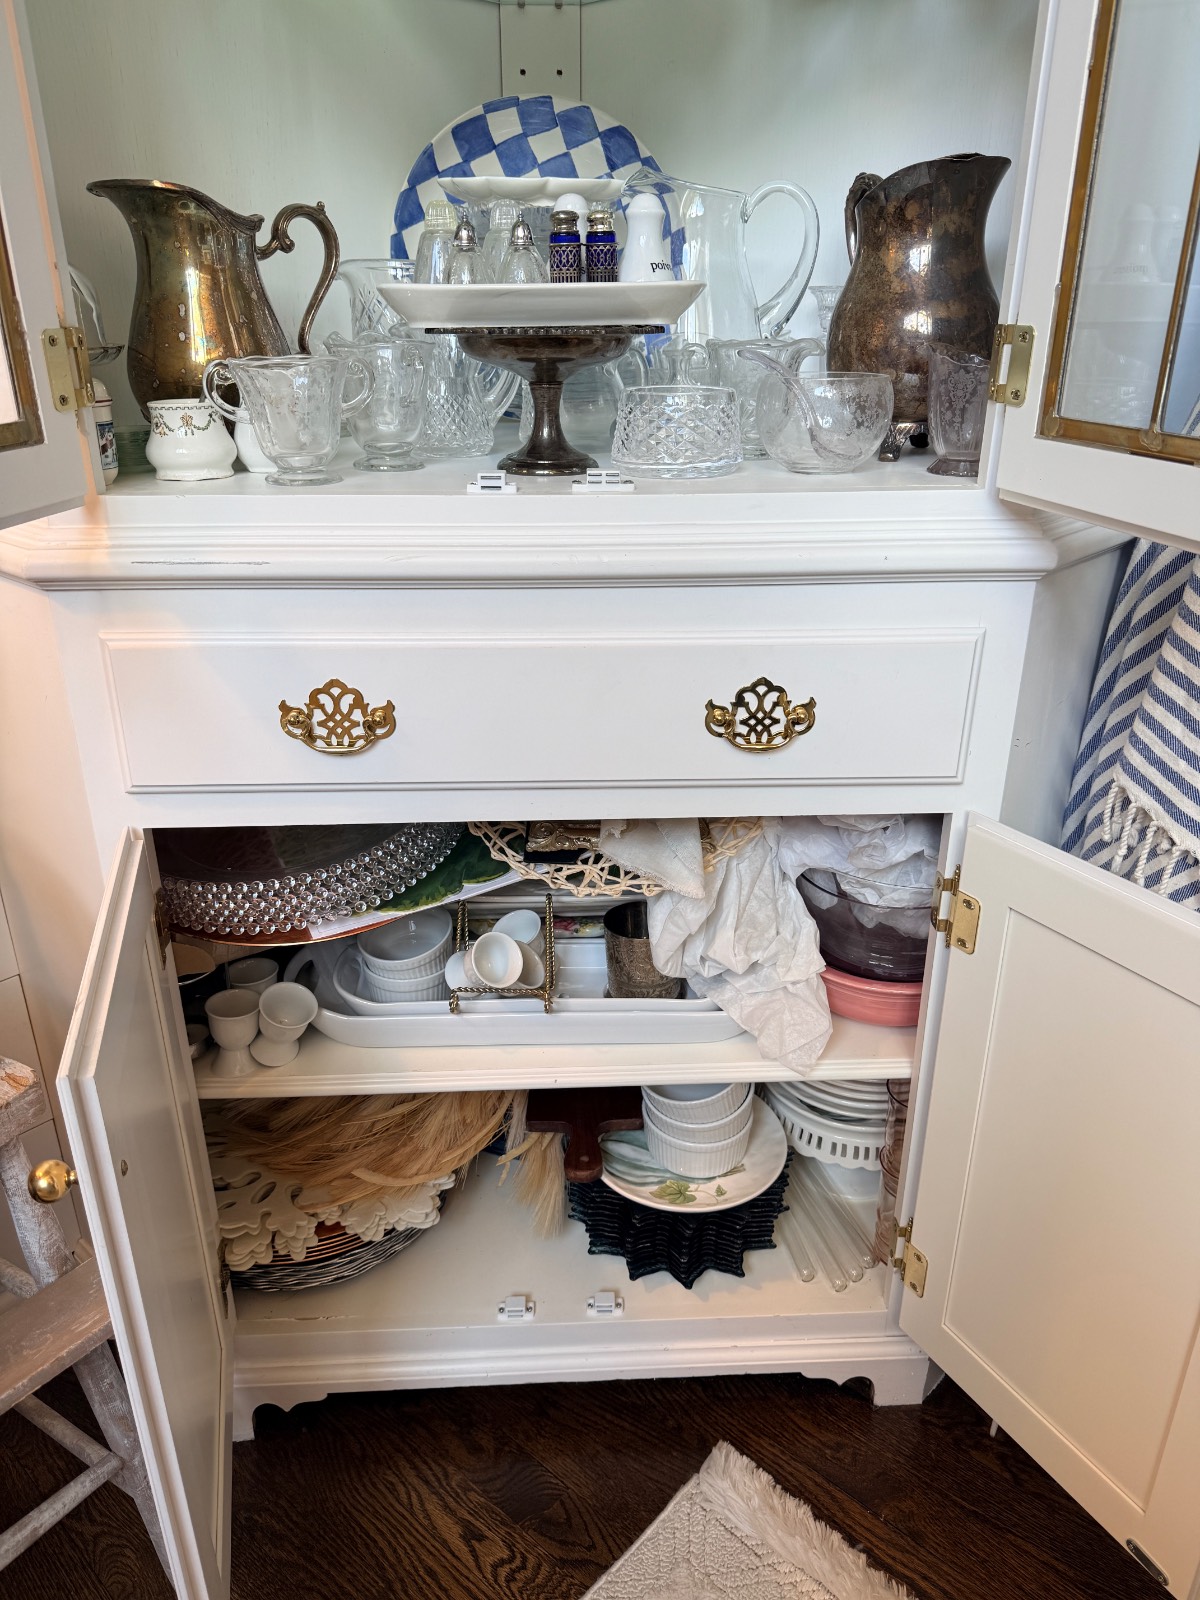
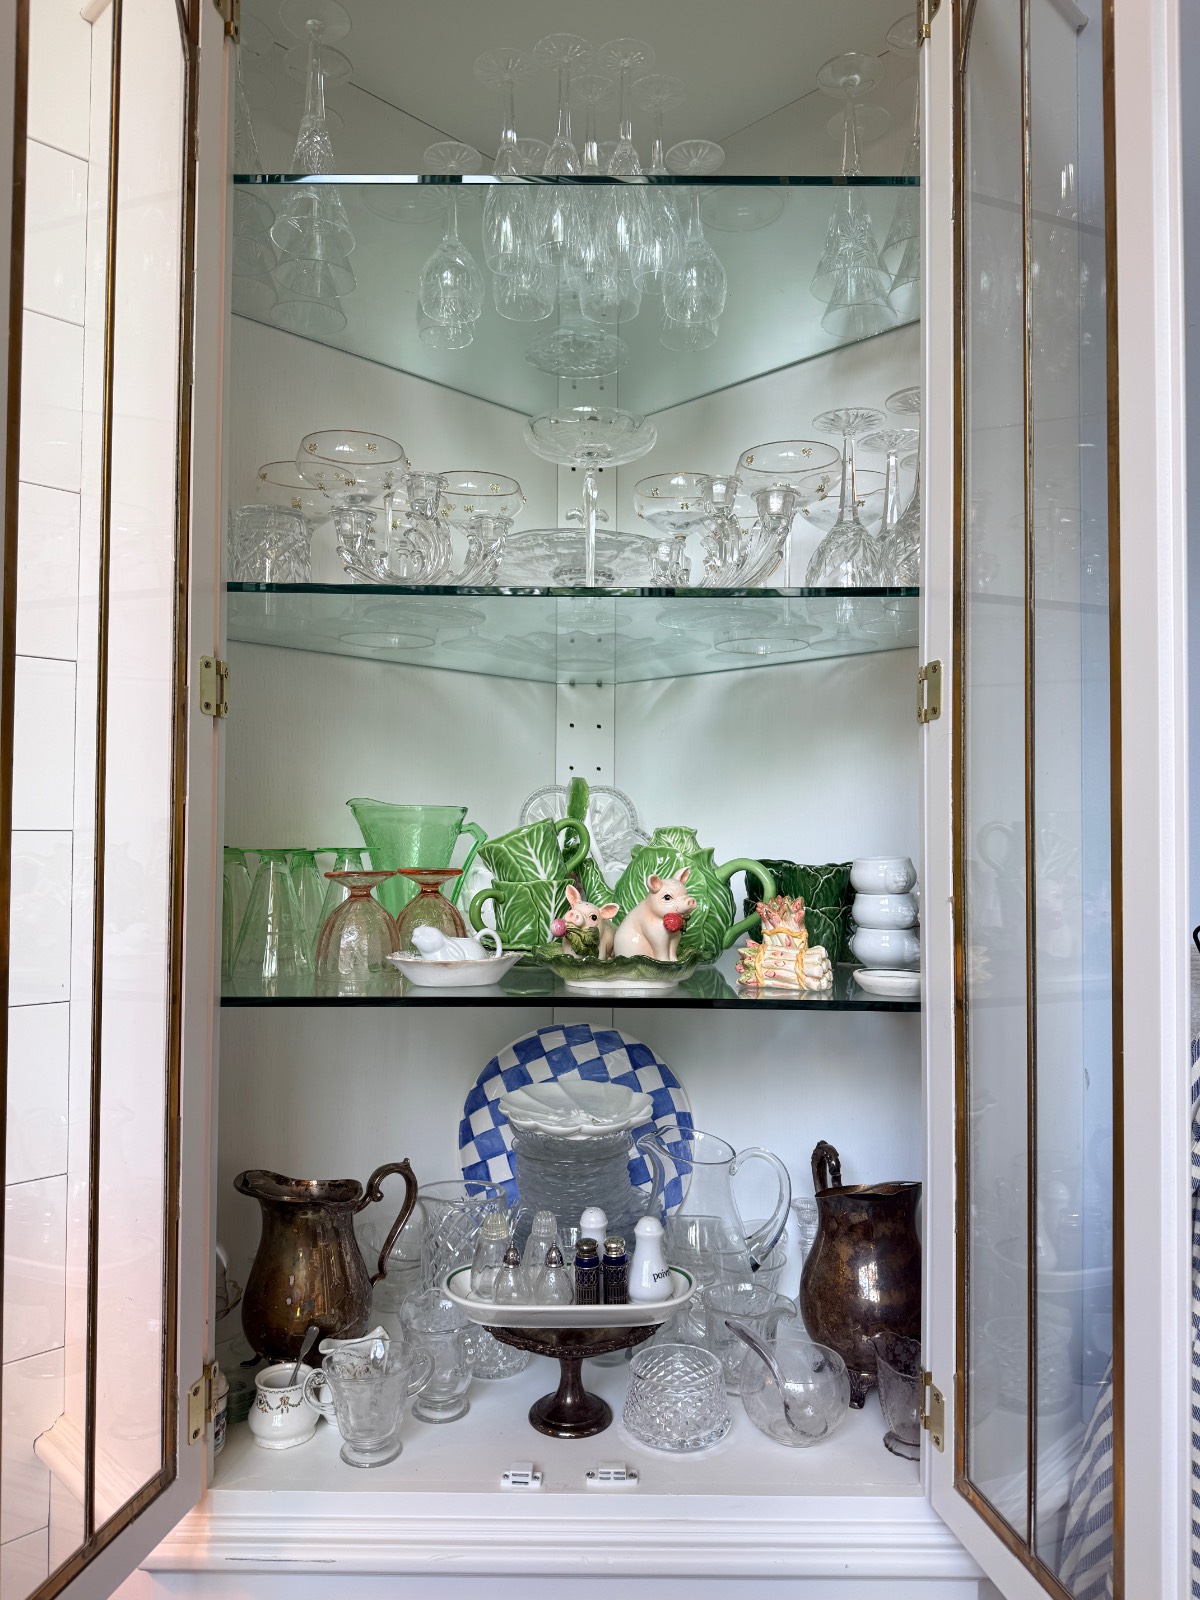
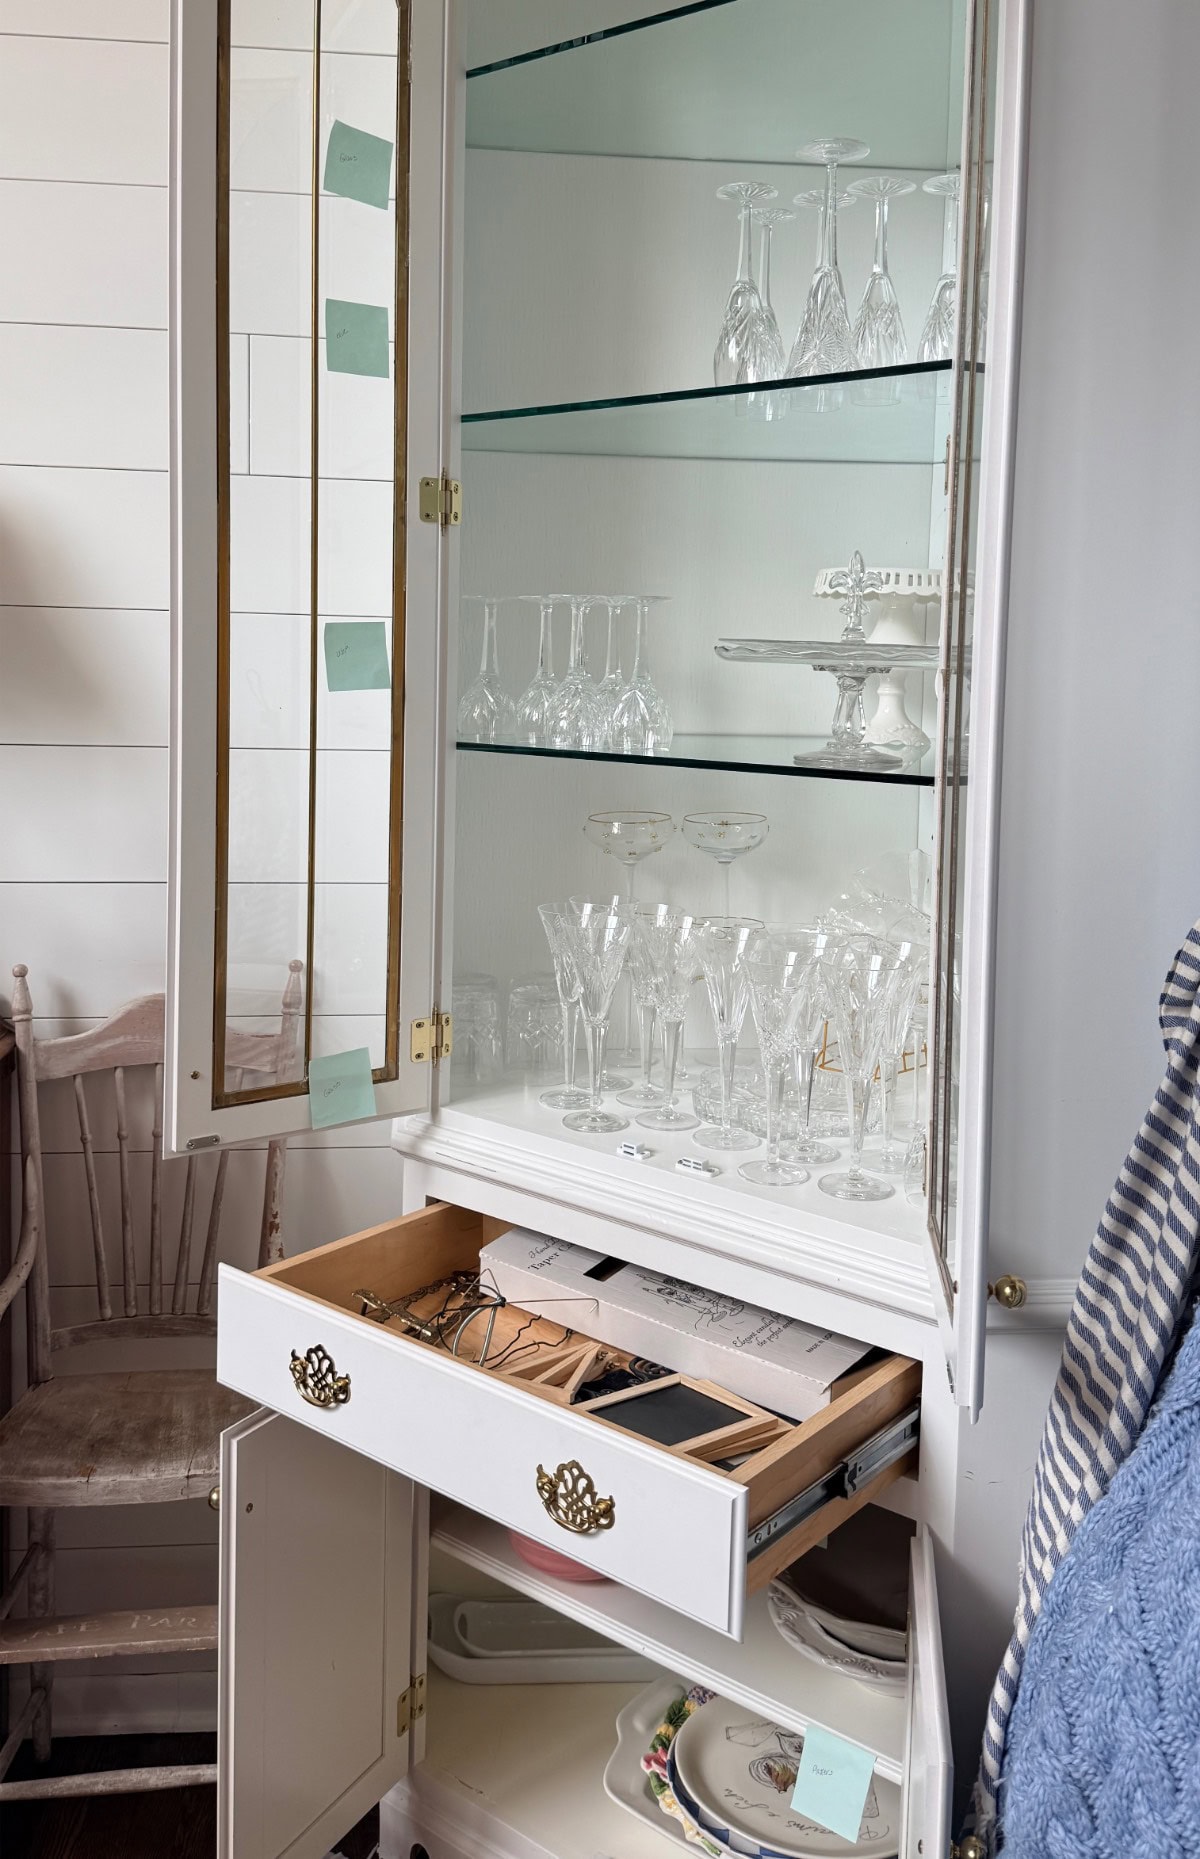
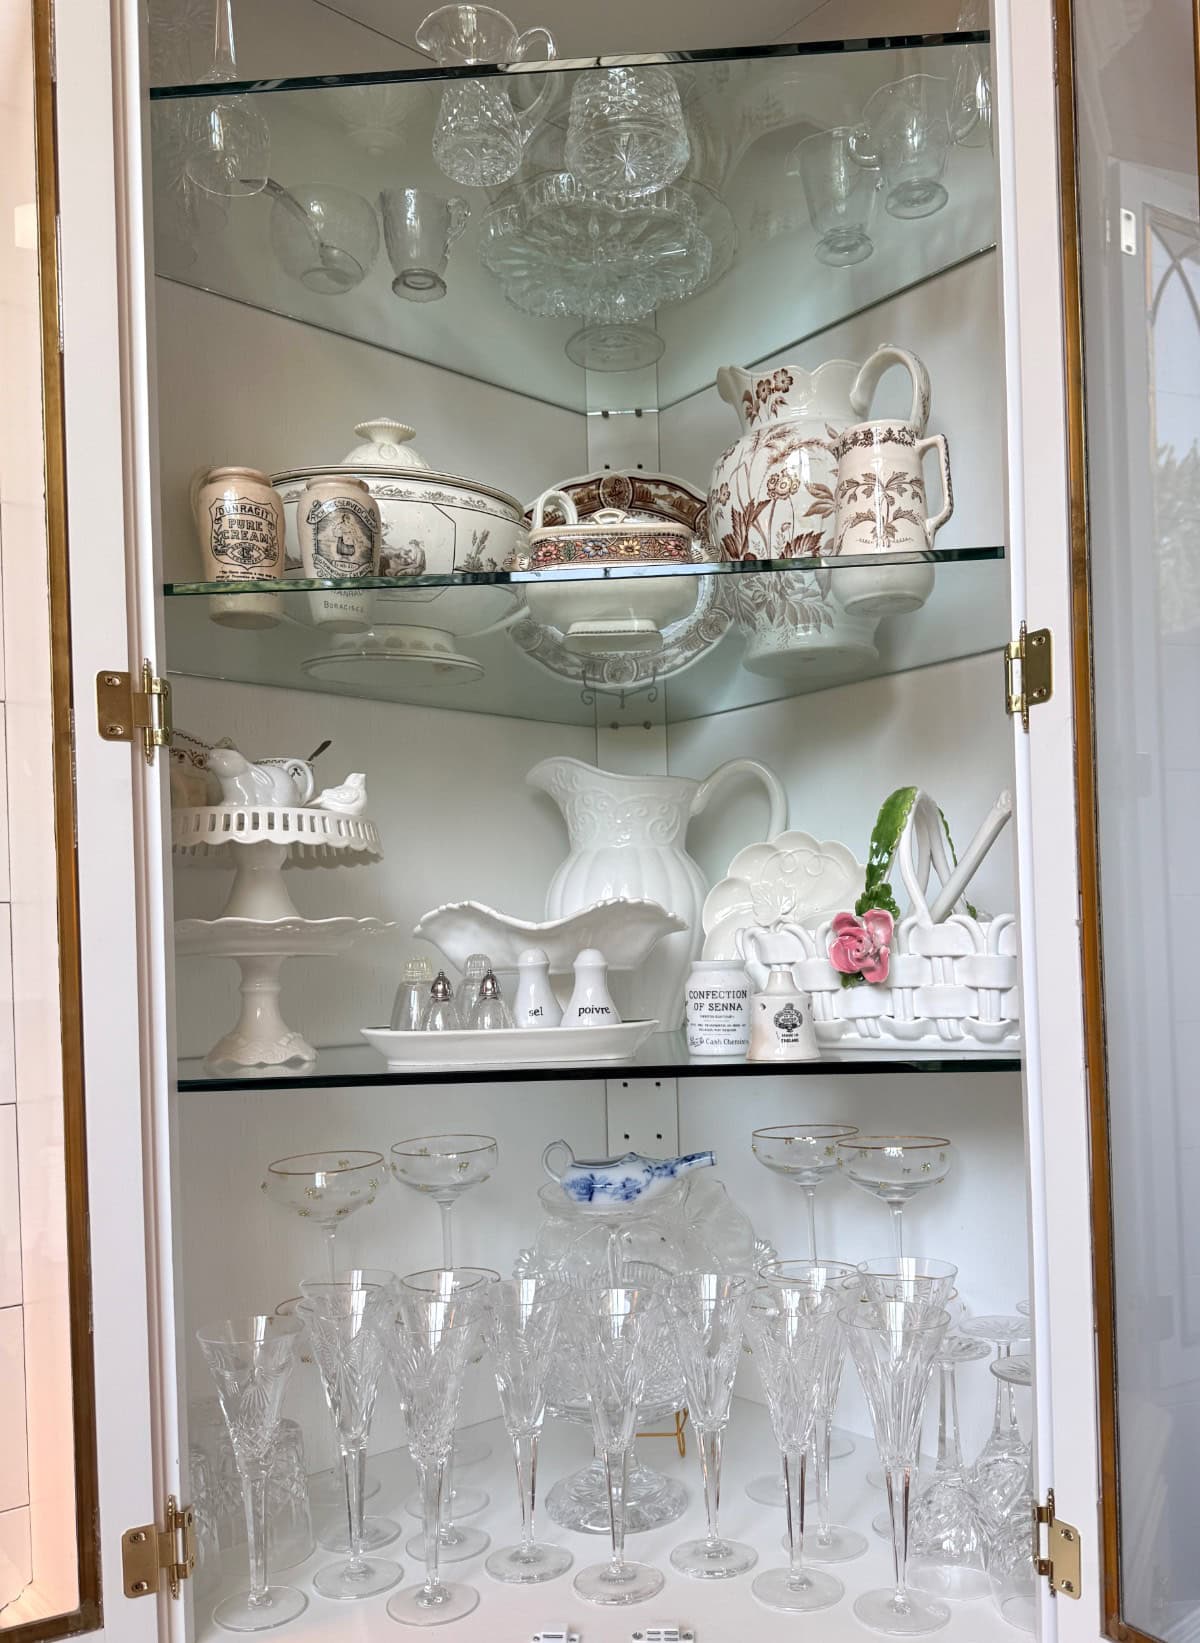
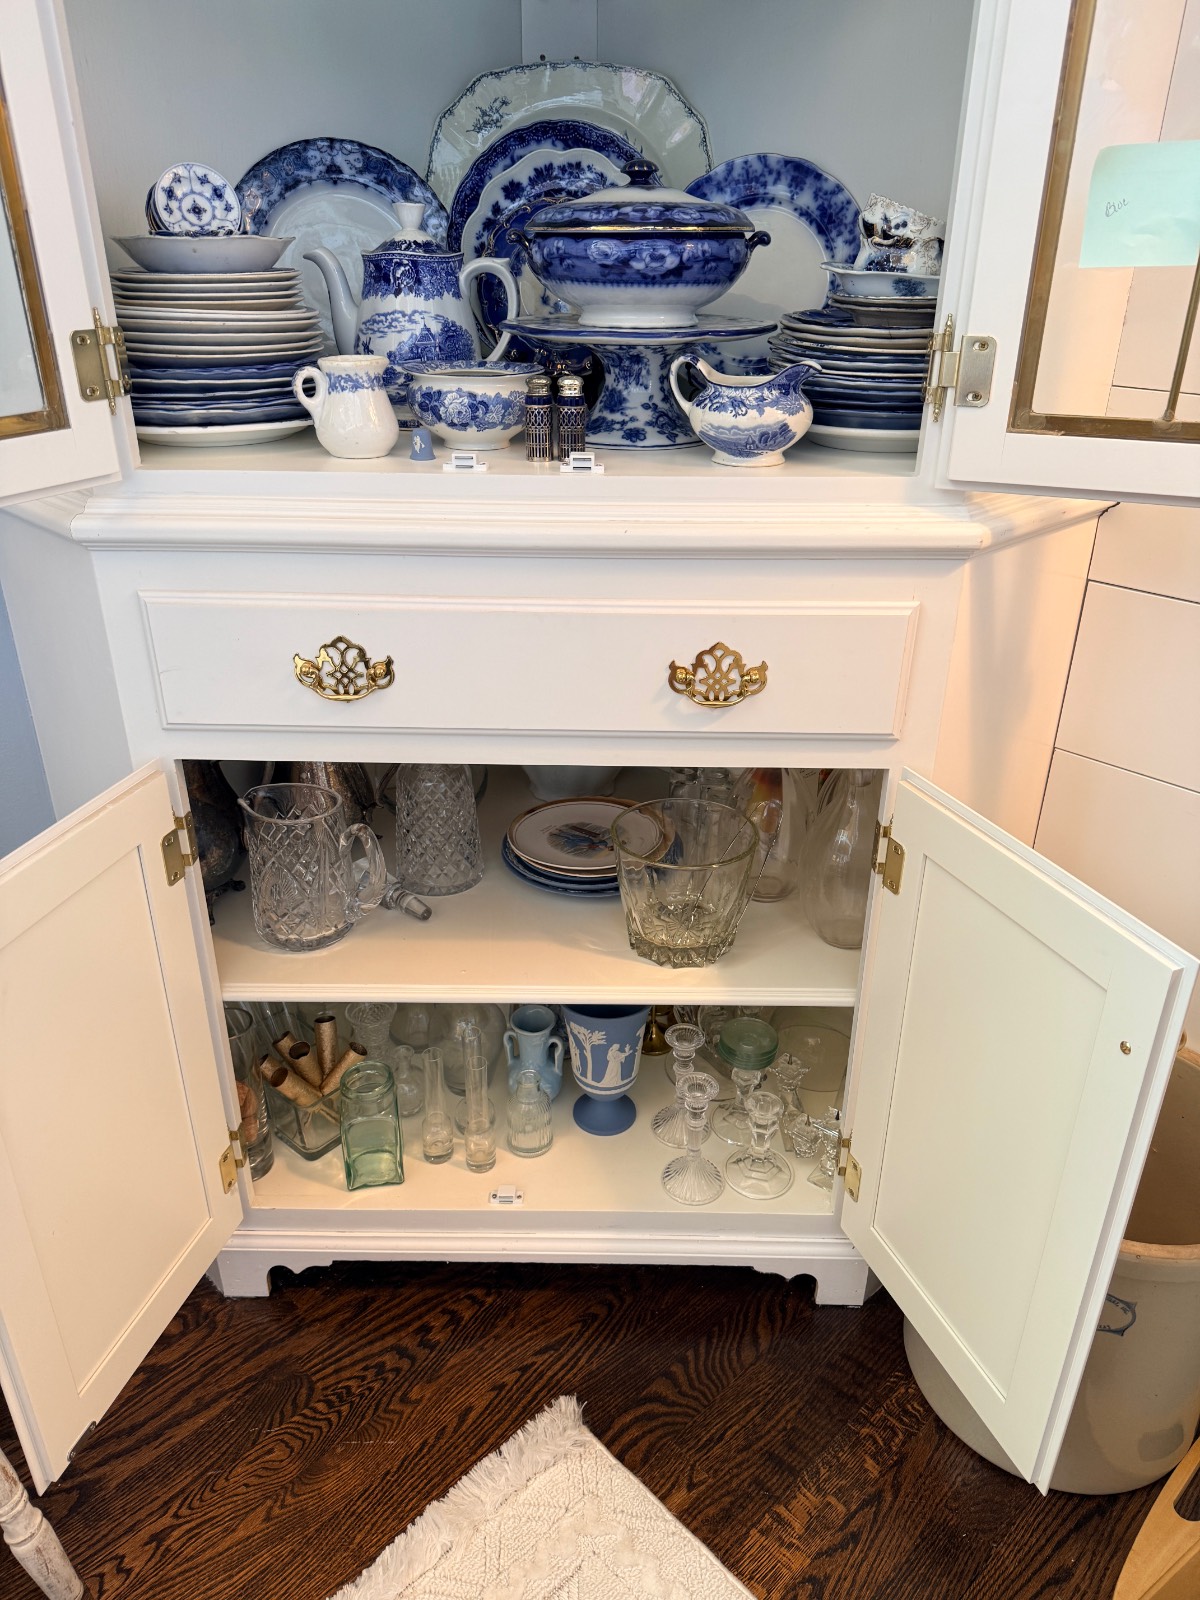
Here’s where things got the worst they could be as I added all the contents of my corner cabinets to the already crowded dining room table. This project I had to do in sections because the table wouldn’t hold everything at once. As I emptied the contents and cleaned each shelf, I put back what were mostly display items into the glass front upper cabinets. I moved the plates, bowls, and table accessories to the new hosting closet and began to style it.
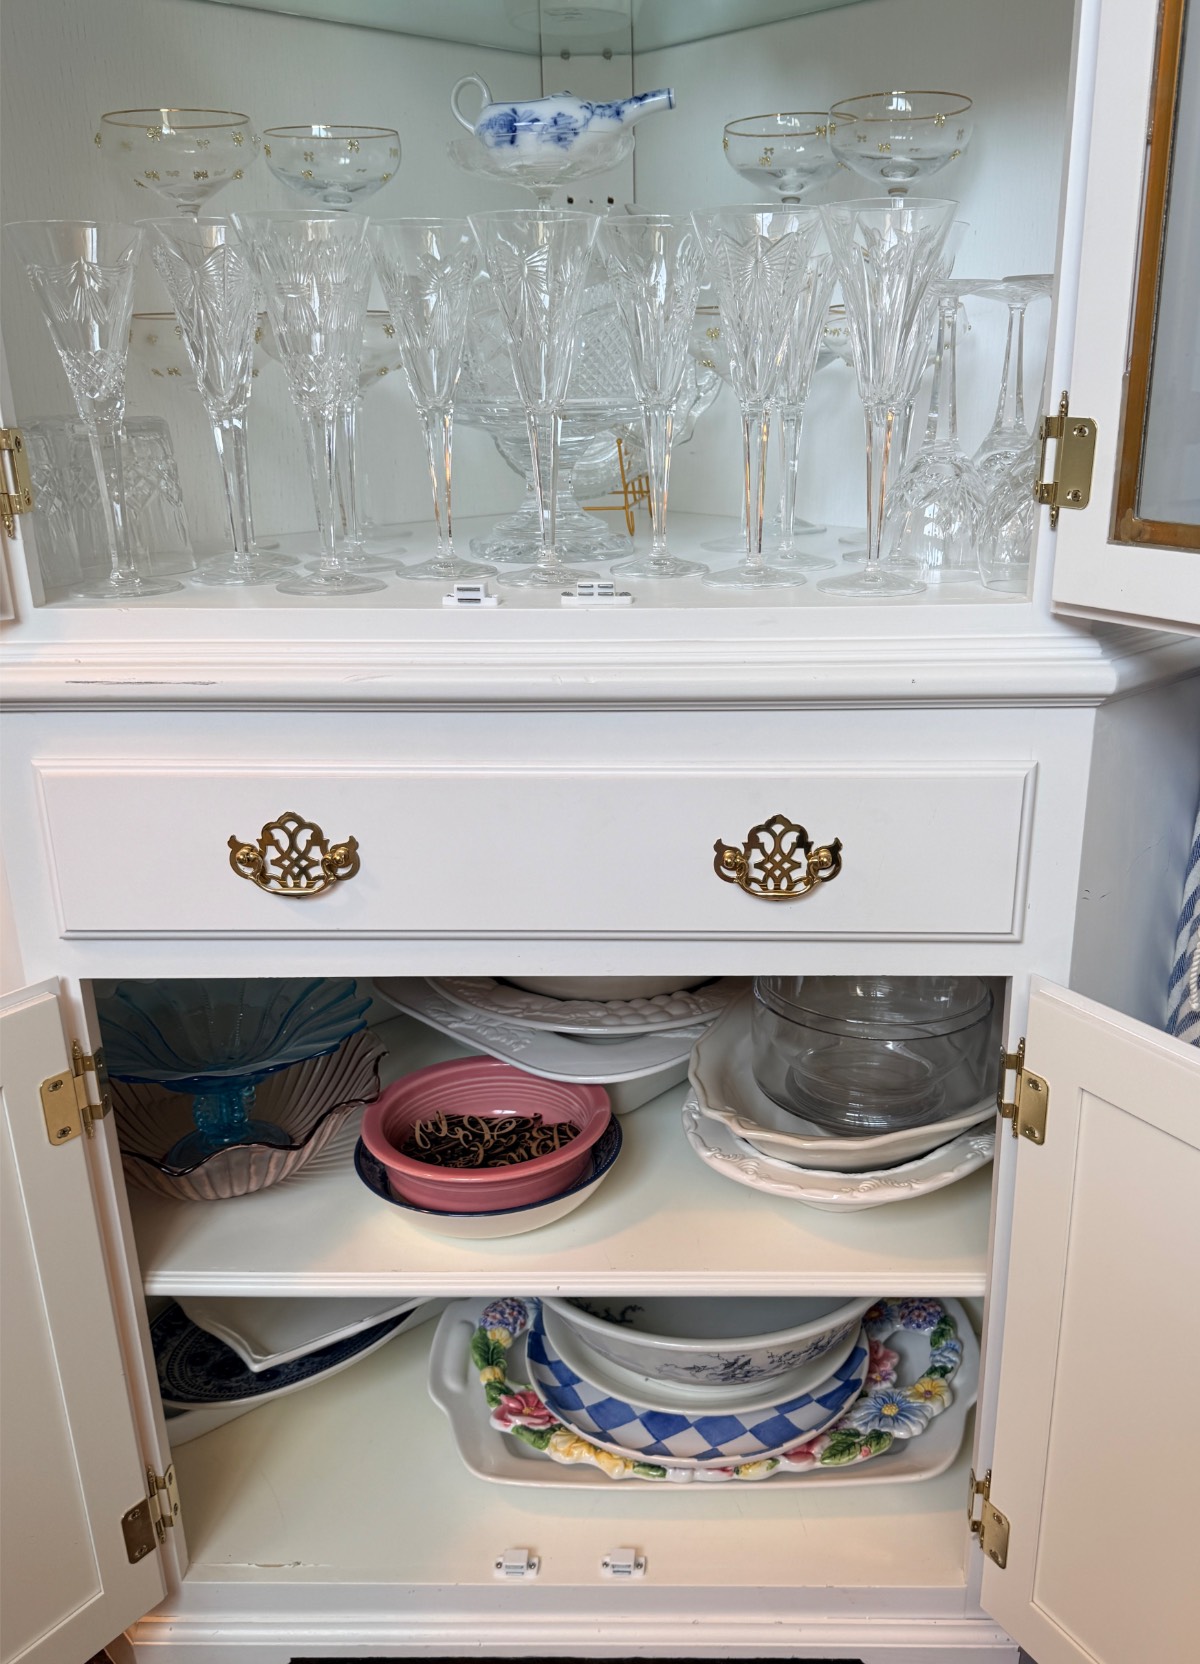
What is left in the lower covered cabinets of the corner units is my serving platters, my serving bowls, my pitchers, and my vases and candlesticks. Everything is easily accessible, and I can see what I have in each space.
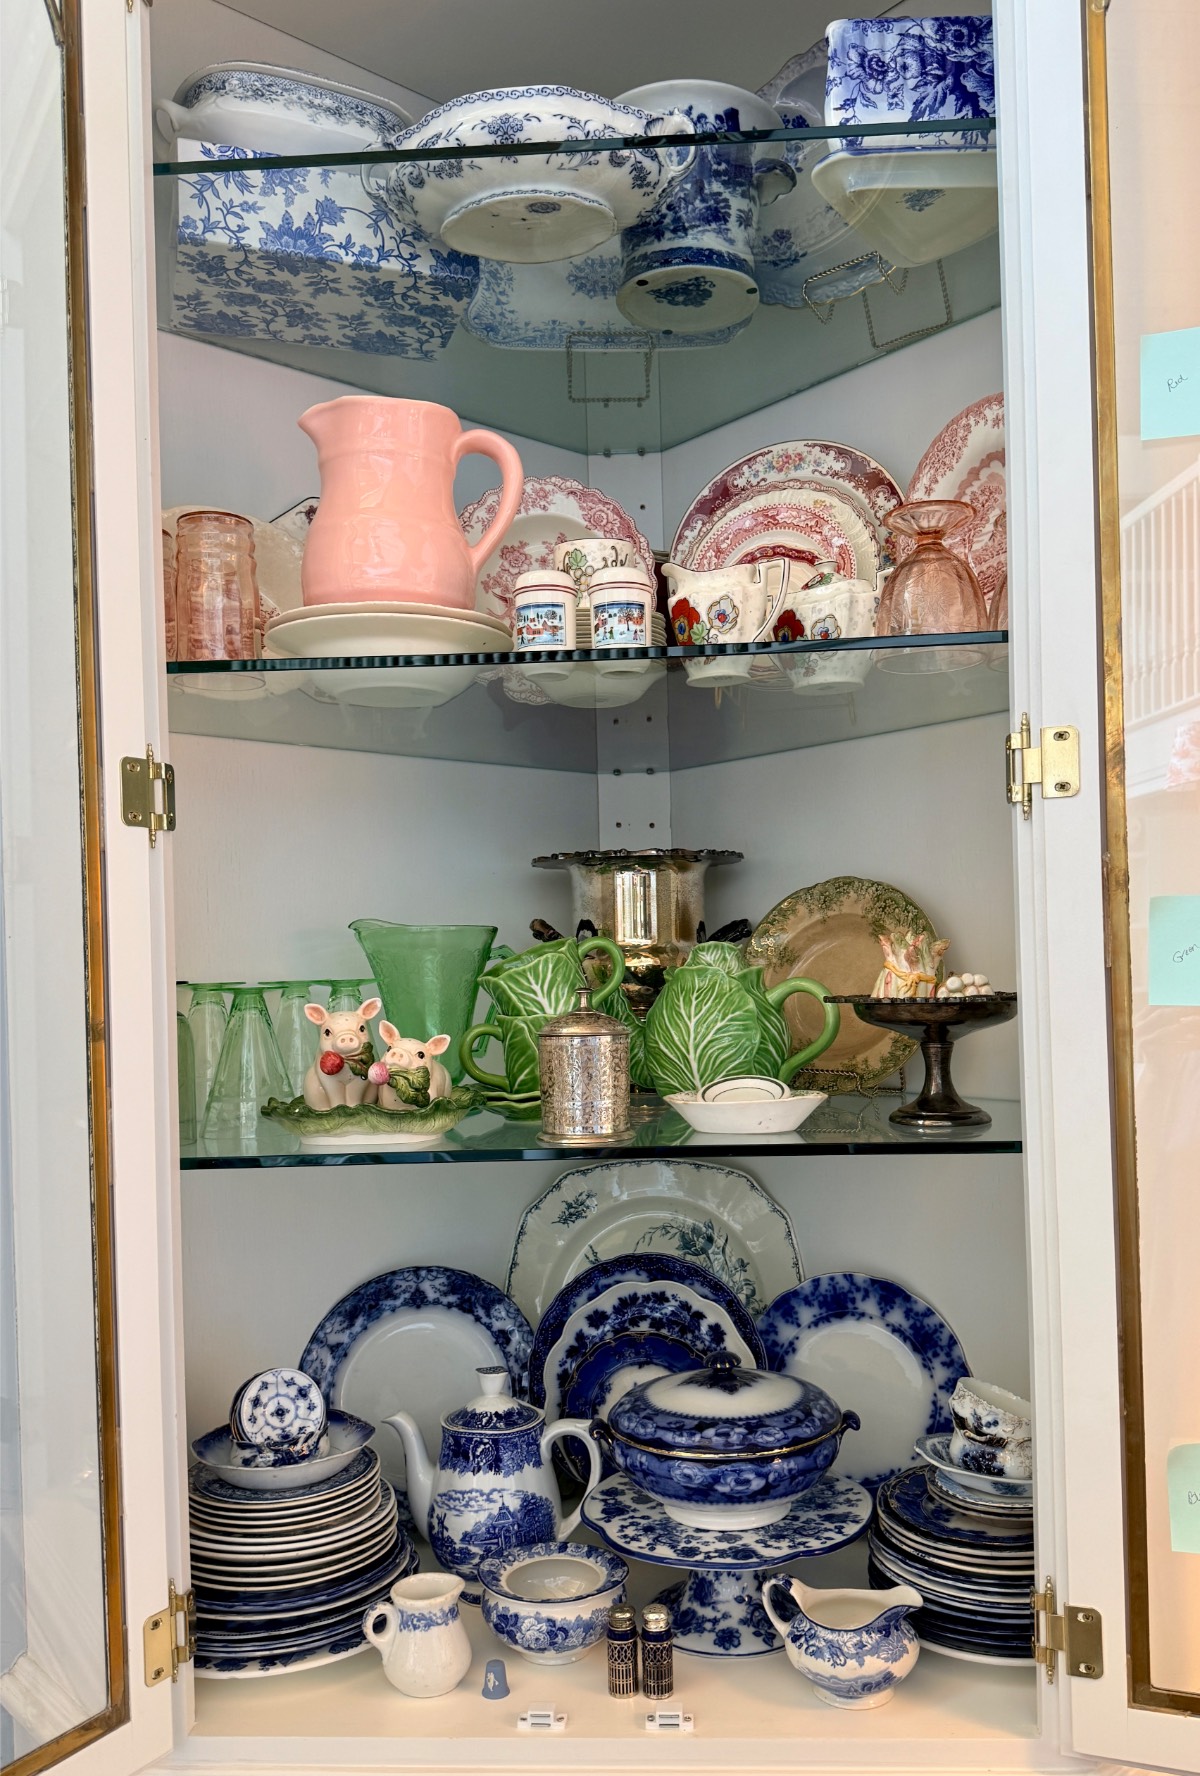
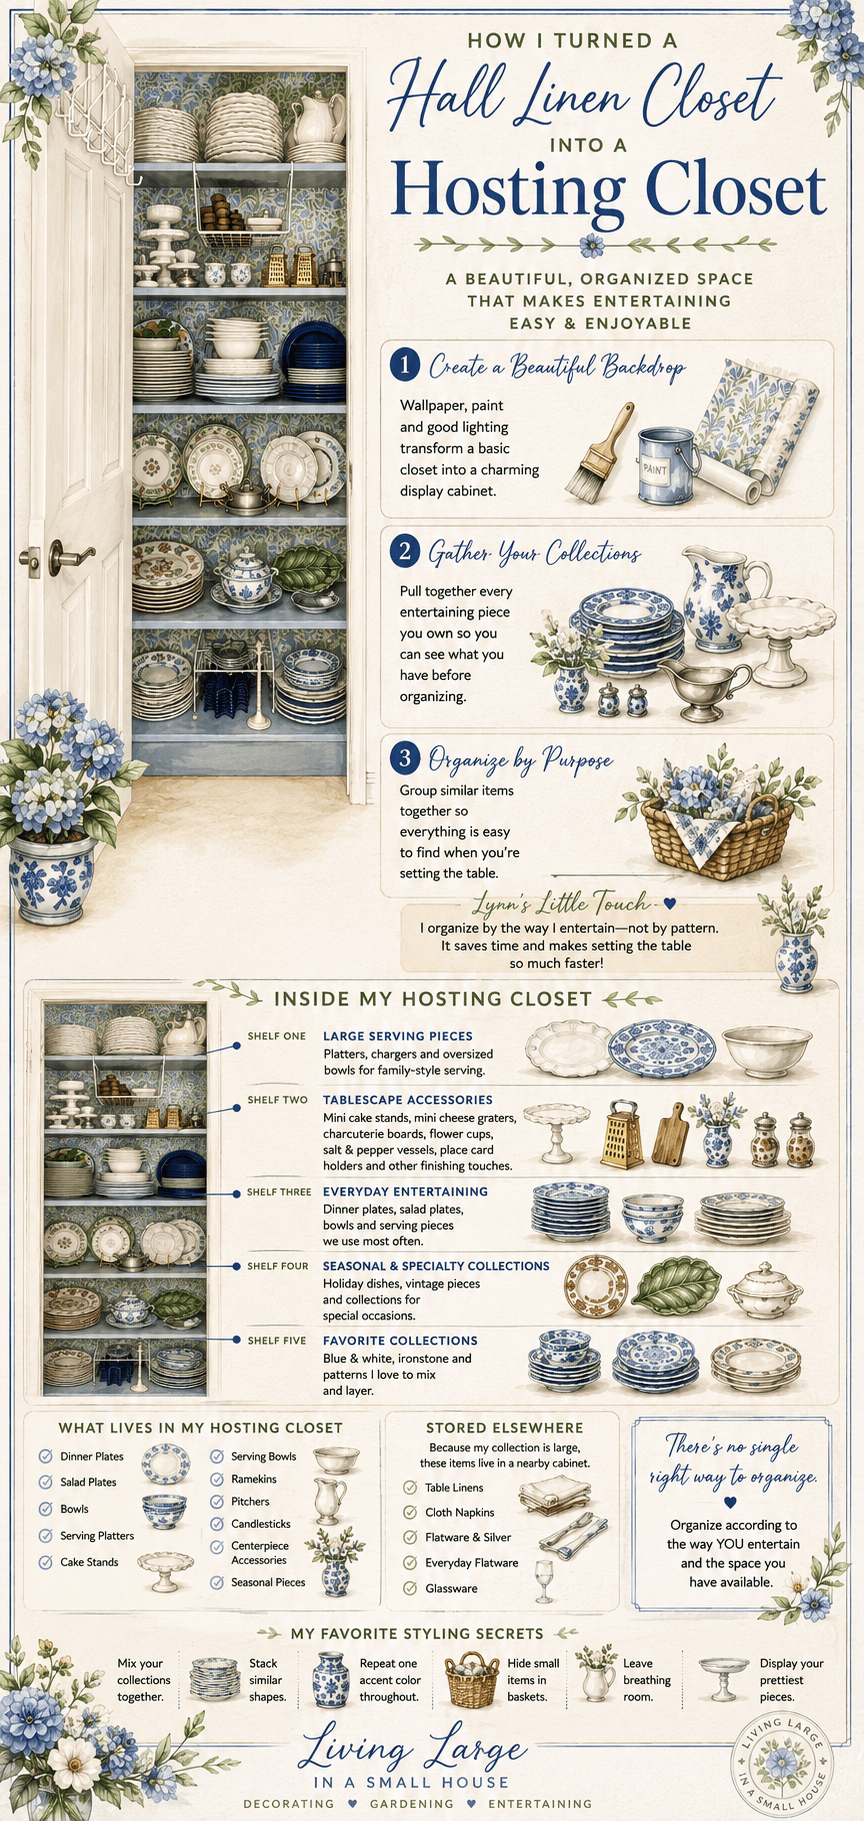
Welcome to My Hosting Closet
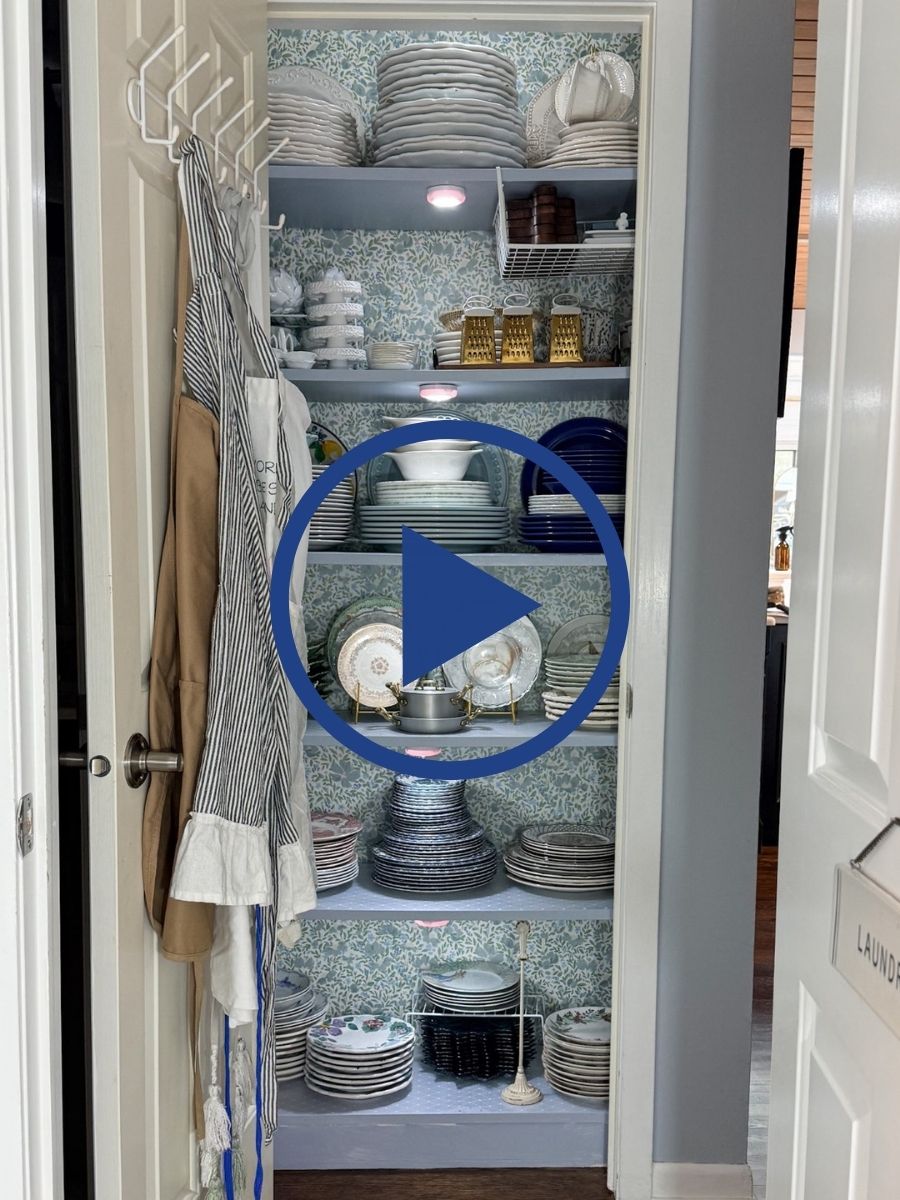
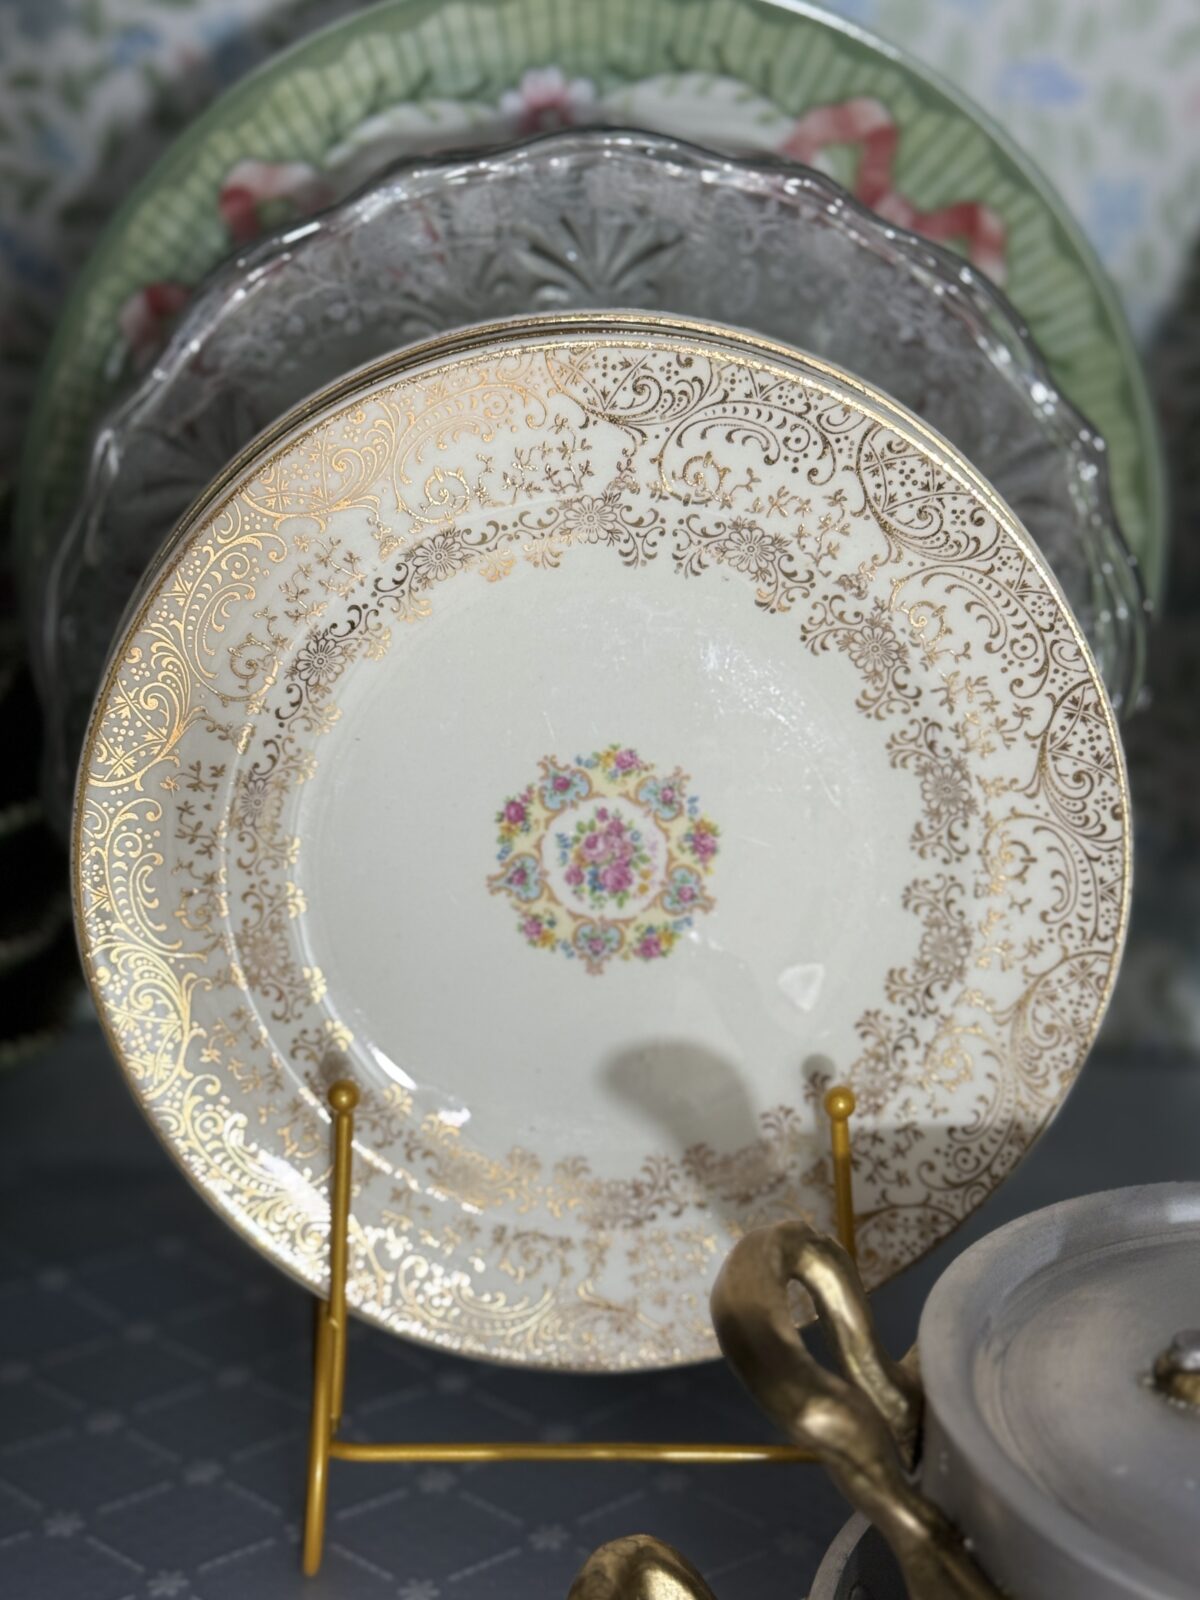
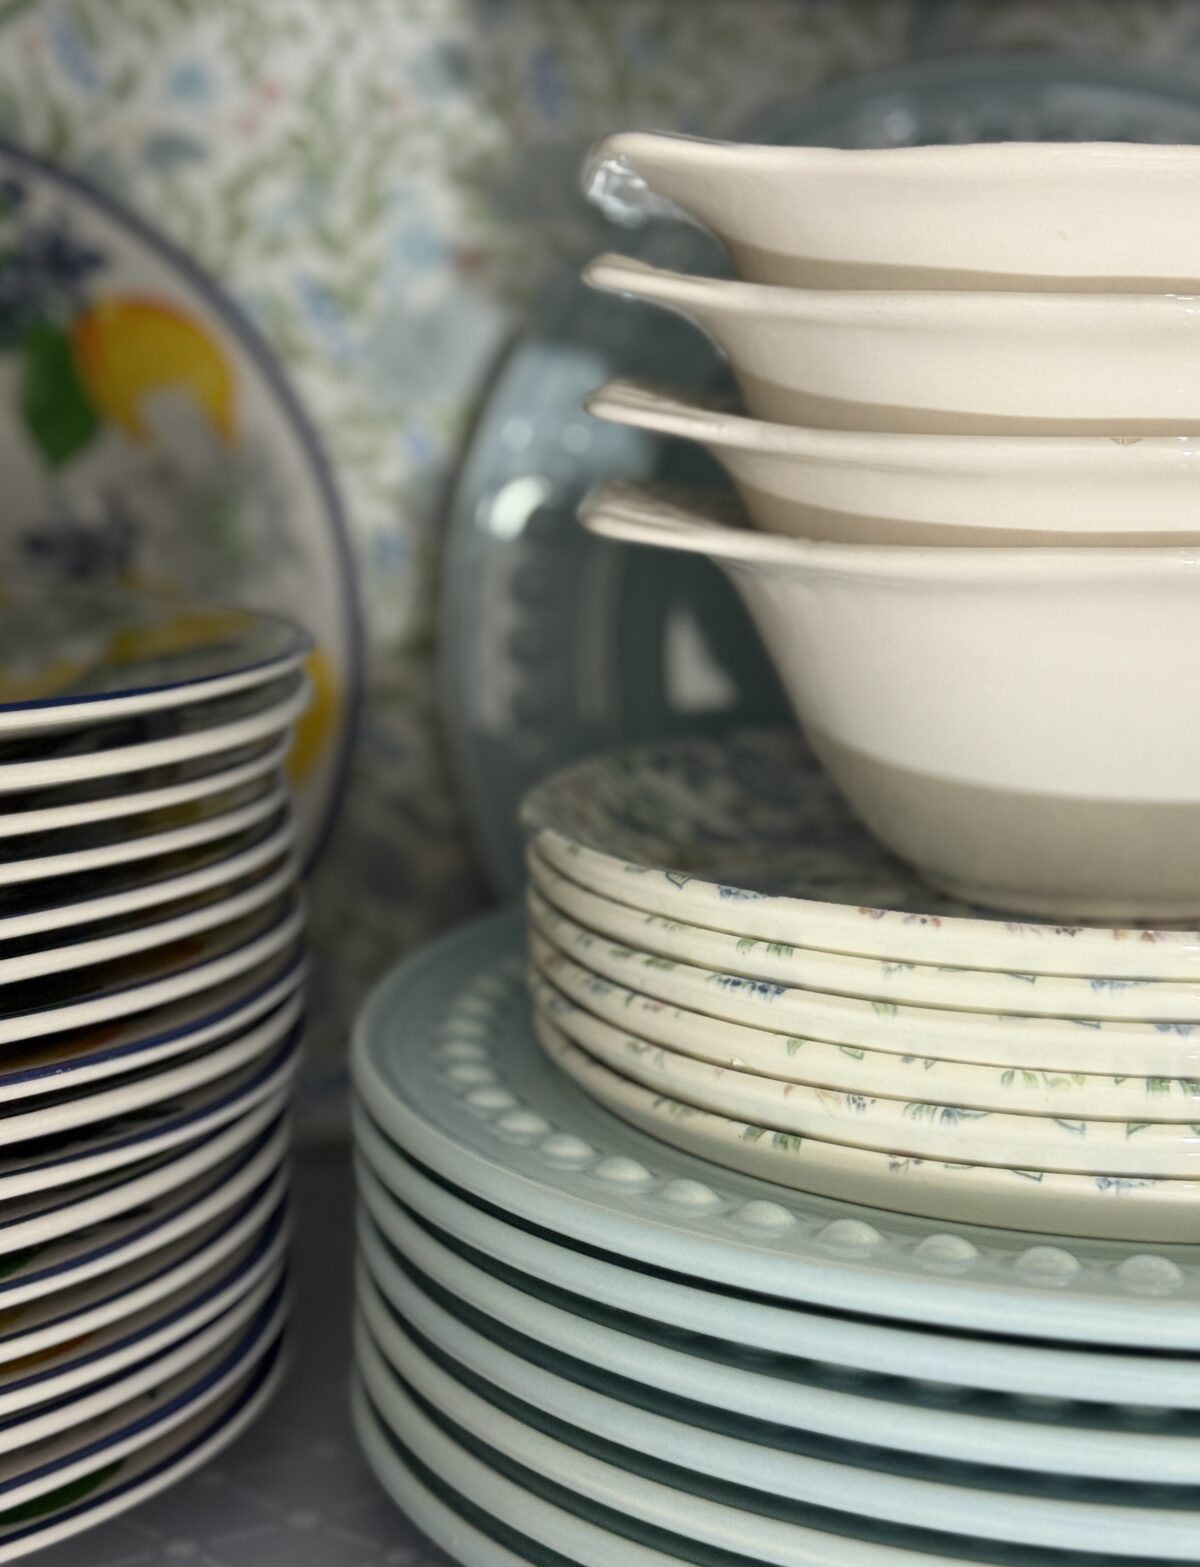
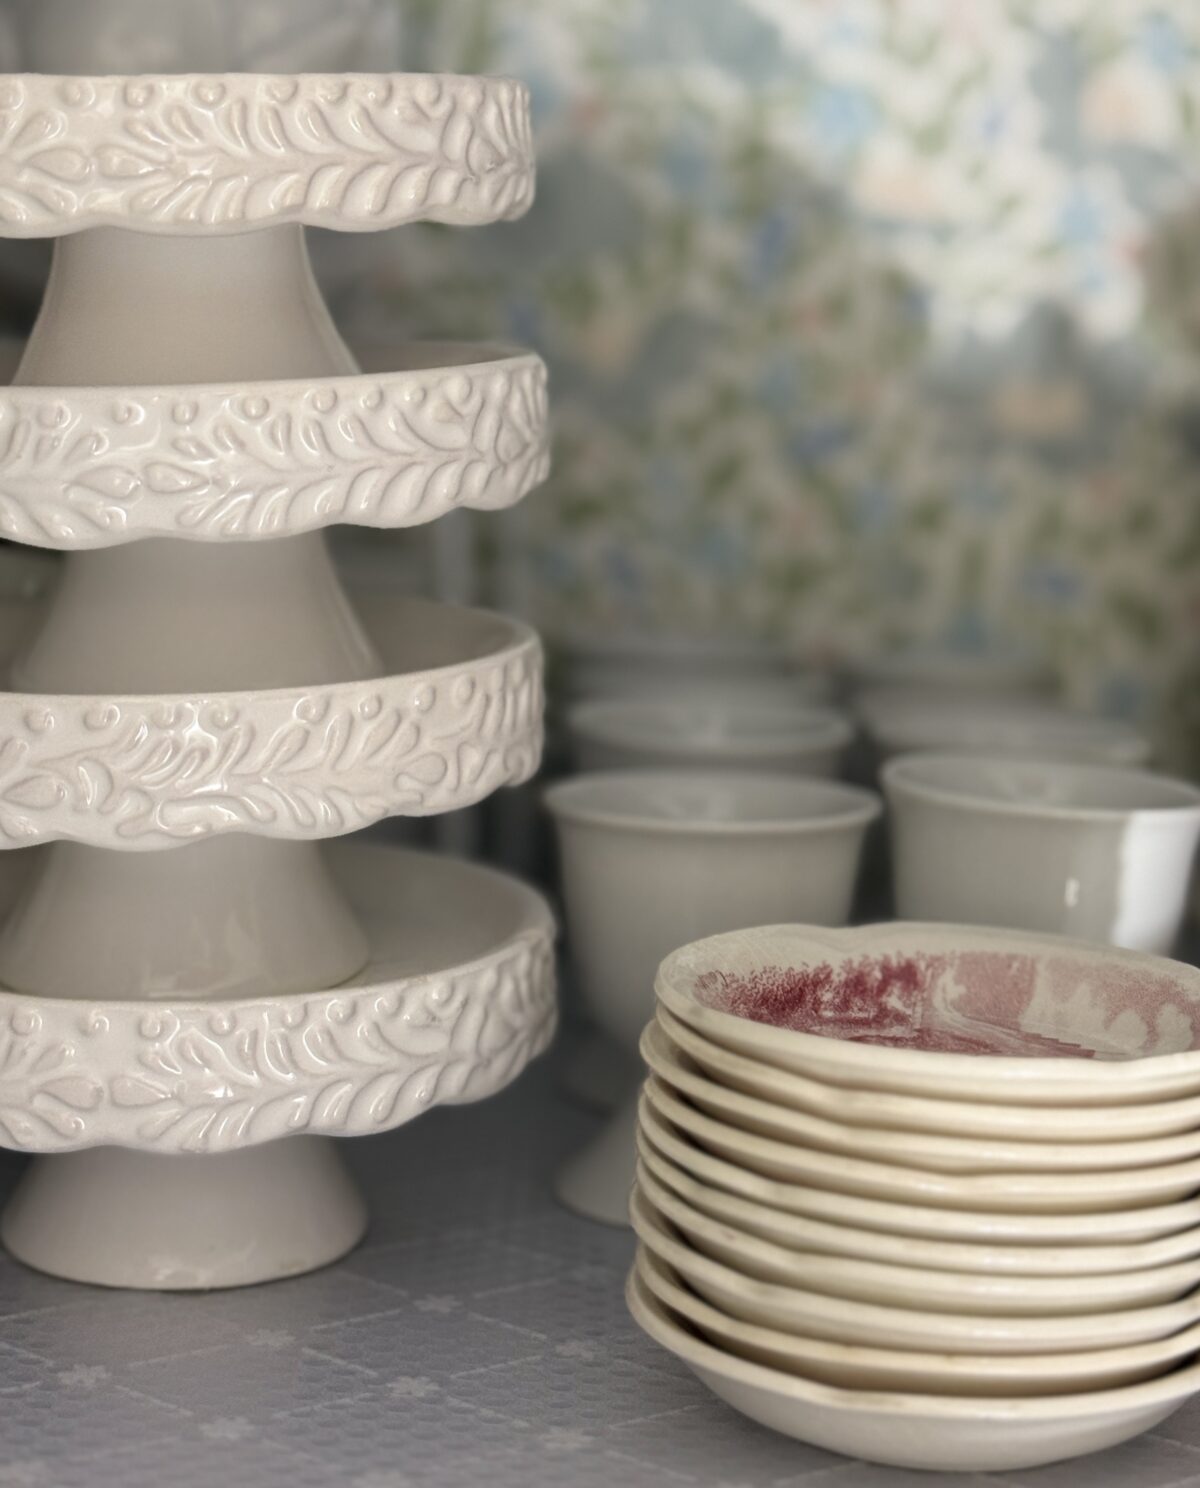
Once the corner cabinets and other miscellaneous places were gone through and I found the pieces I use most often for entertaining, I moved them to the hosting closet. I have more sets of dishes than anyone should. Some I forgot I had, but now that they are in my beautiful hosting closet, I intend to use all of them regularly.
What is in the hosting closet is mainly things to make beautiful tablescapes. I didn’t have room for my linens, crystal, and flatware, but they are close by and organized in a much better way that makes sense and will allow me to use everything I own more frequently.
What I did not fully anticipate was how much I would love opening this closet. Truth be told, I contemplated, for just a second, taking off the door. But since the closet is between a bathroom and the laundry room, having it open doesn’t seem practical.
All I have to do is open the door to admire everything I have collected over the years. I cannot wait to use it all.
Final Thoughts
If you are thinking about taking on a project like this, here is what I would tell you from the other side of it.
Start by figuring out where things are going to go before you start moving anything. The sticky notes all over my cabinets were not pretty, but they saved me from making decisions in the middle of chaos. Know your destination before you start the journey.
Expect things to get worse before they get better. I said it at the beginning, and I mean it. There will be a moment, probably several moments, where your house looks like you’re either moving in or moving out, and you cannot quite tell which. That is normal. Keep going.
Remember that the organizational instincts you have already developed are a resource and a skill that you can rely on. Some of the most beautiful spaces in a home come from using what you already have, purging what you no longer need or love, and reorganizing things in a thoughtful way that works for your season of life.
Finally, don’t underestimate what a well-organized space can do for the way you feel in your home. This closet did not add a single square foot to my home. However, it made it feel larger, calmer, and much more ready for whatever comes next.
Which, as it turns out, is exactly what Living Large in A Small House is all about.
Peace and Love,


A great way to save this idea is to add it to one of your Pinterest boards. You can find the pin button on the top left of the photo when you click on it. Also, don’t forget to follow me on Pinterest





Meet Me
My name is Lynn. I live in the suburbs of Chicago in a 1,300 sq. ft. home with my Handy husband, Keith.
I’m an open book about my life on my blog. You can find out more about me by visiting my “About Me” page.













This is terrific and the results are spectacular. Having all the steps outlined is very helpful.
I’m glad you liked the post. Let me know if you do something similar!
I love this idea, and especially how you lined the back of the shelves, so pretty ! I adore dishes and can never find enough space for them! Thanks for sharing this post!
Thank you, Deborah. It was such a fun project to do, and I’m already using things I forgot I had when they were shoved into a cabinet. I appreciate you being here and I’m glad you enjoy my posts.
This is such a spectacular make over Lynn! I really need you to rub off on my friend! I could use a lot of this in my house. You are such an inspiration.
Thank you Wendy, We could make your back porch a china closet. Get Mark on the phone and don’t tell Dave 🙂