
How to Create a Pantry Under Your Stairs or in a Closet
Whether you have a forgotten pocket of space beneath your staircase like I did or an underused closet just waiting to be reimagined, creating a pantry in either spot is one of the smartest storage moves you can make. Both give you a dedicated home for food, kitchen supplies, and entertaining essentials, and both are more achievable than you might think.
In this post, I’ll walk you through how I transformed the space under our stairs into an award-winning pantry. I’ll share what to consider if converting a closet into pantry storage instead.
On my blog Living Large in A Small House, I may sometimes use affiliate links, which means a small commission is earned if you purchase via the link. The price will be the same whether you use the affiliate link or go directly to the vendor’s website using a non-affiliate link. You can find my full Disclosure Policy HERE
Why a Dedicated Pantry Space is Worth the Effort
If you have a small kitchen (or even a larger one that never seems to have enough room), a separate pantry space can genuinely change how you cook and entertain. Whether you need space for dry goods, appliances, or entertaining supplies, having everything organized in one dedicated spot makes daily life so much easier.
In our pantry, I keep all of my dry goods, preserved foods, bread-making supplies, and preserving equipment. The only food in our actual kitchen is a cabinet of spices next to the stove and a snack drawer by the refrigerator for “Handy.” The key is finding the right underutilized space in your home and then planning it well.
Creating a Pantry in the Space Under Your Stairs
The space beneath a staircase is one of the most overlooked spots in a home. It’s often used for nothing more than a jumble of shoes or holiday decorations, but with some planning, it can become one of the hardest-working spaces in your house.
Finding a Space
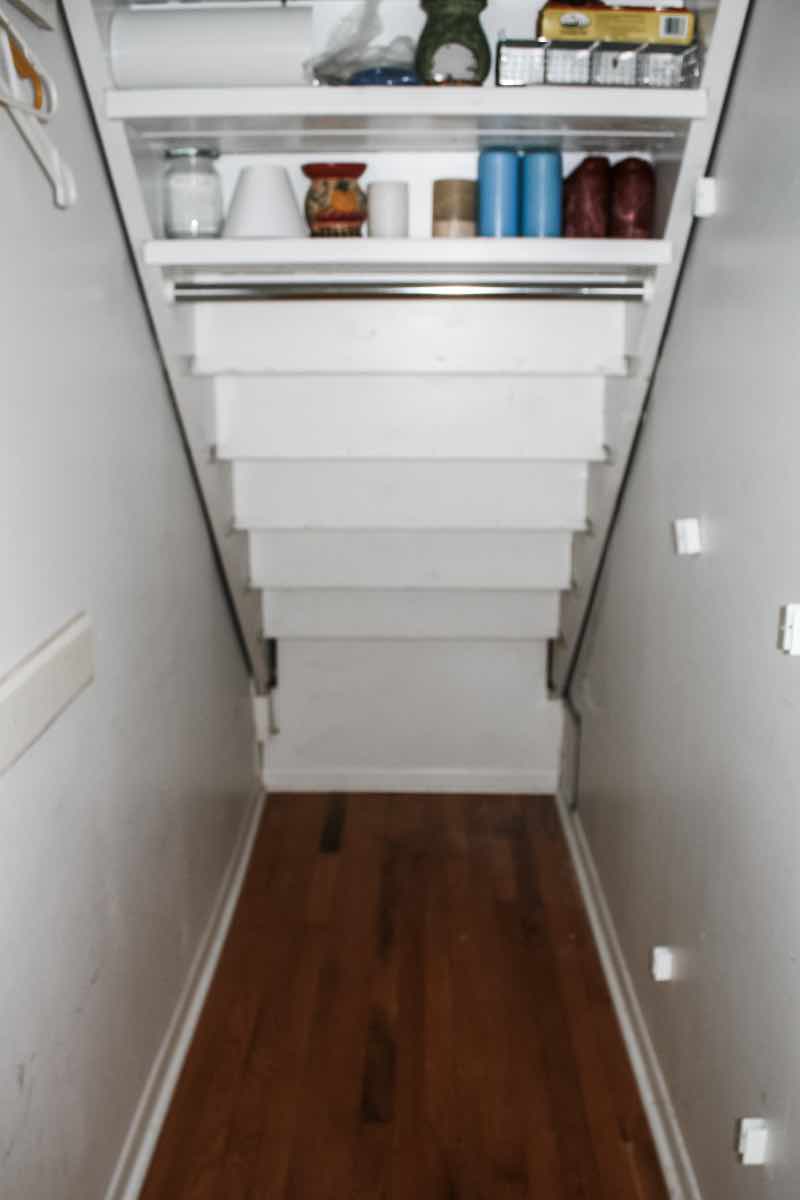
When I realized that behind a small coat closet in the hall adjacent to our kitchen there was a completely untapped pocket of space, we didn’t hesitate. “Handy” and I knew right away that it would make a perfect pantry. If you have a similar situation, like a door or wall that seems to lead nowhere, it’s worth investigating what’s on the other side.
Measuring and Planning Around the Angled Ceiling
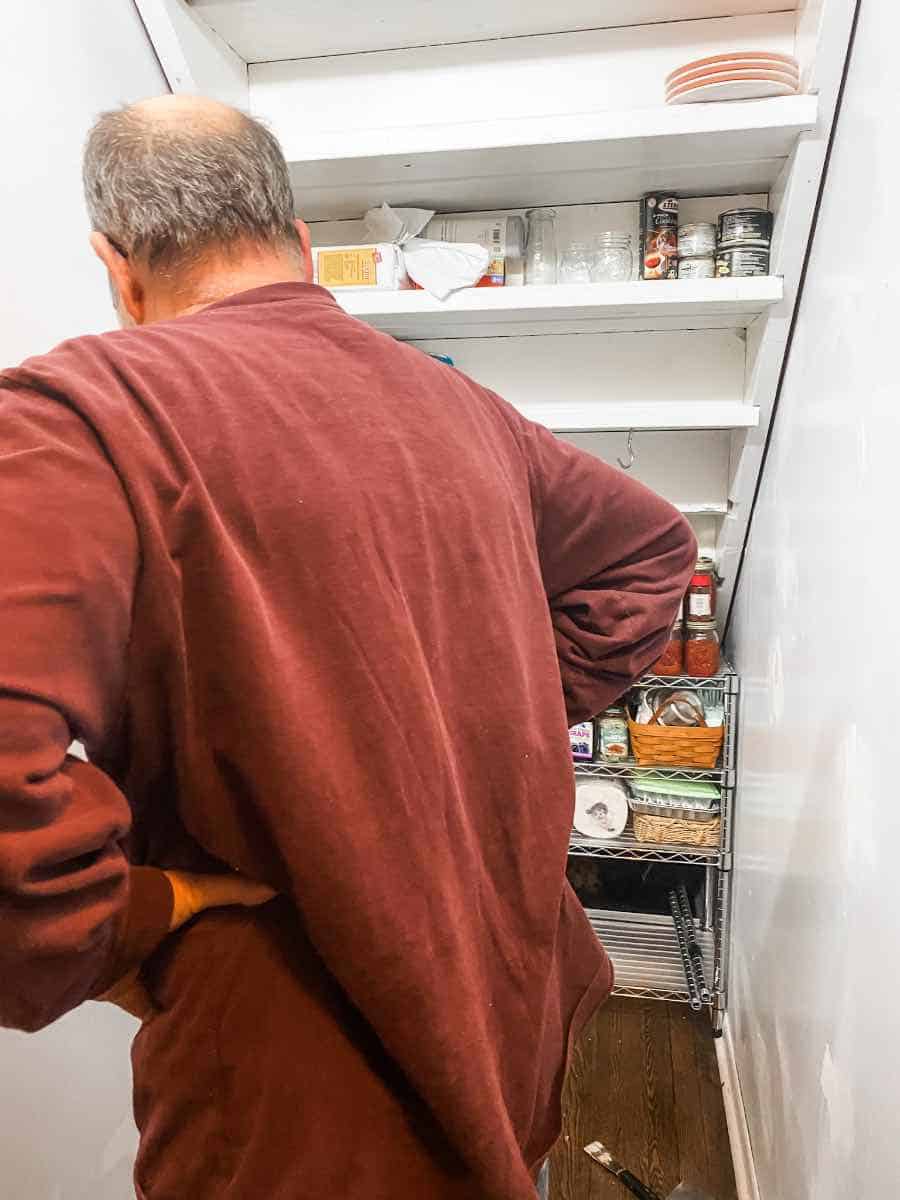
The biggest design challenge with under-stair storage is the angled ceiling that follows the slope of the stairs. You’ll need to measure not just the width and depth of the space, but also the height at various points so your shelving doesn’t fight the angle.
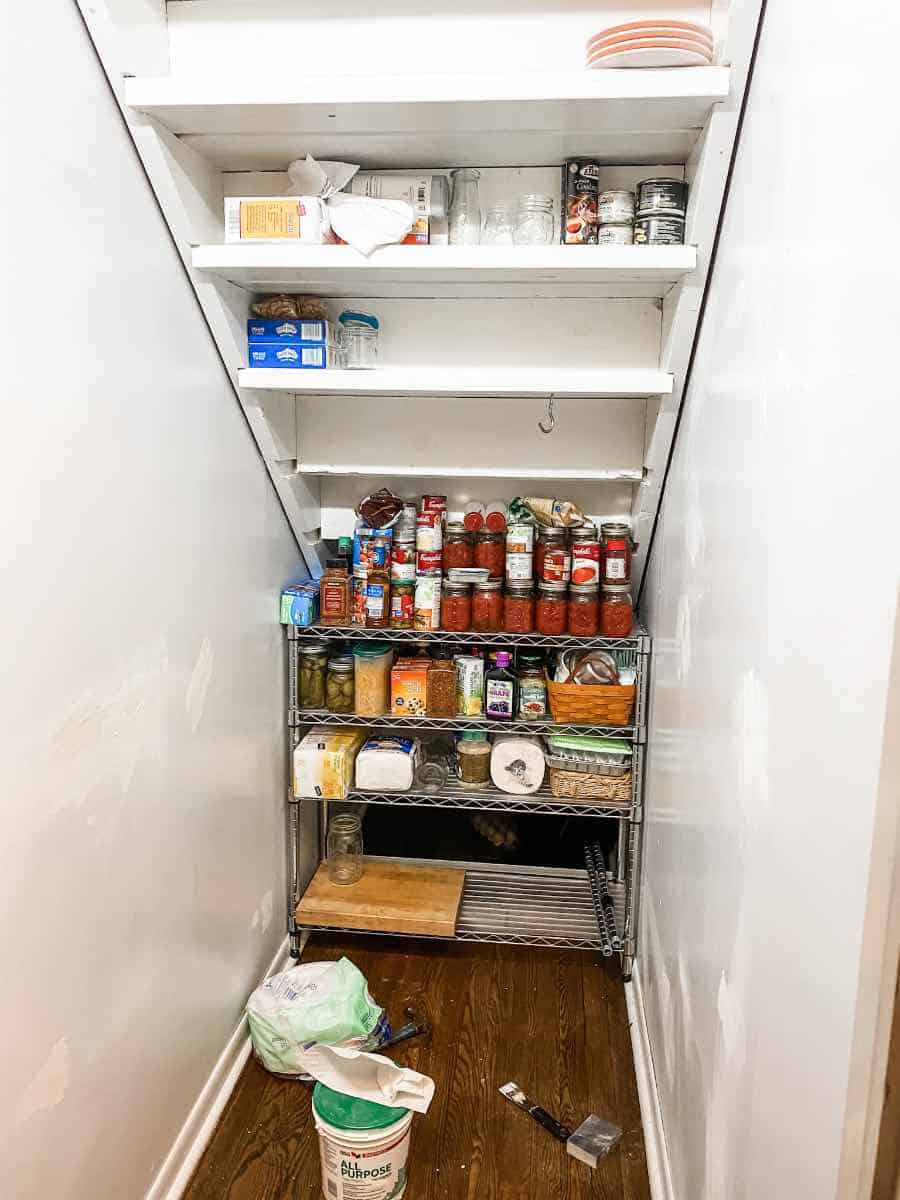
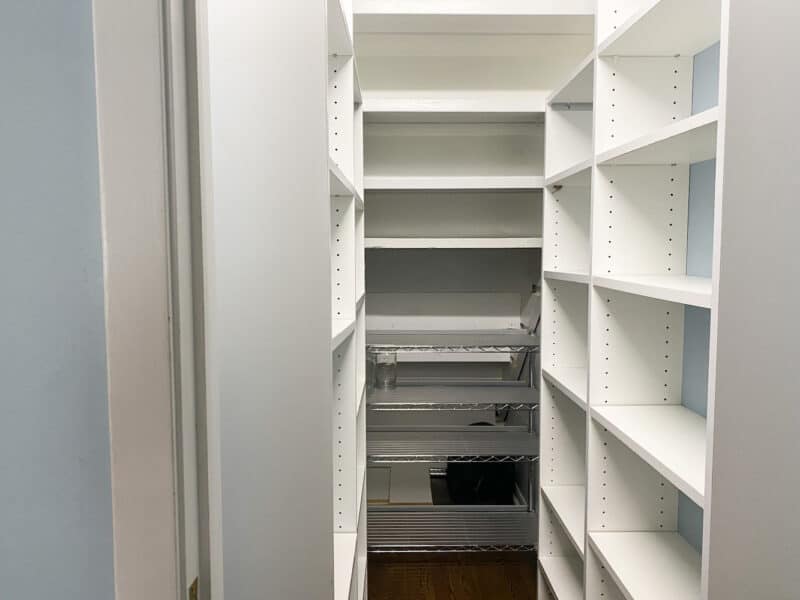
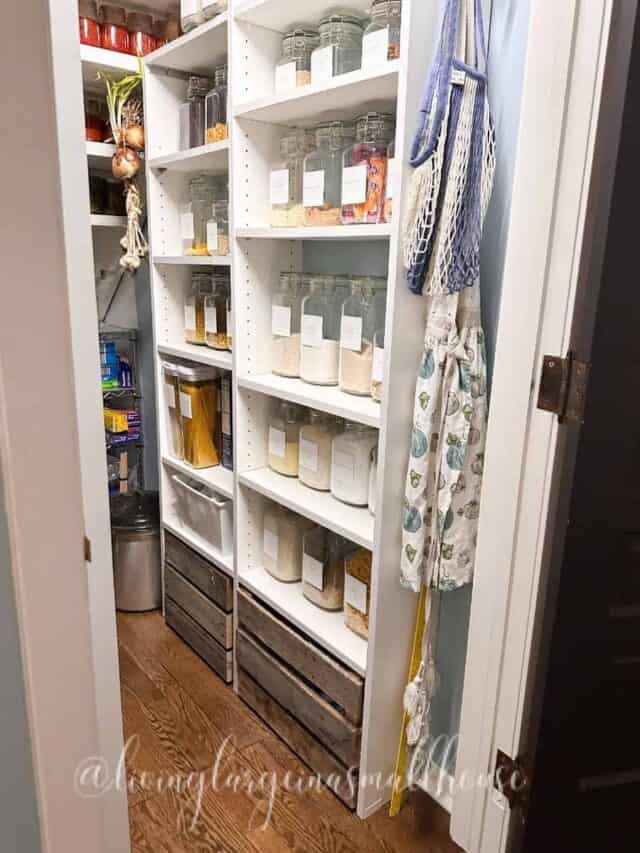
Our space is 37” wide. We originally installed 12” built-in shelves on one side and hooks on the other for the kids’ coats, backpacks, and lunchboxes, plus a 36” x 31” x 14” wire rack at the end of the space for bulkier items like slow cookers and small appliances. That first version was all about maximizing every inch before our kitchen renovation.
Once our kitchen was renovated and the kids were grown, our needs changed, and the pantry got a second update. We switched from 12” shelves on one wall to 8” shelves on both walls. It sounds counterintuitive, but it gave us easier access and actually increased our usable storage. My advice: take time to plan your layout with your family’s current season and needs in mind. We did ours twice, and both times were the right call.
Identifying Obstacles Before You Build
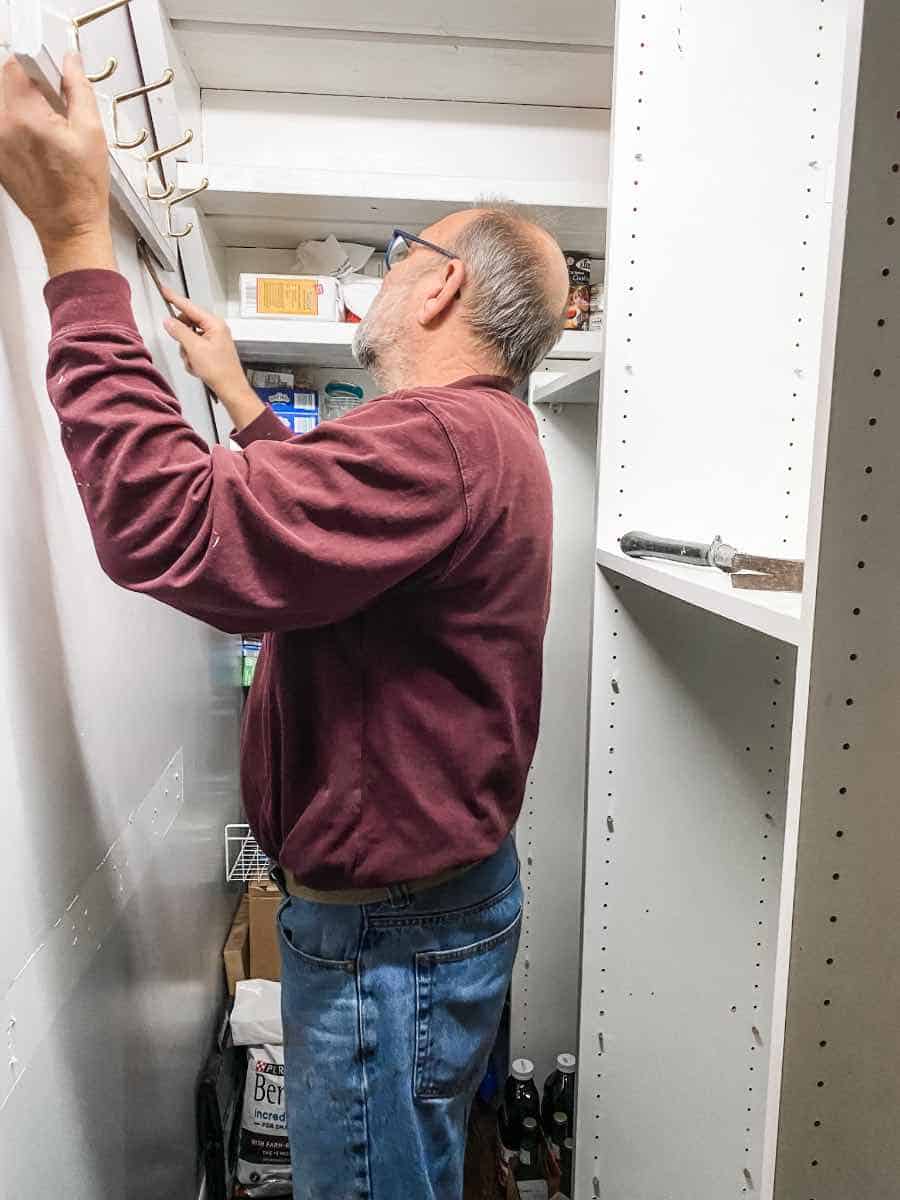
Before you start building, walk through the space carefully and check for:
- A landing or turn in the staircase, which can limit usable depth.
- An electrical panel that needs to stay accessible.
- Plumbing lines of HVAC ducts running through the space.
We have a landing situation, so there is a small area at the back of our pantry that we can’t really use. We store some camping gear, which we haven’t used for 30 years, but now with the grands, we might go camping in the backyard. 🙂
Choosing Your Shelving
You have two main options:
- Custom-built shelves designed to fit the exact shape of your space. These maximize every inch but require more skill or the budget to hire it out.
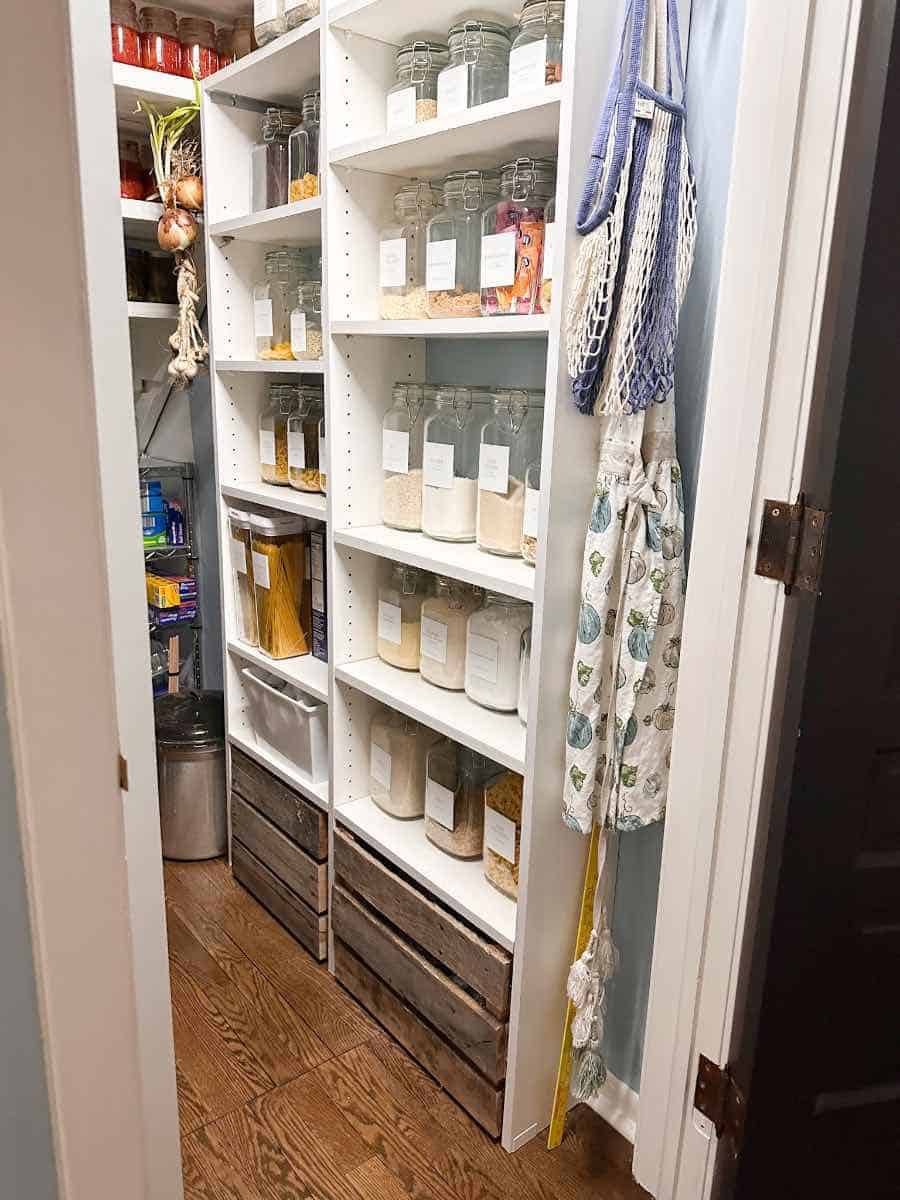
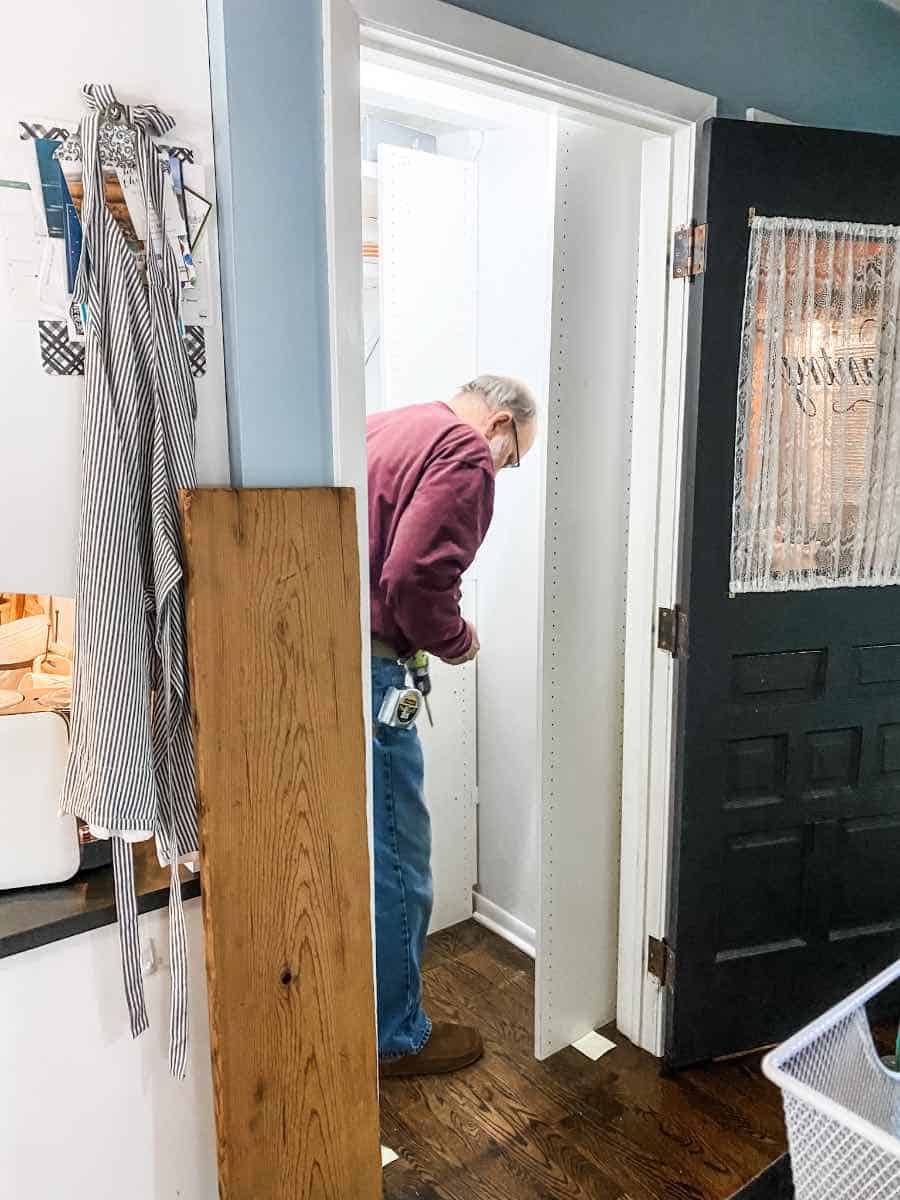
- Closet system components from stores like Home Depot, which can be cut and configured to fit. We went this route using adjustable vertical panels and laminated wood shelves. We chose wood over wire because it’s better for glass containers and heavier pantry items.
Whatever you decide, make sure the shelves are adjustable. Your storage needs will evolve, and you’ll want the flexibility to shift heights as things change.
Materials You’ll Need:
- Tape measure
- White wood vertical panels
- Laminated white shelves
- Steel wall mount rails
- Shelf pins
- Level
- Wood screws & anchors
- Drill and saw
- Spackle and sanding block (if needed)
- Paint or stain, paintbrushes, and trays (if painting)
Before installing anything, patch and sand any holes in the walls, then paint the walls and ceiling. It’s so much easier to do before the shelves go in. When we originally knocked the back wall out of our 37 × 24” closet, we started with bare studs, so we had to drywall, tape, and paint from scratch.
Installing the Framework and Shelves
Here’s the basic installation sequence that we followed:
- Locate where your verticals will go and mark the wall
- Cut verticals to the correct height. Always cut from the top, not the bottom, or your shelf pinholes won’t line up.
- Attach verticals to the wall using the manufacturer’s brackets.
- Install shelves from the bottom up, using the items you’re planning to store to determine the right height for each shelf. This way you don’t waste space.
- Continue adding the shelves until the space is complete.
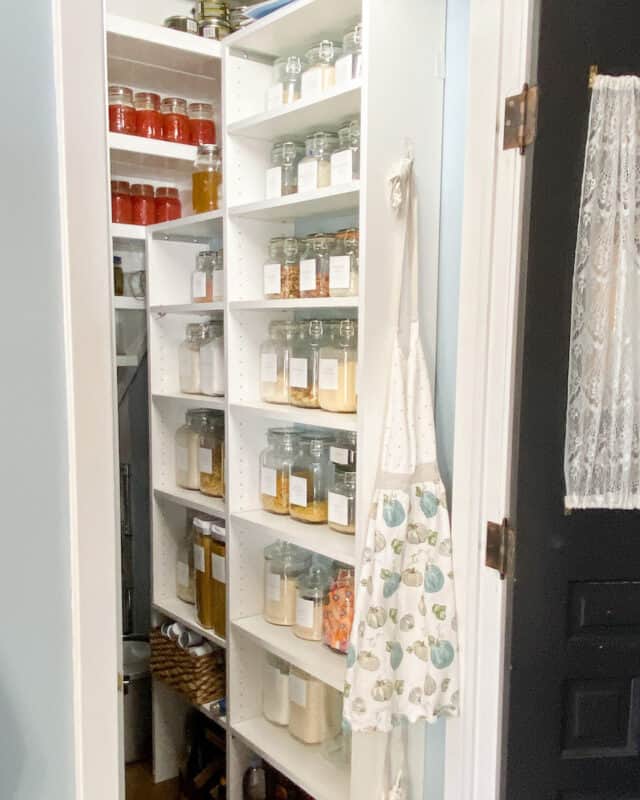
We ended up with a U-shaped pantry: wood shelves on two walls, the wire rack at the end and an antique door at the entry. It’s a layout I’d recommend if your space allows for it.
The Door
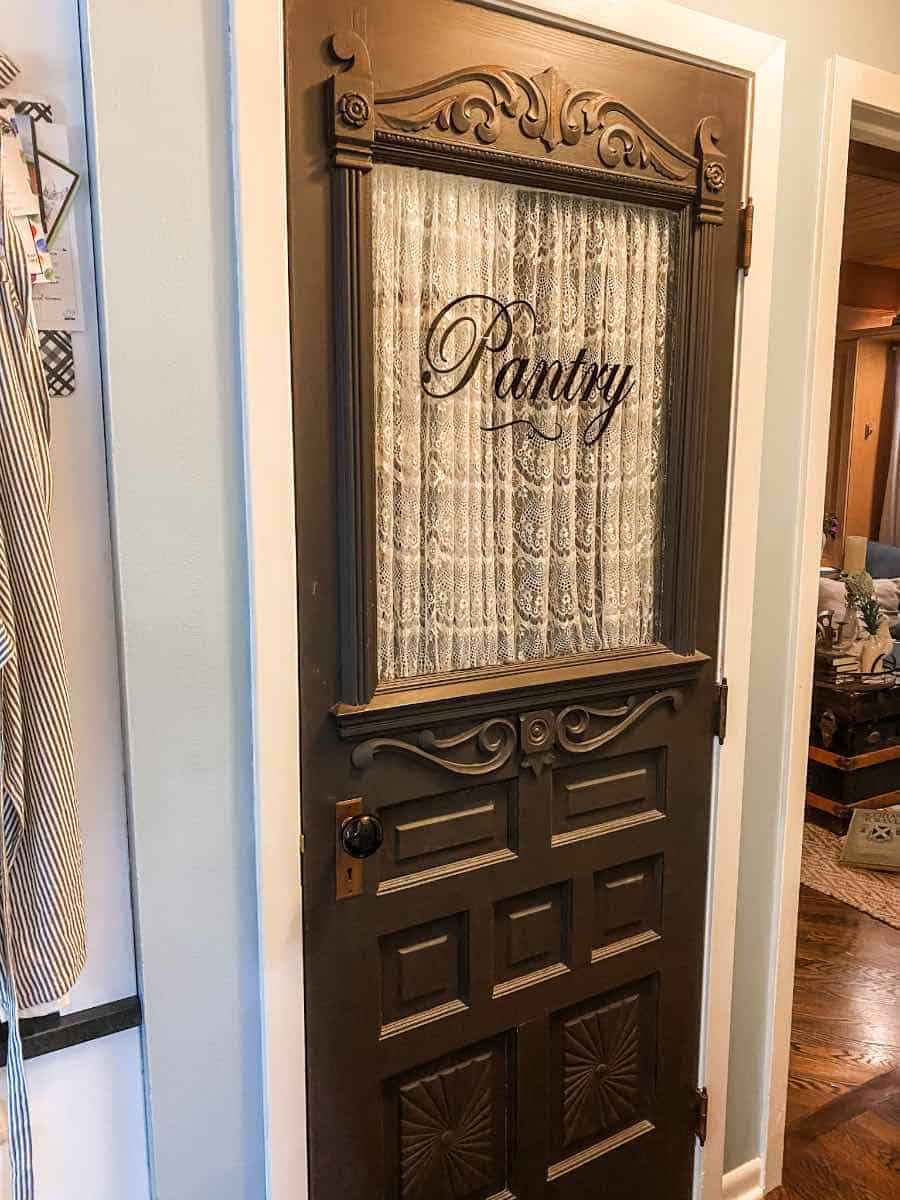
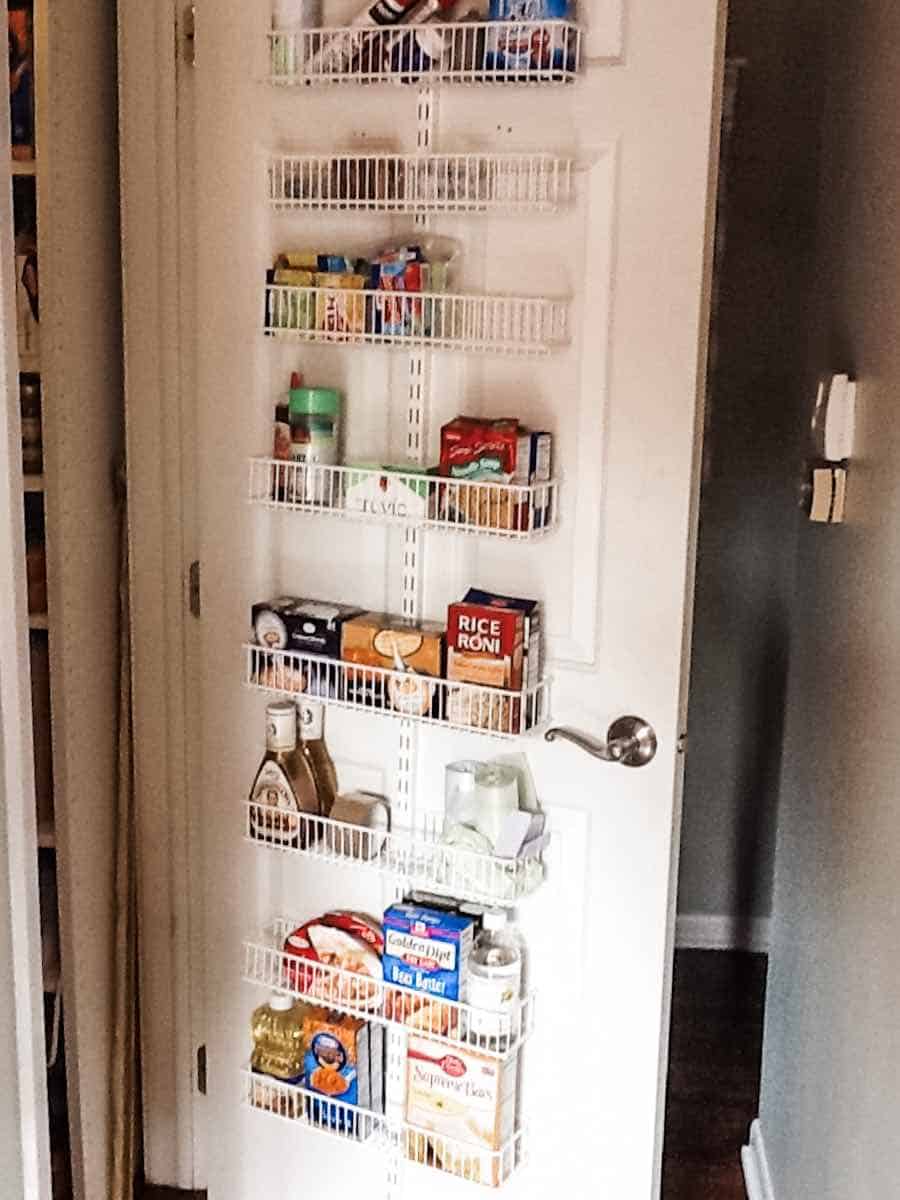
A standard hinged door works perfectly well, and don’t overlook the back of the door as bonus storage with an over-door rack. That said, we wanted something with a little more character. We set out specifically looking for a vintage/antique door, thinking it might take some time to find the right one. We got incredibly lucky and found the perfect antique door with a glass window on our first trip out. Under the black-painted hardware, we discovered beautiful copper. The glass is the original wavy glass that has been in it since it belonged in a farmhouse in Wisconsin. Yes, this door has its own history and story.
If a standard swinging door doesn’t work for your space, here are some alternatives:
- Barn Door: A barn door is a great option if you have a wall to slide it against when the door is open. It’s a great space saver.
- Bi-Fold Doors: They take up a bit more space on each side, but they don’t swing as far into the room or hall.
- Pocket Door: If you can put a pocket door into the cavity of your wall, what a game changer. You have zero door swing to deal with.
- No Door: For some, this might be a very feasible option. It can look quite charming if you have the right shelving and you keep it organized.
- Curtain: A simple, inexpensive option that adds a soft, decorative touch and is easy to pull aside.
Lighting Makes All the Difference
Address your lighting before you load in shelves and supplies. Options range from hardwired fixtures (if your closet isn’t already wired, you’ll need an electrician) to battery-operated LED puck lights or strip lights, which are easy to install and surprisingly effective.
We started with a pull-chain light, which we upgraded to a wall switch with our second remodel. The game-changer, though, was when “Handy” replaced the switch with a motion sensor one. The light turns on automatically when I walk in and shuts off a few minutes after I leave. I genuinely didn’t know how much I needed this until we had it. He also put it on in our laundry room. The two places I either walk into or out of with my hands full.
Organizing Your Under-Stair Pantry
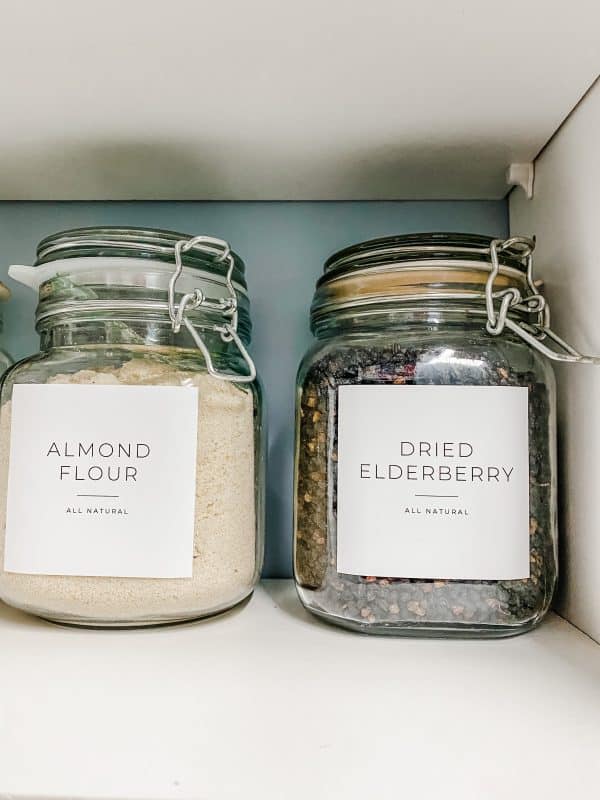
Our pantry won the 2023 Grand Prize in Taste of Home’s Before and After Organizing Contest, and I honestly couldn’t believe it. What made it stand out, I think, was the decanting system. I store all of my dry goods in matching glass containers that I got from Walmart. I also used custom made stickers that I got from the ETSY shop Nest & Note. It looks beautiful and makes it incredibly easy to maintain the organization.
A few organizing tips that make a real difference:
- Use clear containers so you can see what’s running low at a glance.
- Group items by category: baking supplies together, canned goods together, etc.
- Store what you use most often at the most accessible height, usually between waist and eye level.
- Use baskets or bins to corral smaller items and keep them from getting lost.
- I’m a huge fan of organizer Lazy Susans for keeping things from getting lost in the back of your cabinet.
- Label everything, especially if you’re decanting into uniform containers.
Creating a Pantry in a Closet
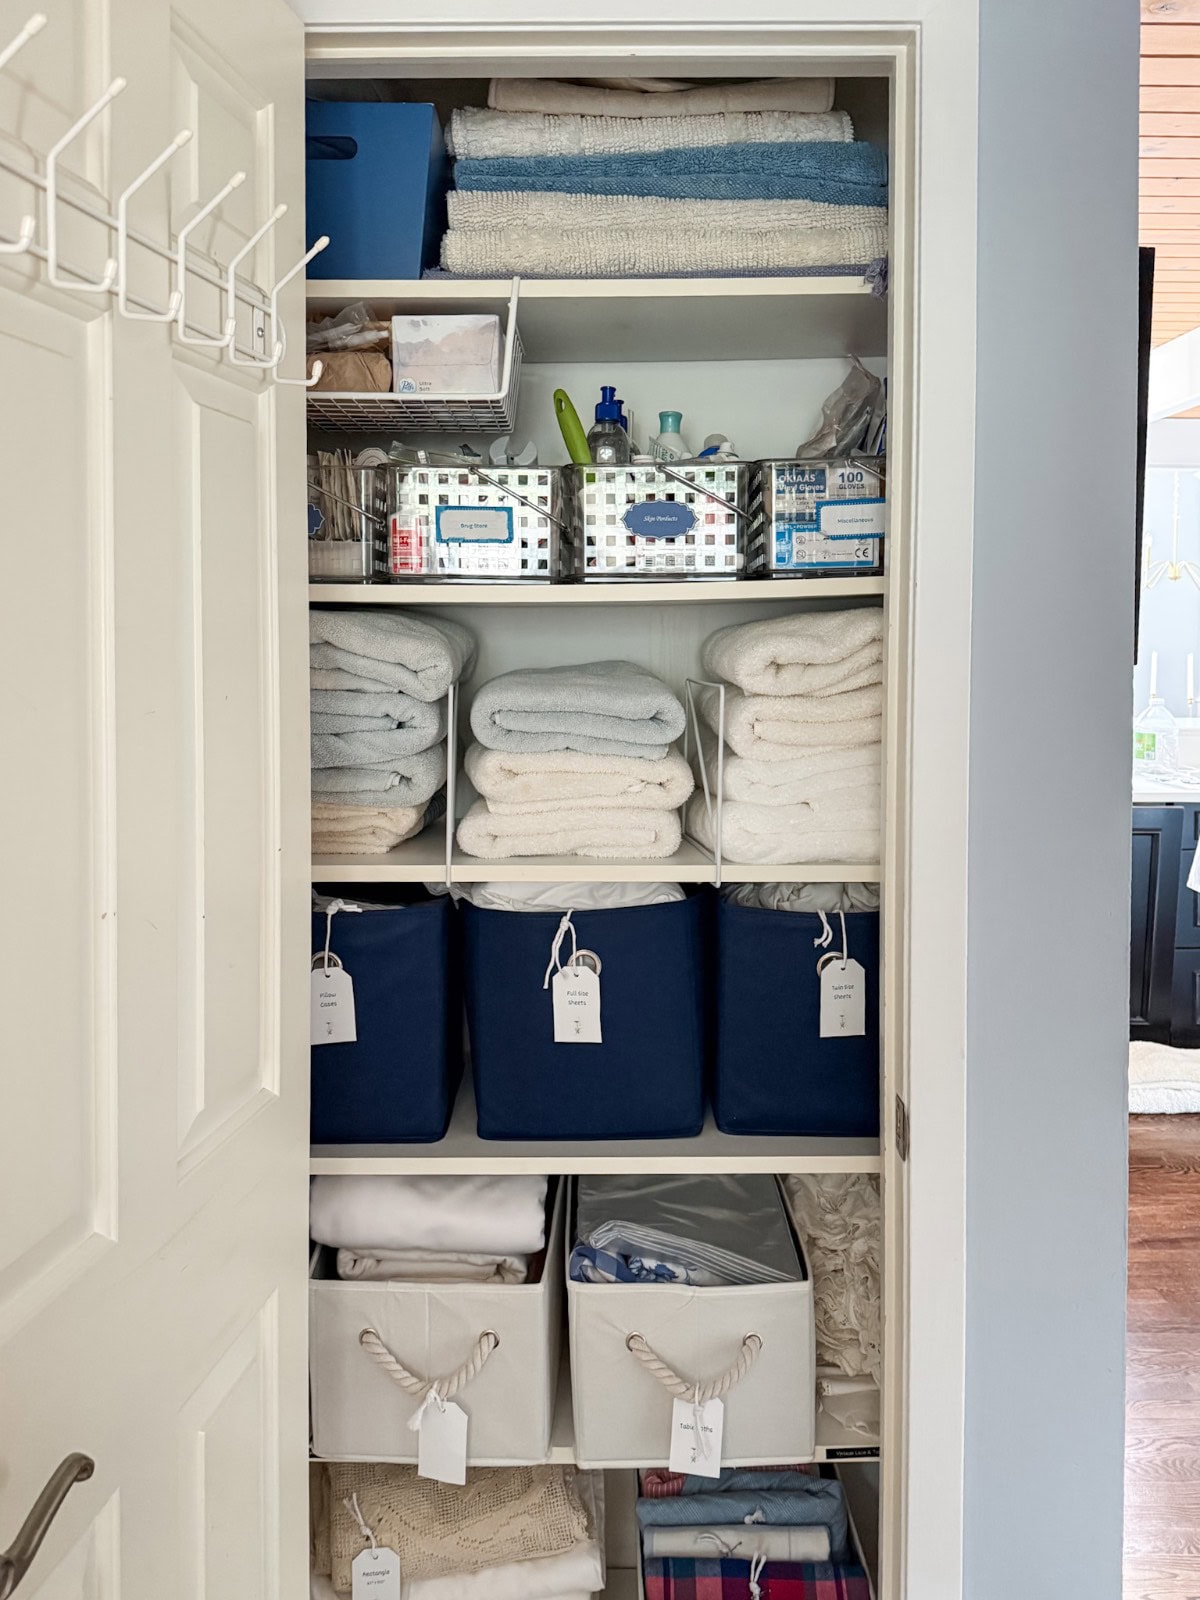
Not everyone has an under-stair space to work with, but if you have a closet that isn’t earning its keep, a pantry conversion is absolutely worth considering. A linen closet, hall closet, or any closet near your kitchen can be transformed with relatively modest effort. The approach is similar to the under-stair pantry, with one big advantage: you don’t have to work around an angle. A closet gives you full vertical height on every wall, so you can maximize your storage from floor to ceiling.
Is Your Closet a Good Candidate?
The best candidates are closets near the kitchen with at least 12” of depth and enough width to shelve one or more walls. Most standard closets are 24” deep, which is more than enough. More importantly, be honest about what the closet currently holds. If it’s storing things, you rarely use, it’s a strong candidate for conversion.
Planning the Layout
Before you pull everything out, decide what the converted space will hold, since that determines your shelf space:
- Food pantry: Shelves 12-18” apart work well for canned goods, boxes, and jars. Taller spacing at the bottom for bulk items, tighter spacing towards the top.
- Entertaining and serving ware: You’ll need taller shelf spacing and deeper shelves (16-18”) to accommodate platters, cake stands, and stacked dishes.
- Combination: A mix of shelf heights give you flexibility for both everyday food items and bulkier serving pieces.
The same shelving systems used for under-stair pantries work beautifully here. Choose wood or laminate over wire for food items and glass containers, and don’t forget you can also add an over-door rack for extra storage.
If you’re converting a closet for entertaining ware like platters, serving bowls and specialty dishes, shelf risers or plate holders let you organize vertically so you can grab what you need without unstacking everything.
Other Creative Uses for Under-Stair Space
A pantry is our favorite and most practical use of under-stair space, but it’s certainly not the only option. I’ve written a full post about creative ways to use extra space in your home, but here’s a quick list to spark some ideas.
- General storage: Holiday decorations, sports equipment, or anything else that needs a home.
- Reading nook: Add cushions, a lamp, and a small bookshelf for a cozy hideaway.
- Home office: A desk and some good lighting can make for a surprisingly productive little workspace.
- Pet area: A cozy spot with a bed, food, and water bowls tucked out of the main living space.
- Mini bar or coffee bar: Shelves for glasses and bottles, or a dedicated spot for a fancy coffee maker and all the things.
- Kid’s play space: A secret hideout with a door that little ones can call their own.
- Wine cellar: My friend Leslie from My 100 Year Old Home created a wine cellar in a hallway, and the same idea could work beautifully under a staircase.
- Pull-out drawers: A sleek, built-in approach to under-stair storage that hides everything behind clean fronts.
Final Thoughts
Whether you’re working with the quirky angles of an under-stair space or the clean walls of a closet, creating a dedicated pantry is one of the most satisfying home projects you can take on. The planning takes some thought, the building takes some elbow grease, but the results are absolutely worth it.
For us, having a pantry has been especially valuable in our small house, particularly before we renovated our kitchen. I still smile every time I open that antique door.
If you have an underutilized space, whether it’s under the stairs, in a closet, or anywhere else, I hope this gives you the inspiration and the practical know-how to make something wonderful out of it.
Peace and Love,



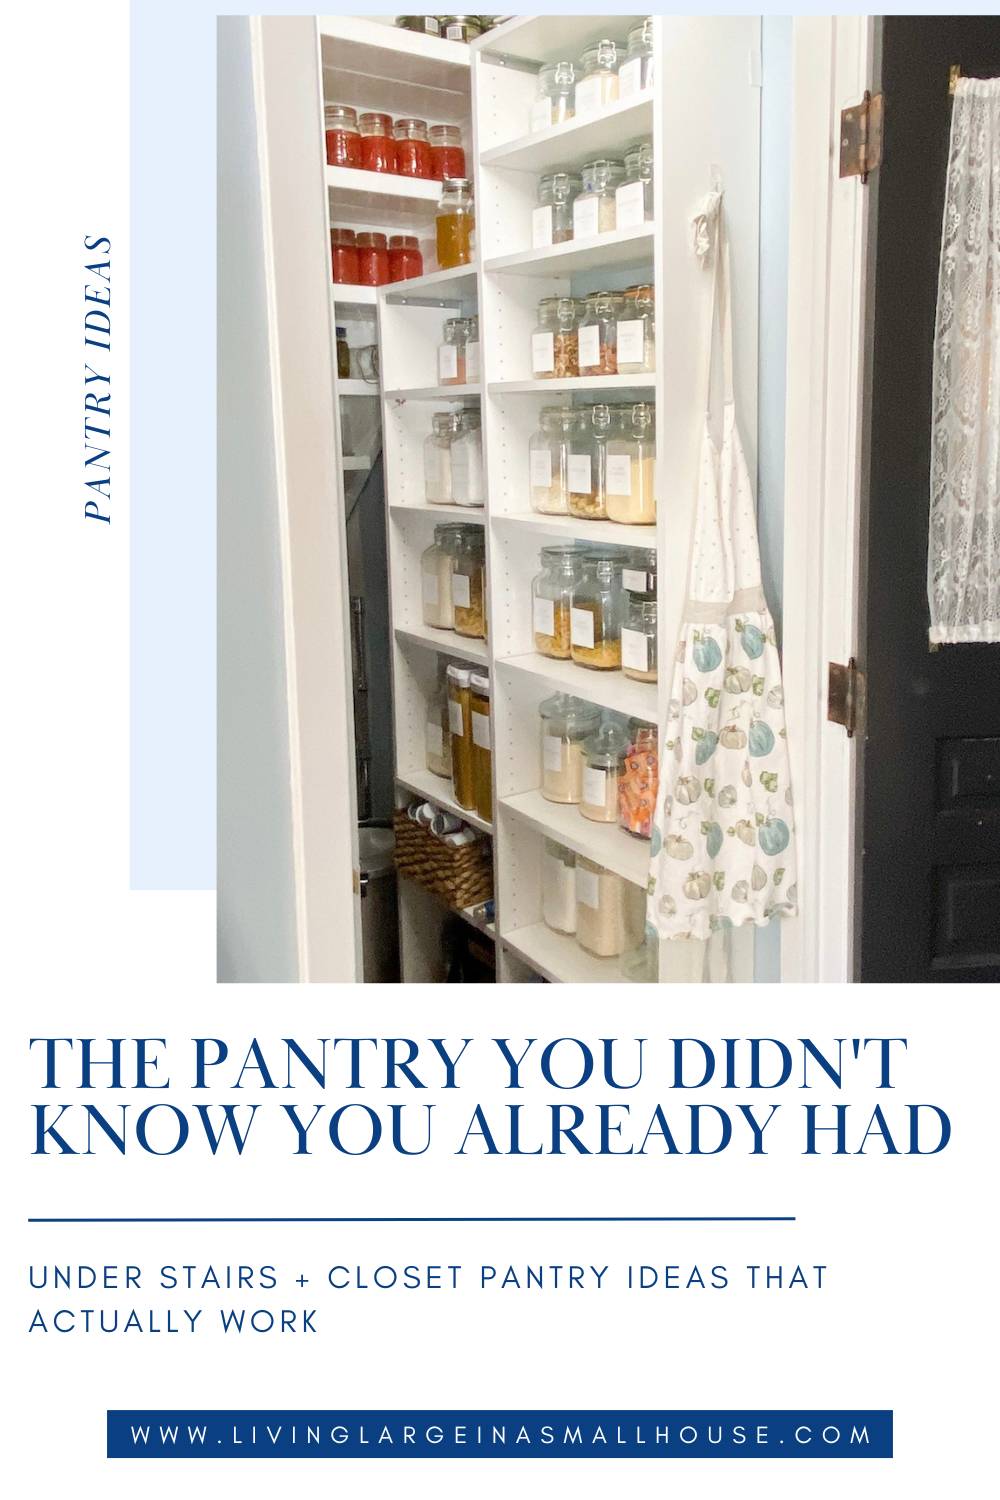
A great way to save this idea is to add it to one of your Pinterest boards. You can find the pin button on the top left of the photo when you click on it. Also, don’t forget to follow me on Pinterest


Meet Me
My name is Lynn. I live in the suburbs of Chicago in a 1,300 sq. ft. home with my Handy husband, Keith.
I’m an open book about my life on my blog. You can find out more about me by visiting my “About Me” page.













Wow! Your pantry is amazing! I love it. It’s such a great idea. Now I want to redo my pantry.
Hi Lynn! Wondering how those labels are affixed to your jars and are they waterproof?
Hi Patty –
Yes, they actually are waterproof. I would imagine that if they soaked in water or got washed all the time, it might be an issue. I’m really careful with my labels. I have the labels on oil jars and you can’t see any stains at all.
Love this pantry idea. I love the door. Very pretty. Can panties be pretty? I guess so, I say this is pretty
Pinned!
Thank you so much Cindy – I love for things to be pretty. I also don’t mind decanting all of my food into the jars to keep things looking neat and tidy.
Love this pantry idea. I love the door. Very pretty. Can pantries be pretty? I guess so, I say this is pretty
Pinned!
We have narrow shelves in our pantry too Lynn. We used to have shelves that were 18′ deep and they were a pain! Your pantry is so pretty – all the jars and labels – well, it’s all so nice! Pinned ????
The narrow shelves are a game changer. When they are deep they are hard to keep organized and you just can’t find the things in the back. Happy Friday!
Your pantry looks amazing and that door is an extra special touch! Nothing better than an organized, functional, but beautiful space! Have a great week, Donna
Thank You so much Donna! I love having organized spaces and as you know its not a one and done venture. You have to have good habits to keep thinks tidy. I appreciate you visiting my blog.
Hello,
This looks great! We are wanting to do something similar. Would you please tell me how wide your space was before putting up the shelves and where you found the 8 inch shelving with the adjustable shelves?
Thank you!
Glad we were able to inspire you to do the same thing.