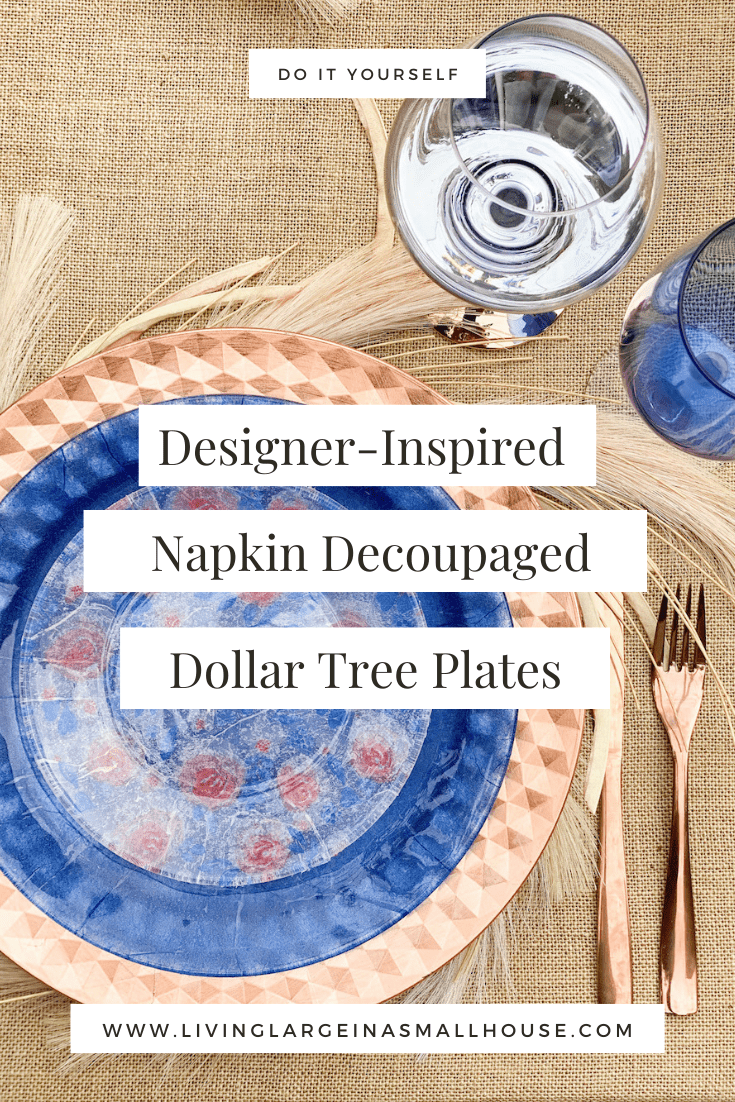
How to Decoupage Napkins on A Glass Plate
I’m going to teach you how to decoupage napkins on a glass plate. This is a great way to have inexpensive designer-inspired plates for a pretty table setting.
Using just a few tools, you can create a themed table for almost any occasion!
On my blog, Living Large in A Small House, I may sometimes use affiliate links, which means a small commission is earned if you purchase via the link. The price will be the same whether you use the affiliate link or go directly to the vendor’s website using a non-affiliate link. You can find my full Disclosure Policy HERE
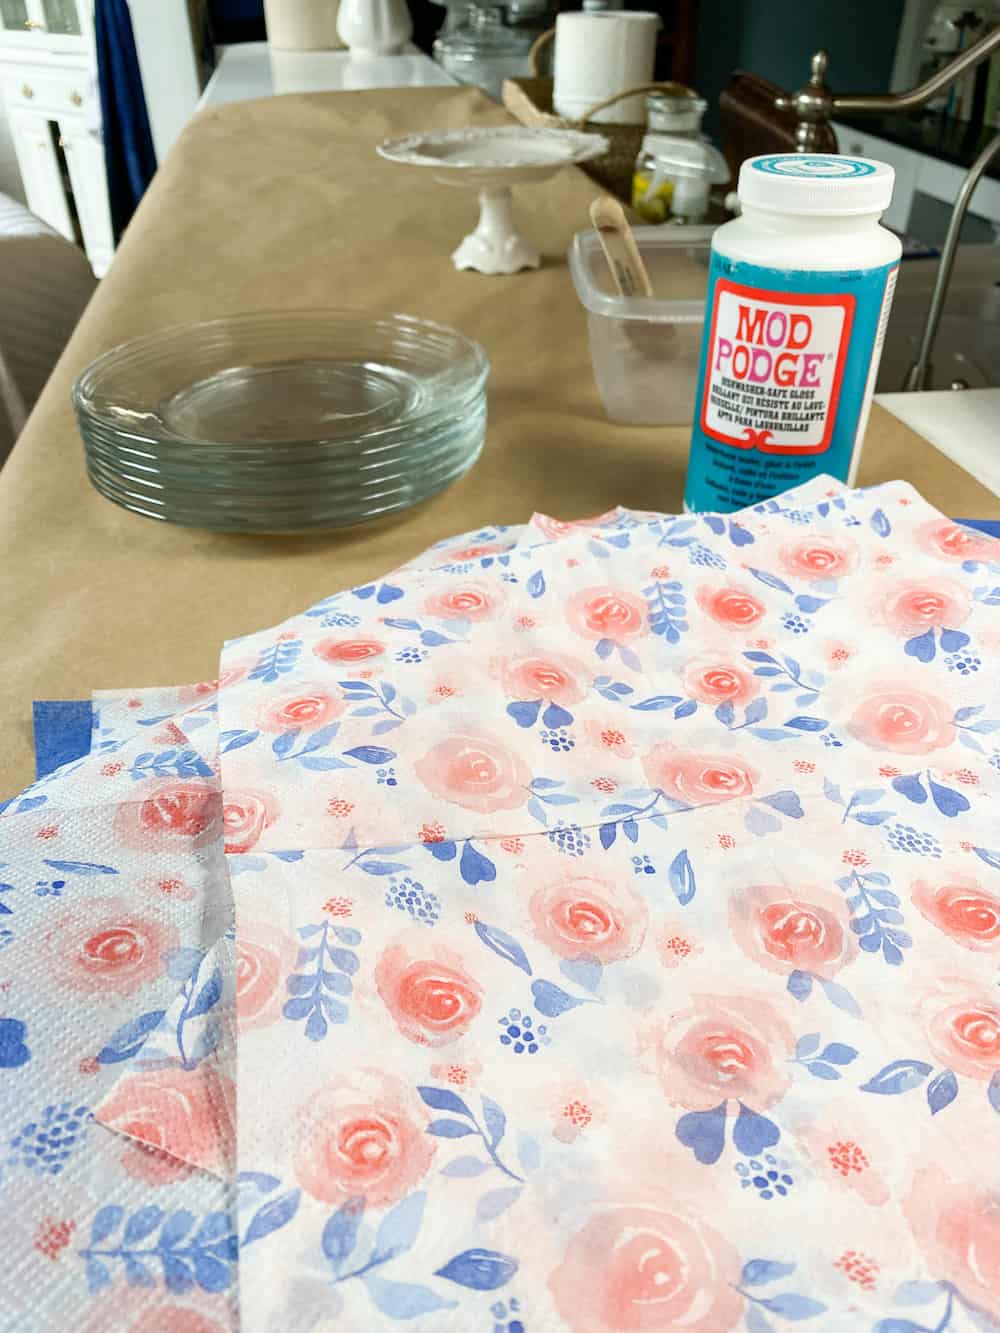
The Supplies You Will Need
- Clear Glass Plates – I got mine at Dollar Tree
- Decorative Paper Napkins or Tissue Paper
- Dishwasher Safe Mod Podge – You can find it at a craft store or any store that sells craft supplies
- Small bristle brush paint brush or foam brush
- Scissors
- Razor Blade
- Fine Sandpaper
For salad plates, I used cocktail napkins and for dinner plates, I used dinner napkins


How to Decoupage Napkins to Plates
- Napkins come in 2-ply or 3-ply varieties and you will want to separate the napkins so that you are only using the top ply or the top layer (the brightest top side) of the napkin
- Pour about a cup of the decoupage medium into an old plastic food storage container so that it would be easier to work with
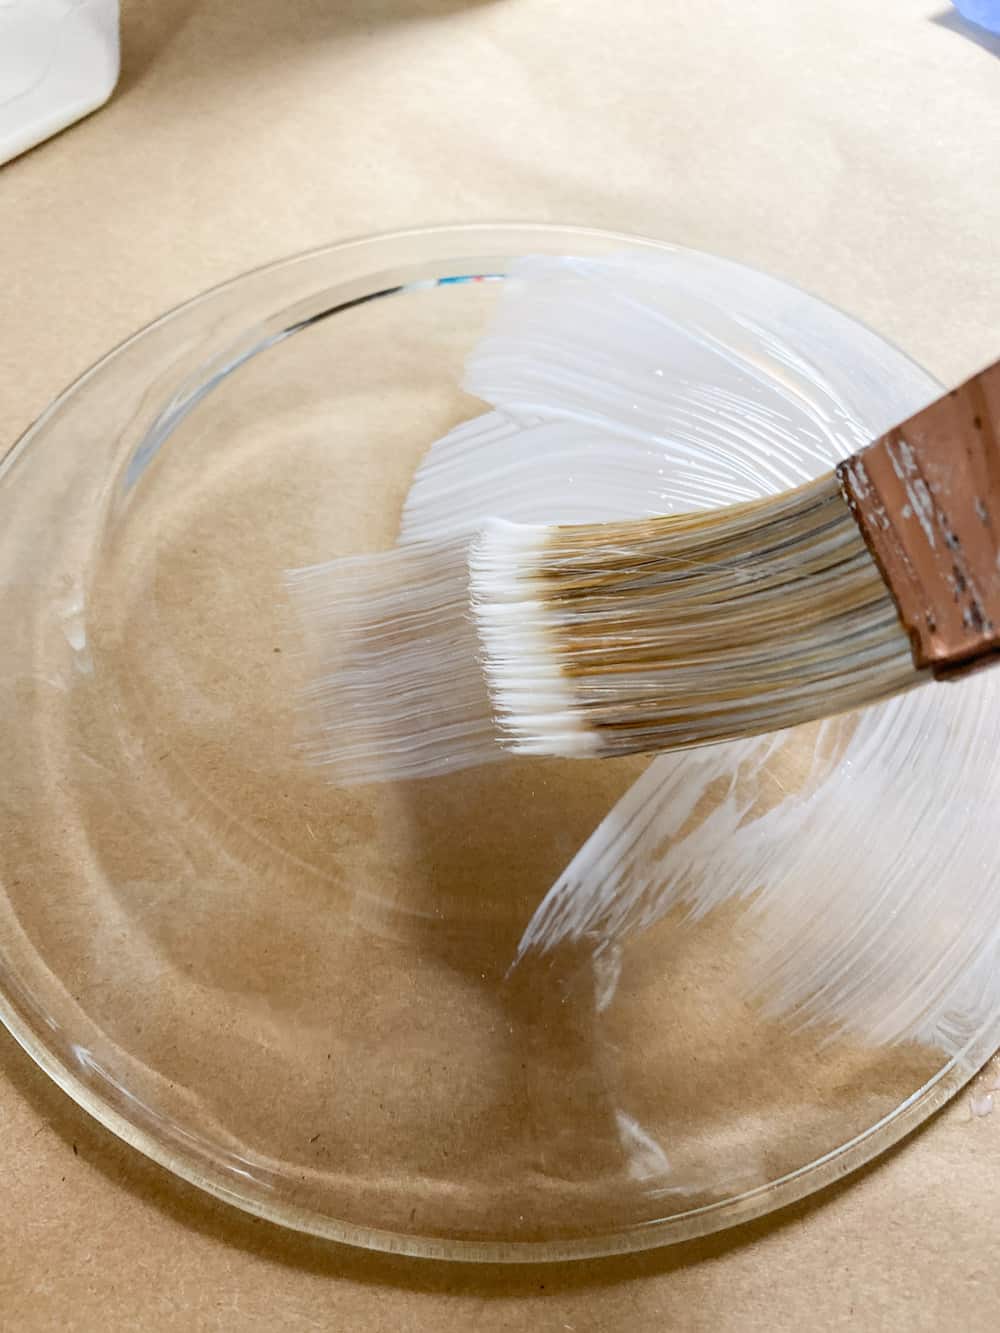
- You will want to turn the plate over so you are working on the back of the plate. I also set my plates on upside-down bowls so that the edges didn’t stick to my work surface.
- You start by applying a thin coat of the mod podge to the bottom of the plate
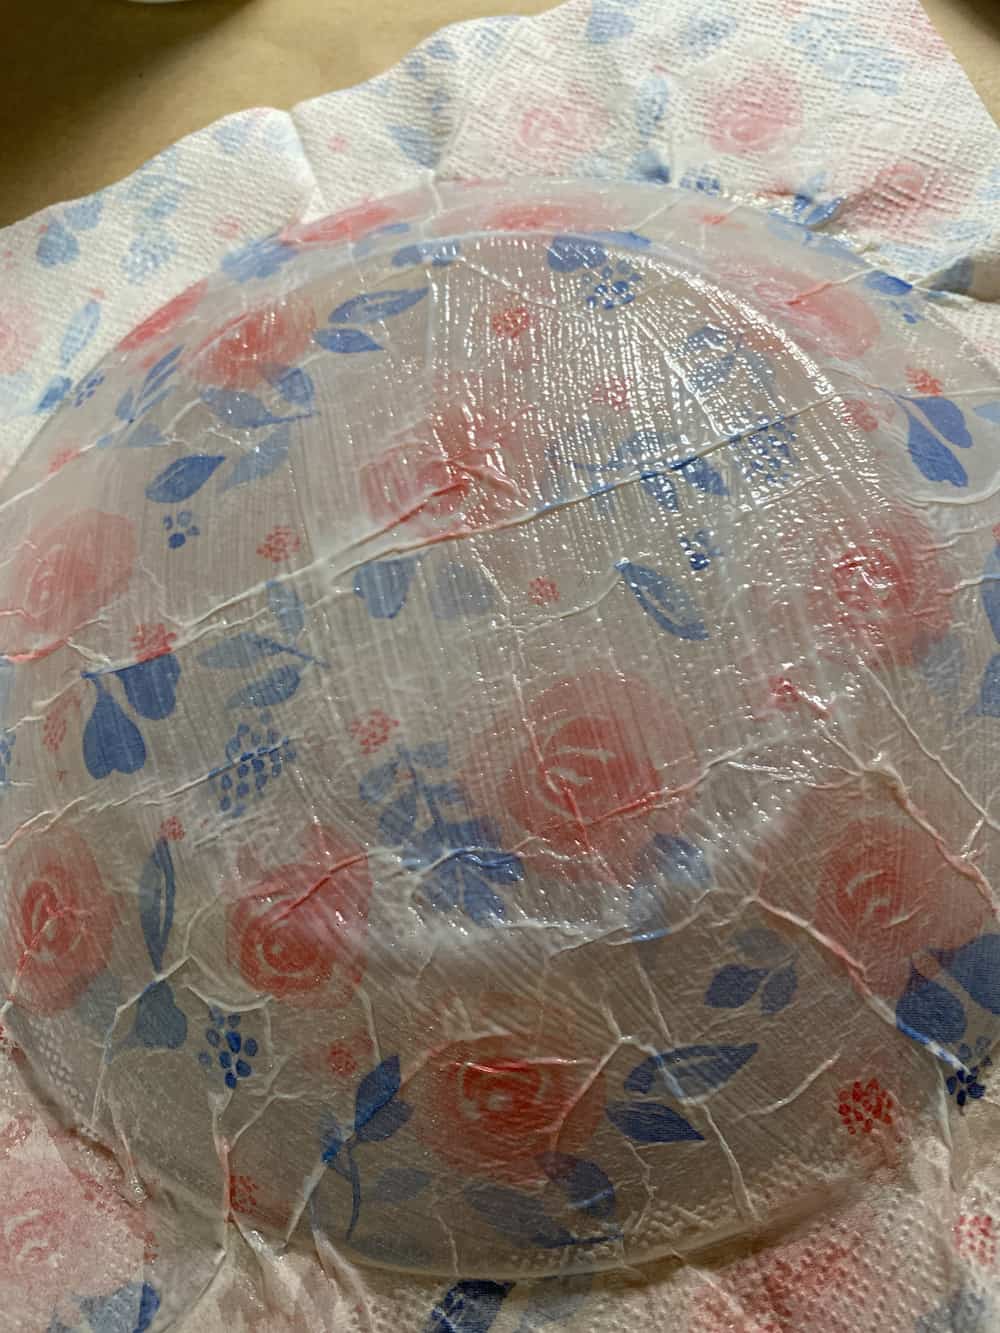
- Then carefully set the fully opened napkin (print side down) onto the backside of the plate. You want the right side of the napkin to be facing the front of the plate. This is the trickiest part because the single ply is a very thin layer and can easily tear. I just did my best to set it on the back side of the plate. Don’t try to move it or straighten it, it will just tear.
- Take your brush that’s coated with more mod podge, starting in the center of the plate and working out, applying another thin layer of mod podge, then work around the edges, brushing from the inside out to the edge. There will be creases and lines but they just add to the charm of the plate.
- Don’t overwork it because again, the paper will tear if you mess with it too much.
- I then let my plates dry for several hours and then applied a top coat to seal them well
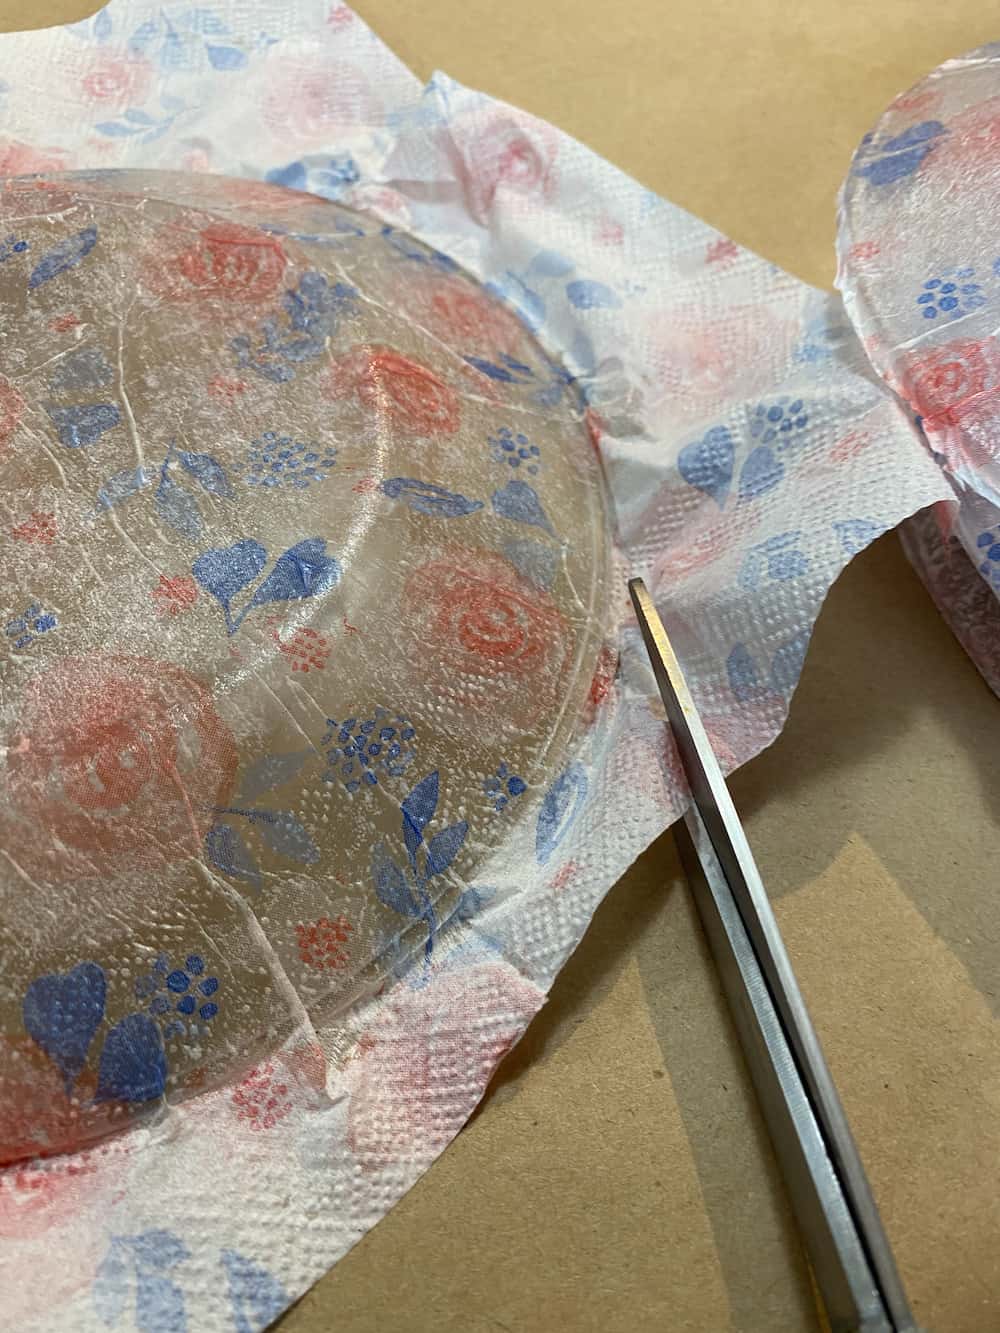
- After 24 hours, I used scissors to cut the excess paper off and then a razor blade to trim it really close to the edge. This is not a project for kids.
- After my final trim, I used fine sandpaper to smooth out the edge of the plate.
Other Decoupage Best Tips
- You could use the Mod Podge Matte if you were just using your plates for decorative purposes. I, however, intended to use mine for an actual meal so I chose the dishwasher-safe version. That being said, I would never put them in the dishwasher and only wash them by hand.
- Before I started the project I covered my countertop with Kraft paper which is something I always have on hand because I use it for wrapping paper.
- In between coats, I wrapped my paintbrush in foil and covered my plastic container with these really cool paint-saver covers that I got as a gift when I was at the Haven Blogging Convention. They are super handy! You obviously could also use plastic wrap to cover your container if it still has Mod Podge in it.

Other Decoupage & Decorative Glass Ideas
- Another way to decorate a plate is to just cut out designs from napkins, recycle greeting cards, calendar pictures, or wrapping paper and decoupage them to a plate.
- You don’t have to limit yourself to plates. You can also upcycle mason jars, old vases, lamps, and picture frames. The opportunity is as limited as your imagination.
- There are also different techniques you can try. You can use acrylic paint to paint on your item and then cover that with Mod Podge for a layer of protection.
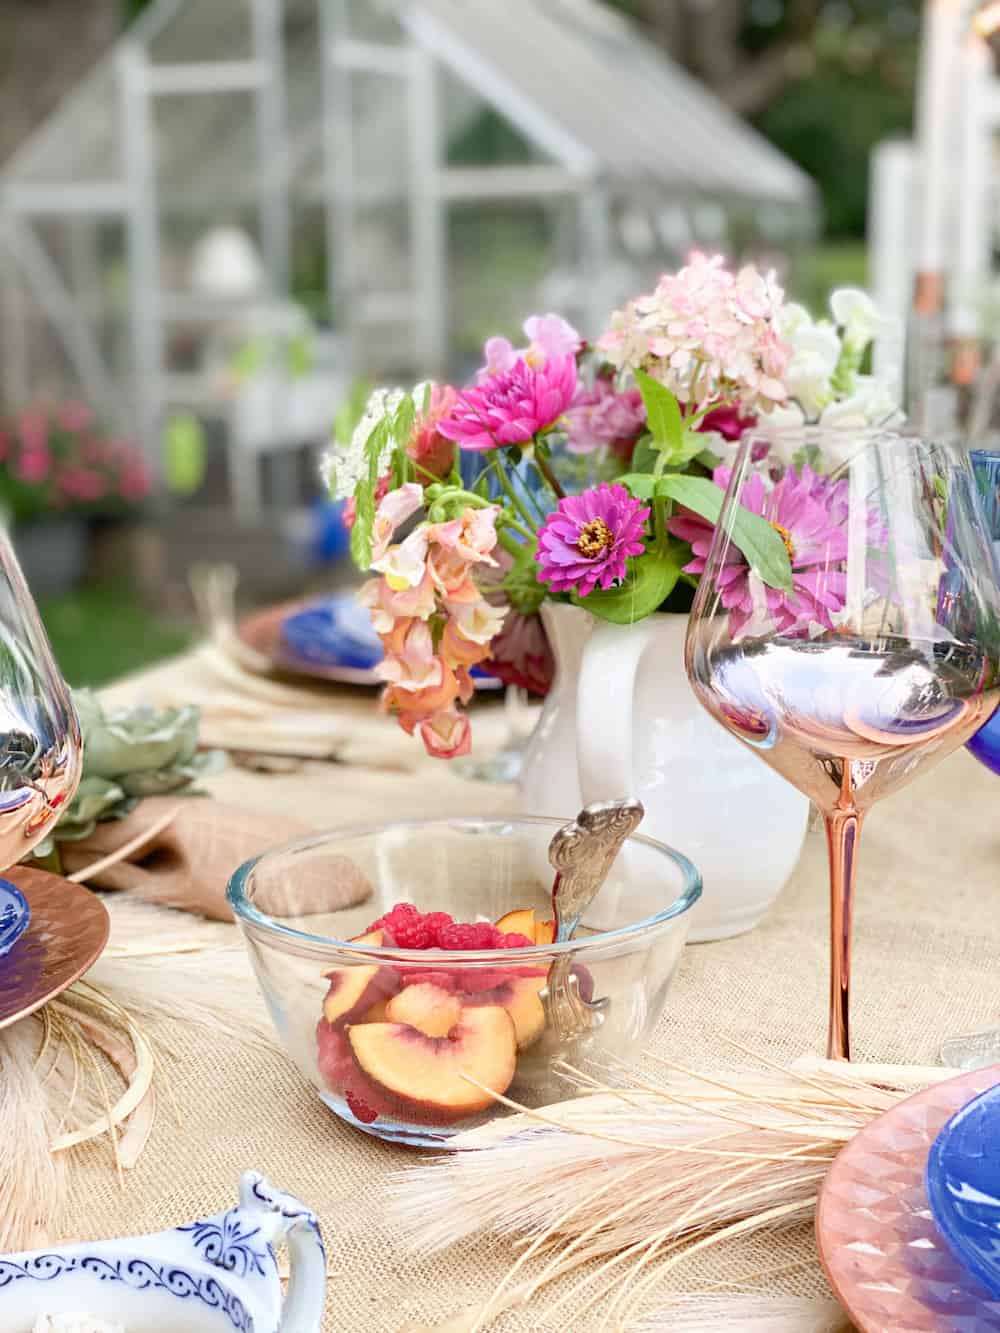
Creating a Beautiful Tablescape
Entertaining!
Receive someone as a guest and provide them with food and drink
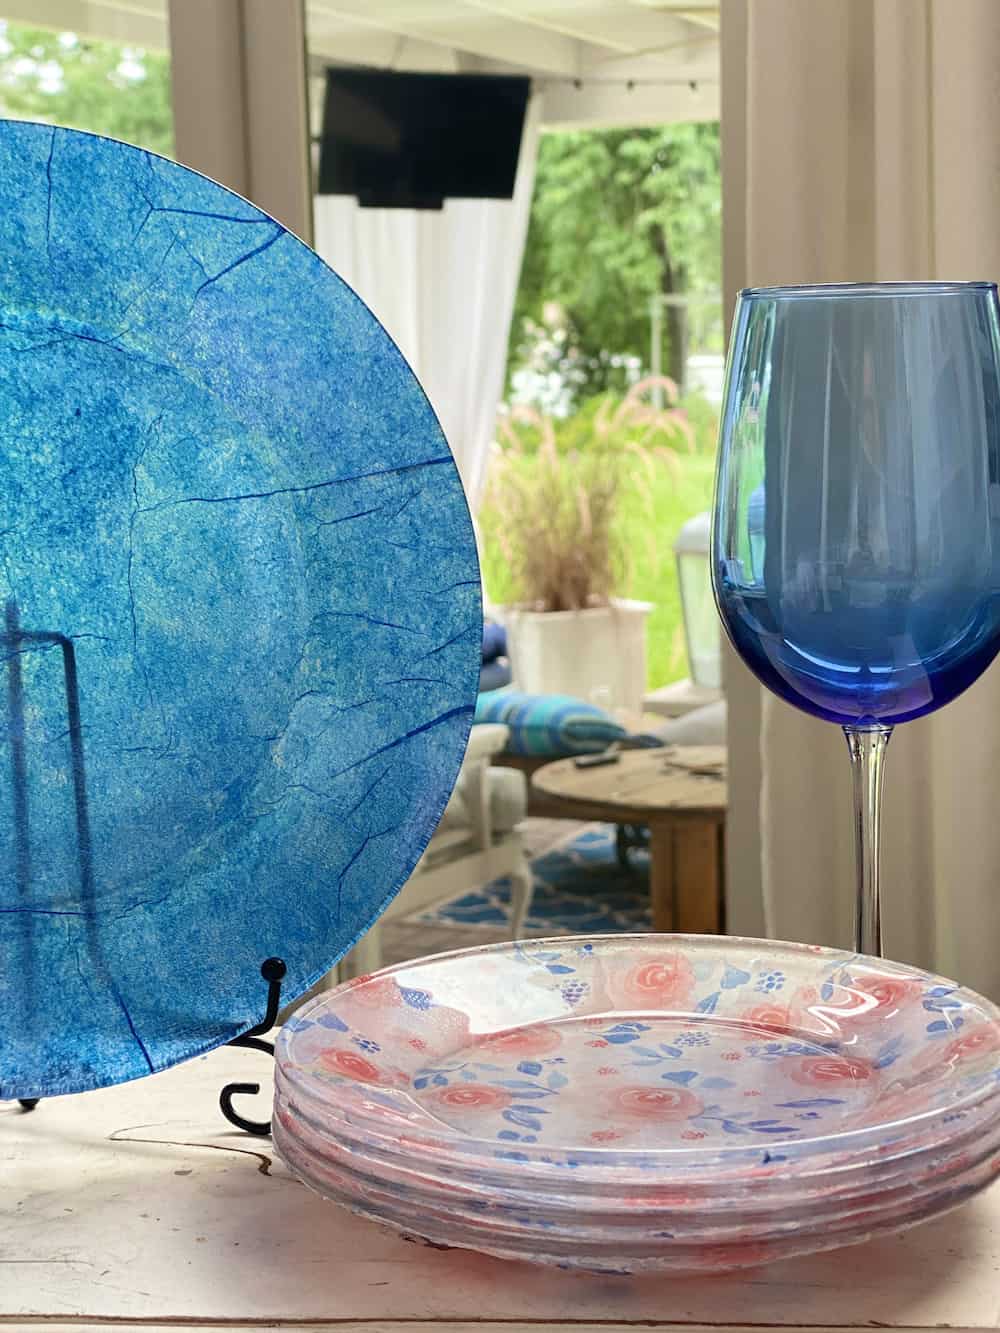
If you’ve been around for a while you know that I almost always just use white dinner plates and then create beautiful tablescapes by switching up my salad plates.
I switched things up for this dinner party tablescape and decoupaged both my dinner and salad plates. The company and the dinner were lovely. I served a simple chicken kabob recipe and we ate outside.

Parting Thoughts!
I had seen this DIY project done many times before. My friend Leslie at My 100 Year Old Home has done it several times. Heck, even Martha Stewart has done it. I wanted to see what all the fuss was about. Now I know. You can have a beautiful designer-inspired plate for your table at a much smaller price tag. You just need to know how to decoupage napkins on a glass plate!
I expect that the more that I do it, the easier it will get. Don’t tell “Handy” but I already have more napkins for my next dinner party.

Peace,
Here are some other fun dinner parties that I’ve had
- Birthday Dinner Party
- Fall Dinner Party
- Backyard Wedding
- Entertaining with Ease Series
A great way to save this article is to save it to your Pinterest boards. You can find the pin button in the top left corner of the photo below. Also, don’t forget to follow me on Pinterest
Would you like to save this?
Shop My Table

I have done this, too. It’s such a great project. Your plates are so pretty.
It’s so much fun. I’ve bought all kinds of napkins! My husband thinks I’ve lost my mind!
These are pretty; didn’t realize there was a version that would allow plates to be hand washed. Opens up so many possibilities!
It actually says it’s dishwasher safe but I certainly wouldn’t trust that 🙂 Thanks for reading!
Love this idea Lynn! I would love to share it on my Saturday Morning Gather post tomorrow.
Thank you my friend for sharing my post with your readers!
Such a great idea! I love to use colorful and interesting salad plates. Now I can make some to match my tablescape at a great price! Thanks for the inspiration!
I love switching up my salad plates and this opens a world of options!
I love this idea, Lynn. Your table is just beautiful! I’d love to feature your decoupage plates in my Seven on Saturday post this weekend!
Hi Kim – Thank you so much for sharing my post with your readers! It really is a fun and easy project.
These are just adorable! And something g I have not done. I will have to give it a try. Thanks for inspiring me Lynn.
It is fun and a little addicting. I have a stack now of napkins that I want to use to transform more plates.
Your plates came out great! Decoupage is such a fun project to do. Linnking this tomorrow on my Mitten Moments. 🙂
It is so much fun! Thank you so much for sharing my post with your readers!