Learn How to Make a Dresser that Doesn’t Take up any Square Footage
Do you want to learn how to make a dresser that doesn’t take up any square footage in your room? I have the answers here!
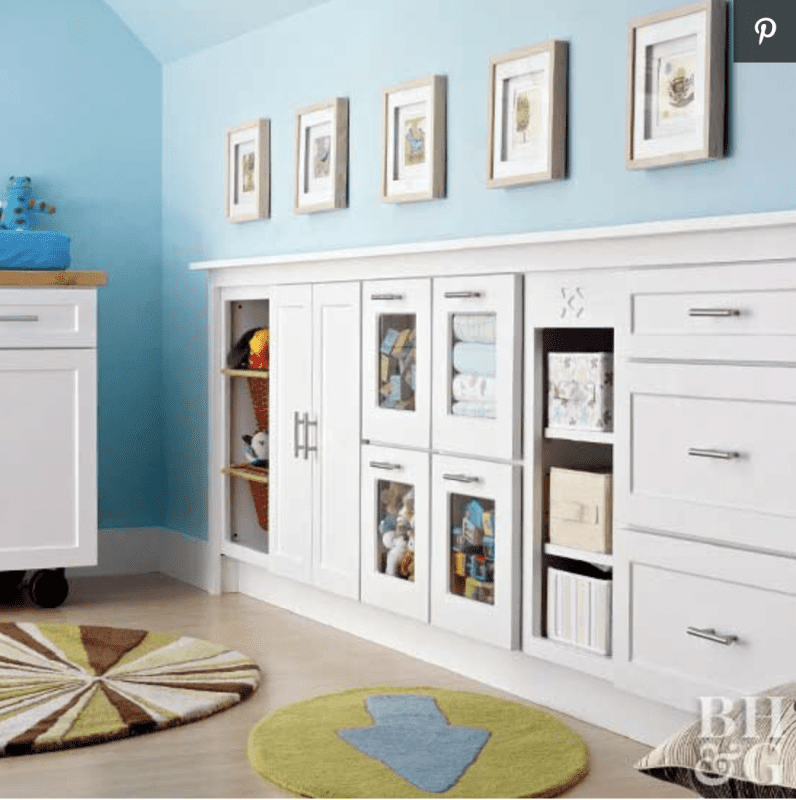
It started with an inspiration picture that I had in my idea binder for years. One cold January morning I pulled it out and had a chat with “Handy“.
As you all know, we live in a very small house. 1,300 square feet to be exact! I am always looking for ways to add storage to our home.
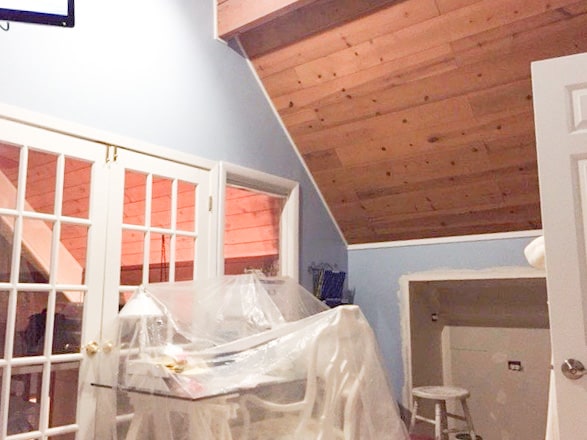
Our home is an A-Frame so there is space between the walls and our roof. Twenty-Two years ago we created a bump-out on one side of our house. I discovered, at age 42, that I was pregnant again and “Handy” wouldn’t even consider moving. So we added 300 sq. ft., to the house with the bump-out bringing us to that magic 1,300 sq., ft., number. Yes, four of us were living in 1,000 sq., ft., until then. This added much-needed space to the tiny room that would soon house two girls and our bedroom gained some space and a walk-in closet.
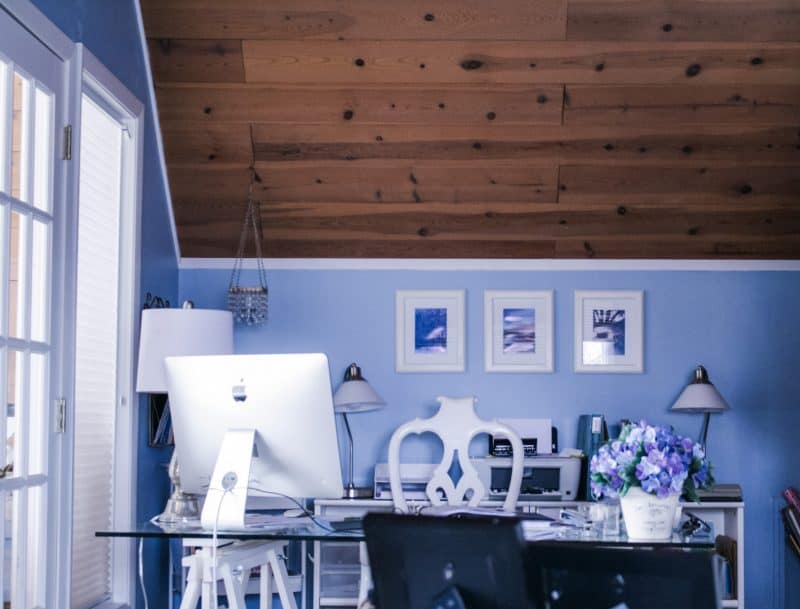
We have built-ins in every single room and I’ve converted the space under my stairs into a pantry. You can read about that HERE. Now I wanted to use the space in the eaves of our roof to put a dresser into our bedroom. I had kids in both of the other bedrooms and my desk was in our room. I desperately needed space for my work supplies.
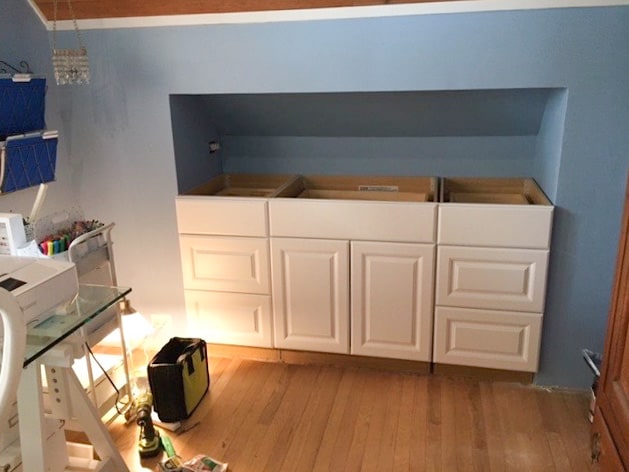
This was a relatively easy project that was also very easy on the budget. We started with picking out some stock cabinets from Home Depot. I opted for two 24″ cabinets with three drawers for each side and a 36″ cabinet with a drawer and two bottom doors for the center. Because I was pretty specific in that I wanted white cabinets and drawers we bought new ones. I see cabinets on FB Marketplace all the time and you can also make them work.
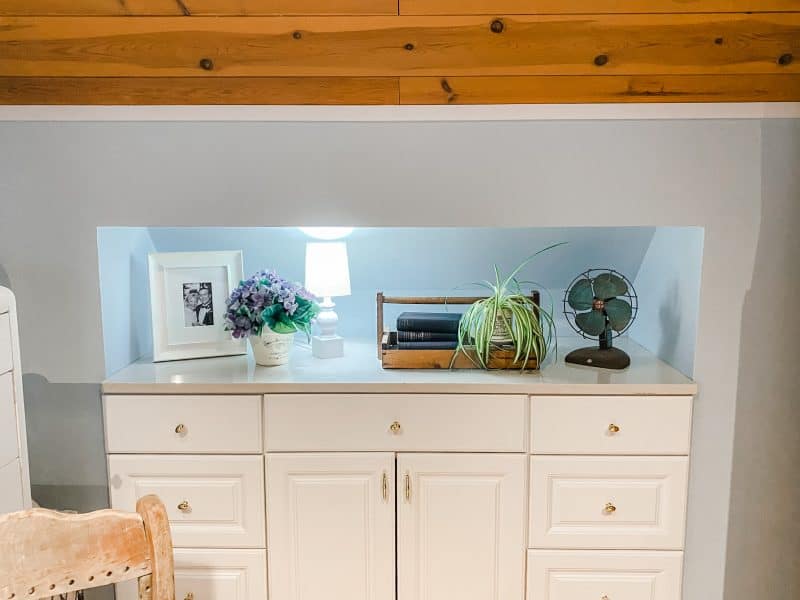
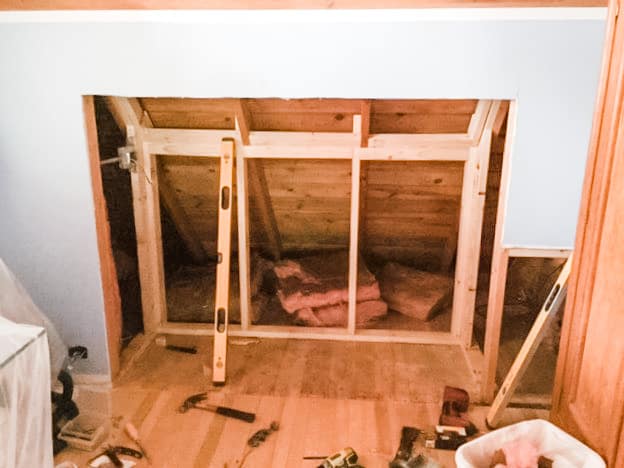
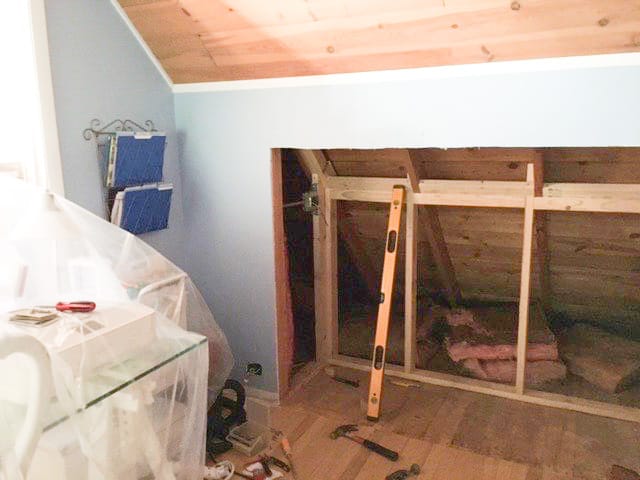
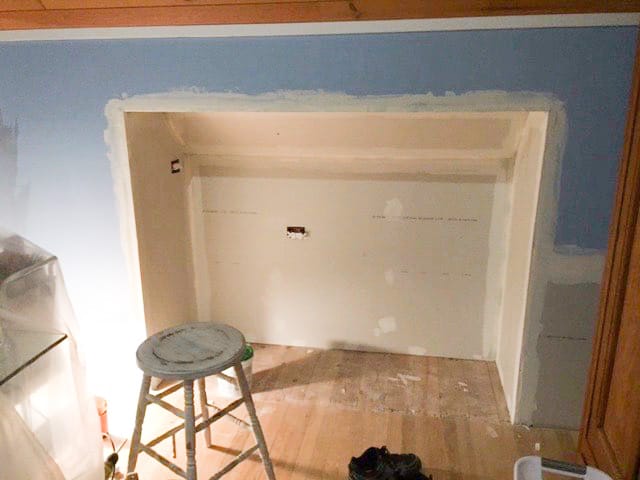
Once we had our sizes down, Handy cut a hole into the wall. Making sure he had enough space for the cabinets, framing, and drywall. Once he opened the wall and framed it, he actually reworked some electrical so that I have a plug in the top area and also inside the middle cabinet. This certainly isn’t necessary but it’s a nice perk. Then he insulated, drywalled, taped, sanded, and painted the opening. He slid in the cabinets and put the baseboard across the bottom. At a local tile store, we were able to get a really inexpensive cut-off of manufactured stone for the top. They cut it to size for us and it got caulked to the top of the cabinets. It was basically a weekend project.
My desk is no longer in our room. Now I use some of the space for sweatshirts but it also houses most of our family pictures and my camera equipment. I use two drawers for greeting cards and wrapping supplies. Another drawer has our travel supplies in it and another drawer is where our electronic extras live (extra chargers, headphones, plugs and power strips, etc.)
Would you like to save this?
I hope that this gives you an idea of what you can do with hidden spaces in your home.
We live in every inch of our home. I have a sign in my kitchen that says “Love Grows Best in A Small House”. Most days I completely agree with that and I wouldn’t have it any other way. However, I would be lying if I said there weren’t days when I long for double the space. But I’m lucky to be married to a very handy man!
If you have more specific questions on how to build this dresser, please put them in the comments below. We would be happy to give you more detail.
Happy DIY!

Wonderful idea!
I will have to add it to my idea file.
Blessings to you.
That’s how I got the idea it was something on my idea board from Pinterest ????