How to Make a Faux Topiary
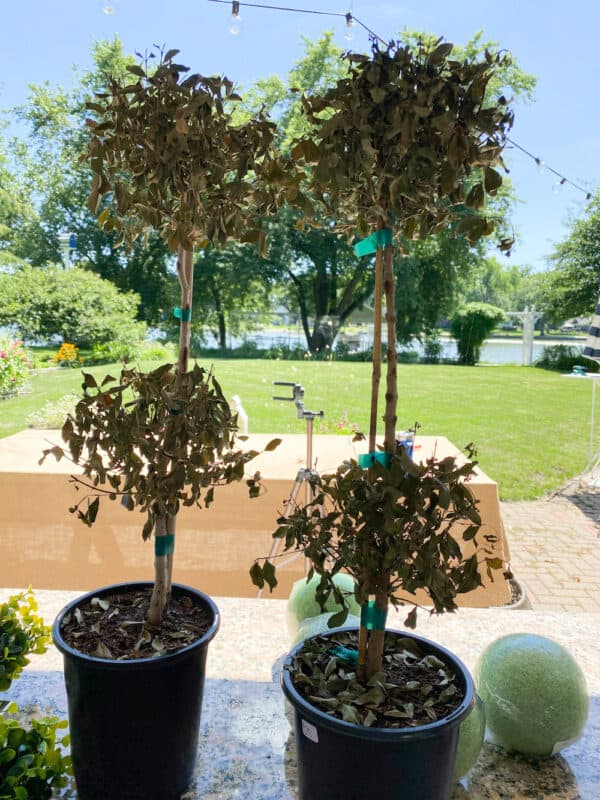
I’m going to share with you how to make a faux topiary from a formerly real Topiary.
Do you like me, struggle to keep a real plant alive? I do well with outdoor plants but when it comes to indoor live plants, I just don’t have a green thumb.

On my blog, Living Large in A Small House, I may sometimes use affiliate links, which means a small commission is earned if you purchase via the link. The price will be the same whether you use the affiliate link or go directly to the vendor’s website using a non-affiliate link. You can find my full Disclosure Policy HERE
How Do You Make a Faux Topiary?
Well, I’ll show you how to make artificial topiary trees from formerly real topiaries.
The beauty of these faux plants is that they will be low maintenance (I won’t have to water them) and I can use it anywhere even in outdoor areas for outdoor decor.

Faux Topiary
Ingredients
Instructions
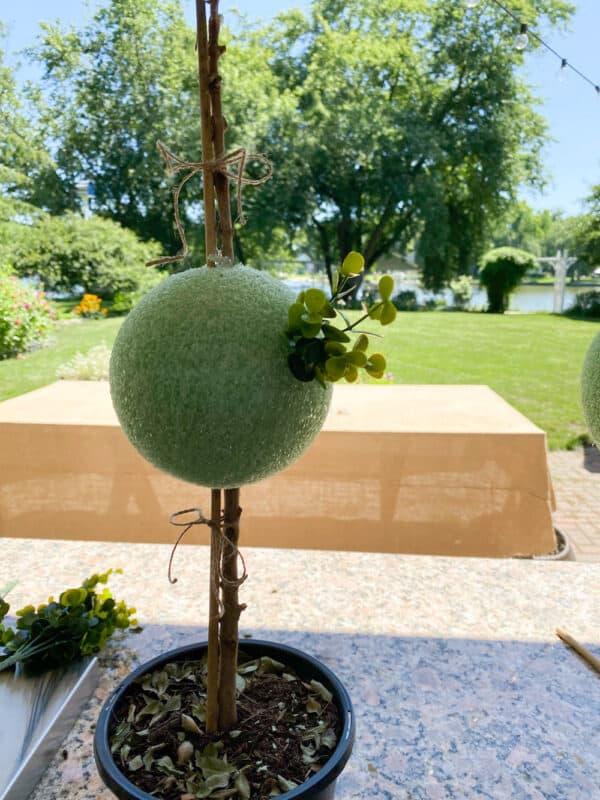
- The first thing that I did was remove all the old foliage and then I put the center ball into place on the stems and glued it into place.
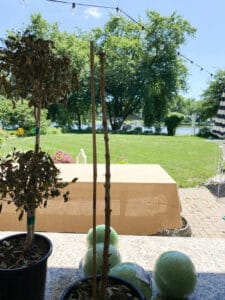
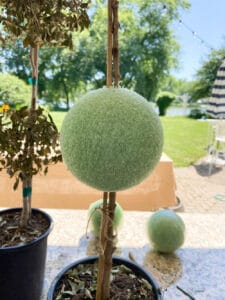
- I would suggest that you make a hole through the center of the styrofoam balls with the dowel rod so the hole is in place but then remove the ball to apply the boxwood as it's much easier to work with detached.
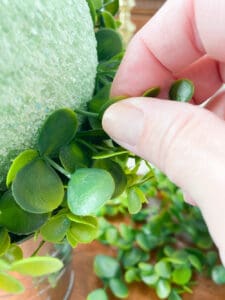
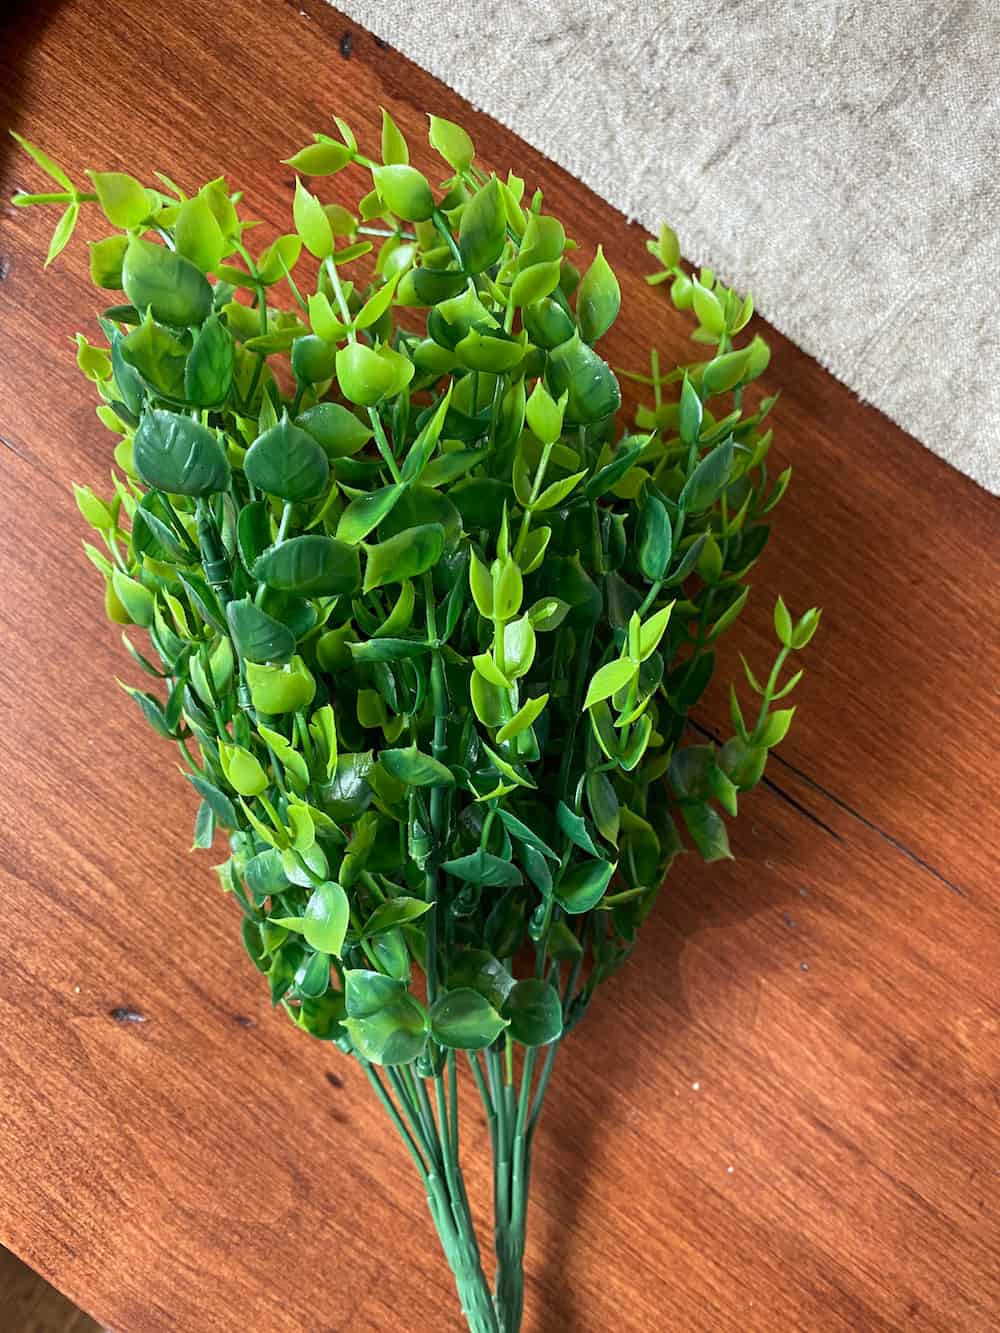
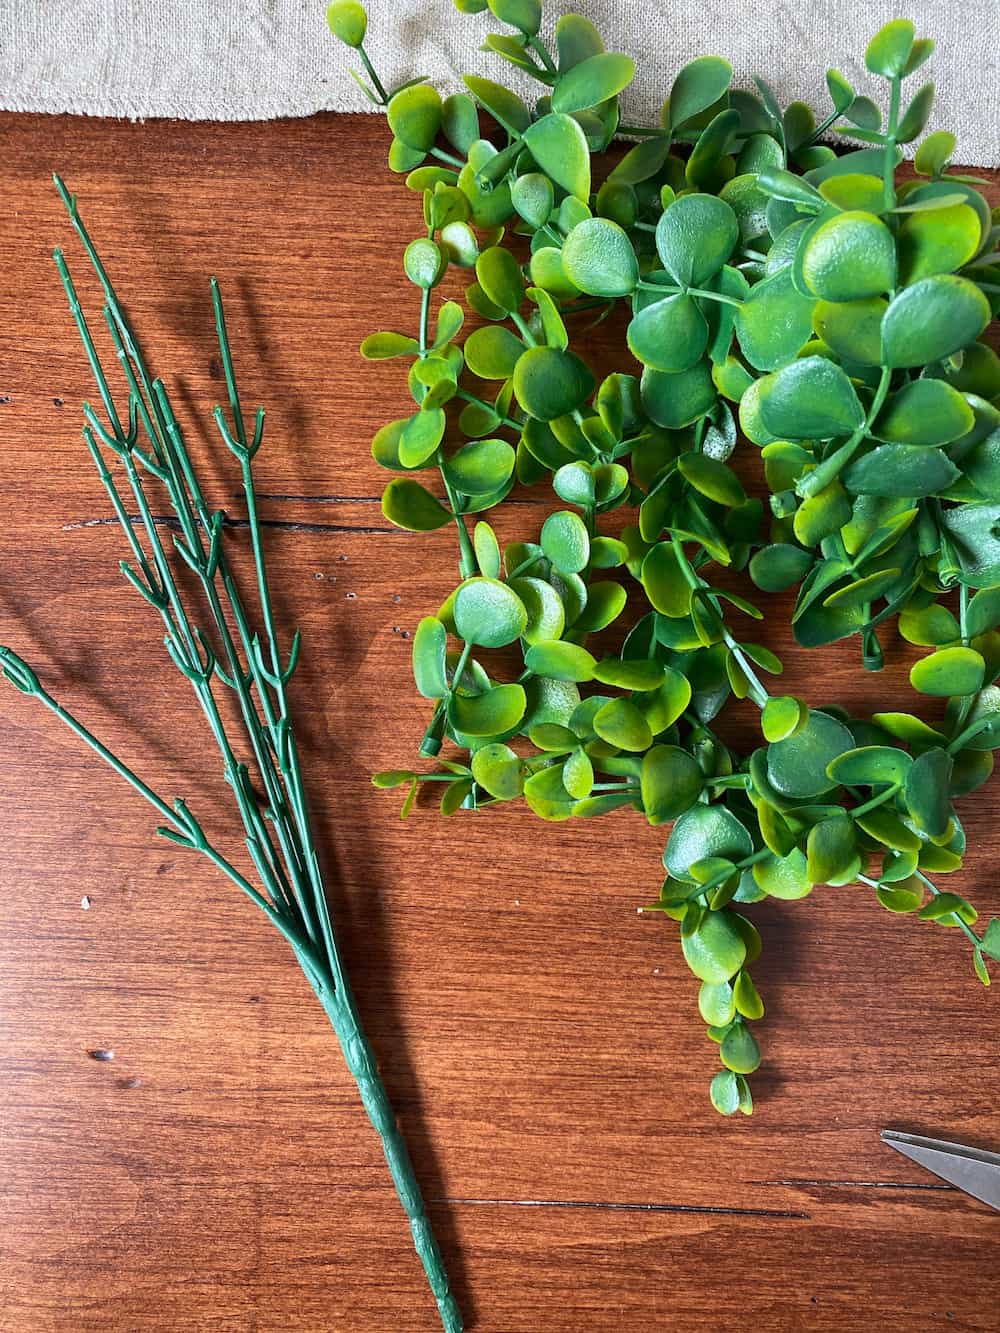
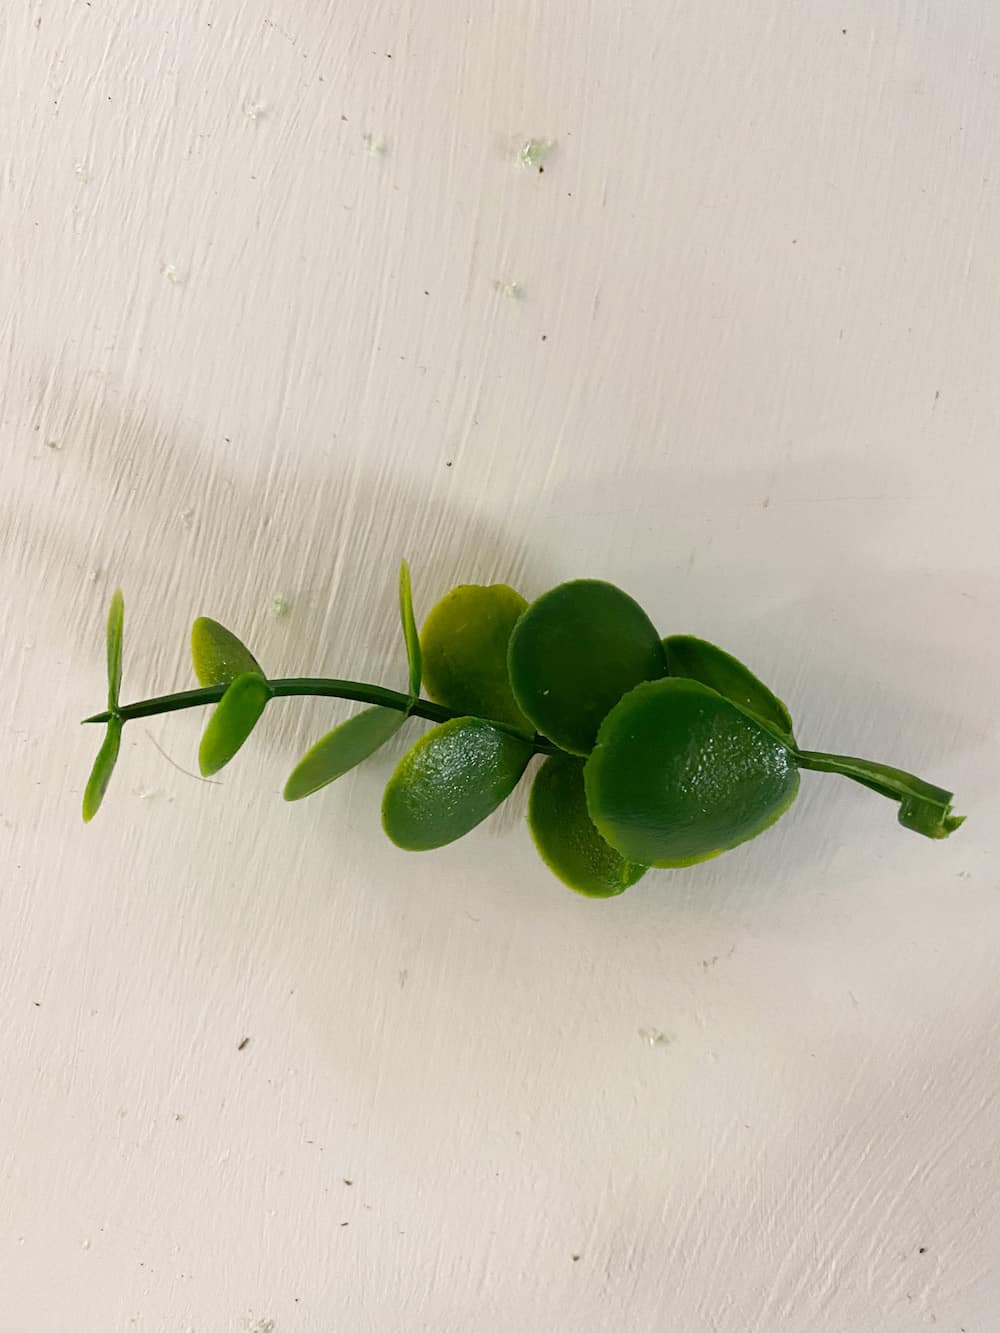
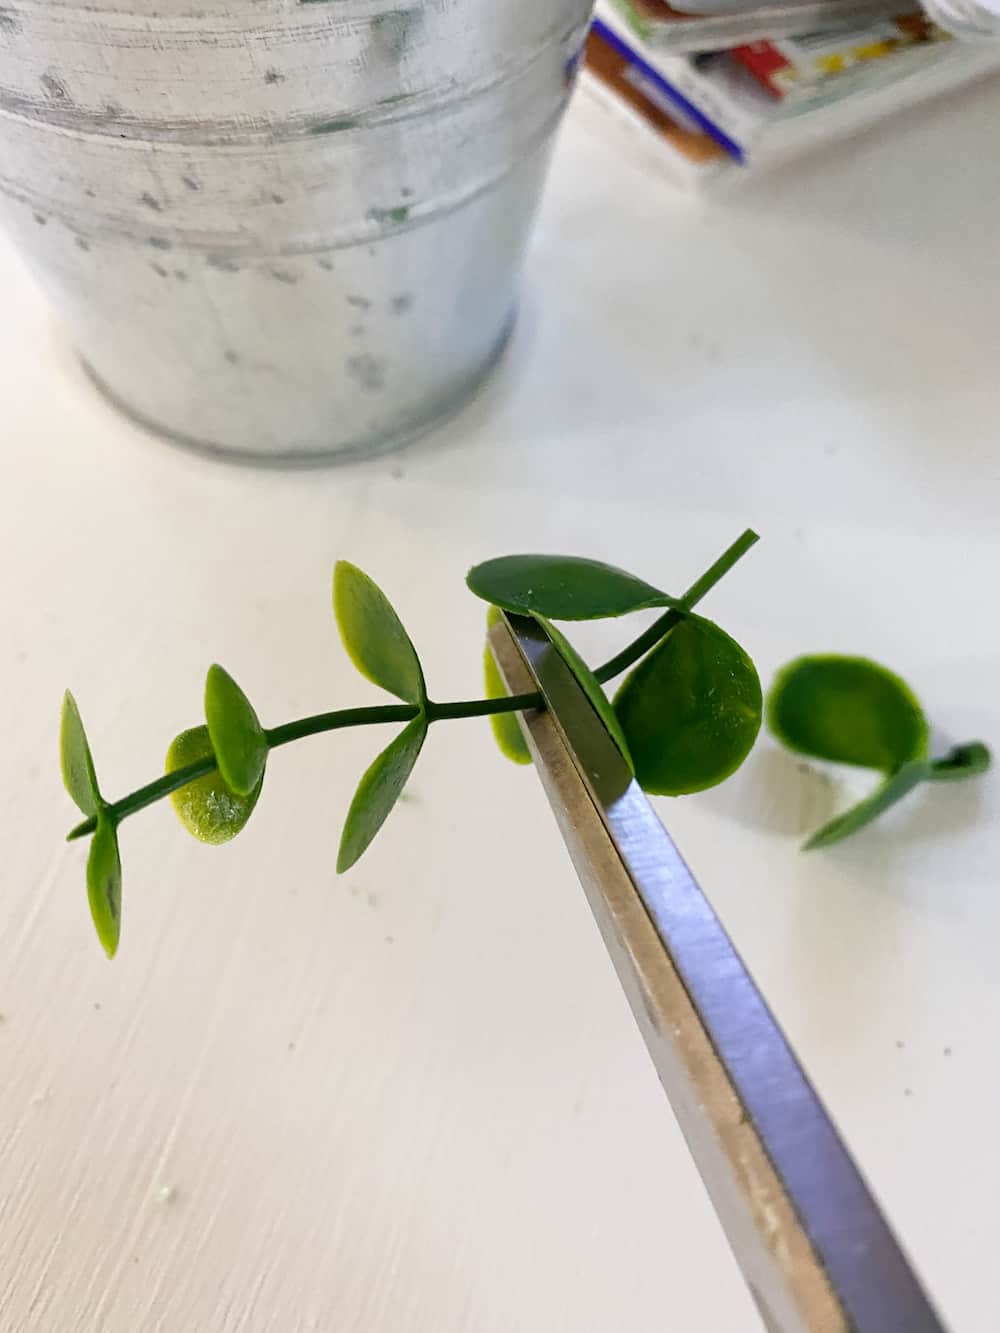
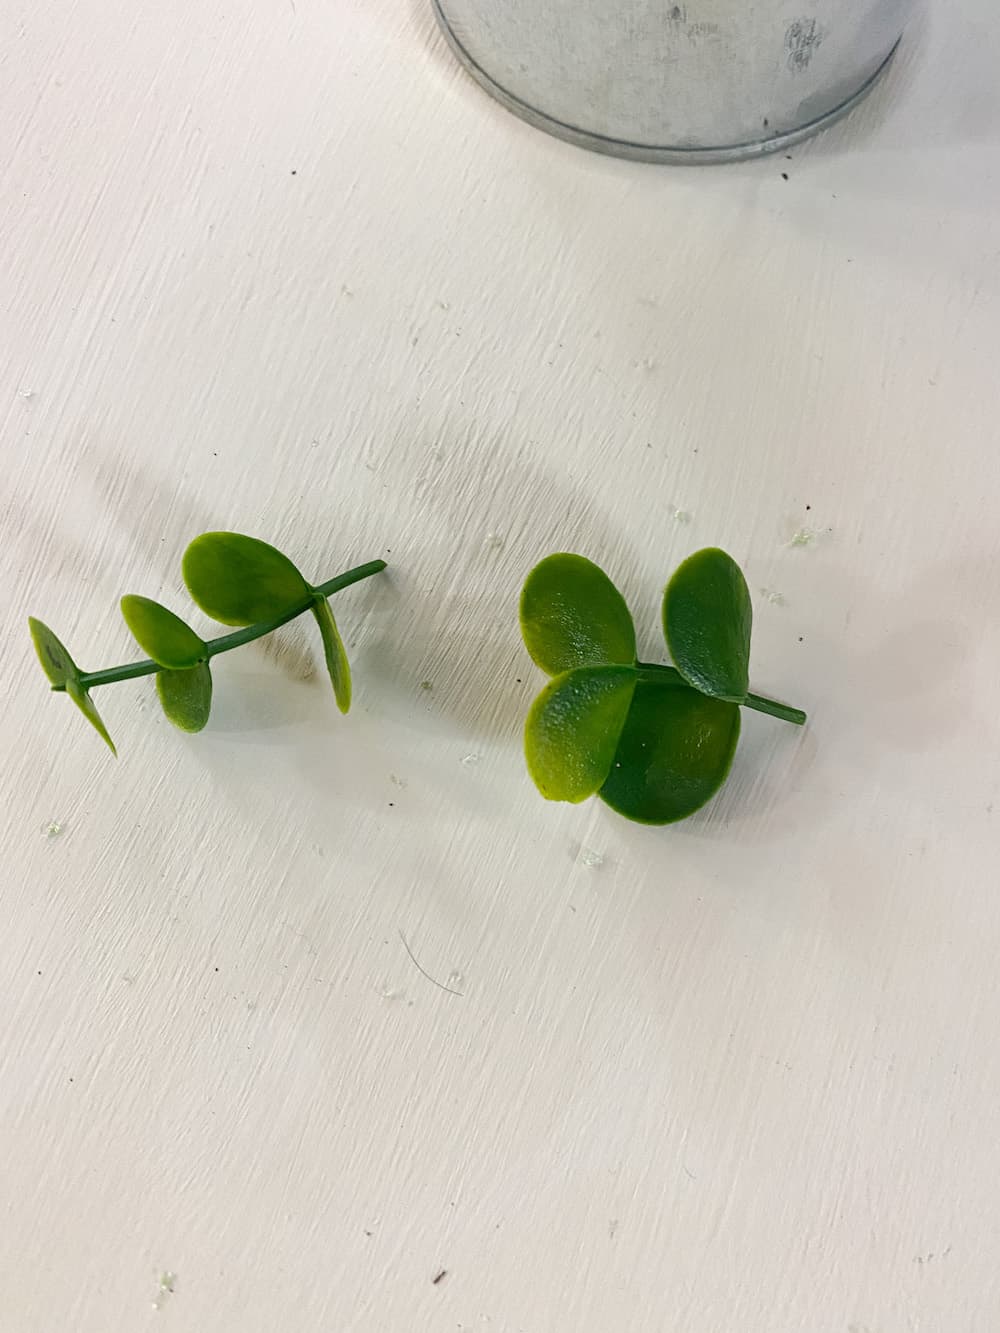
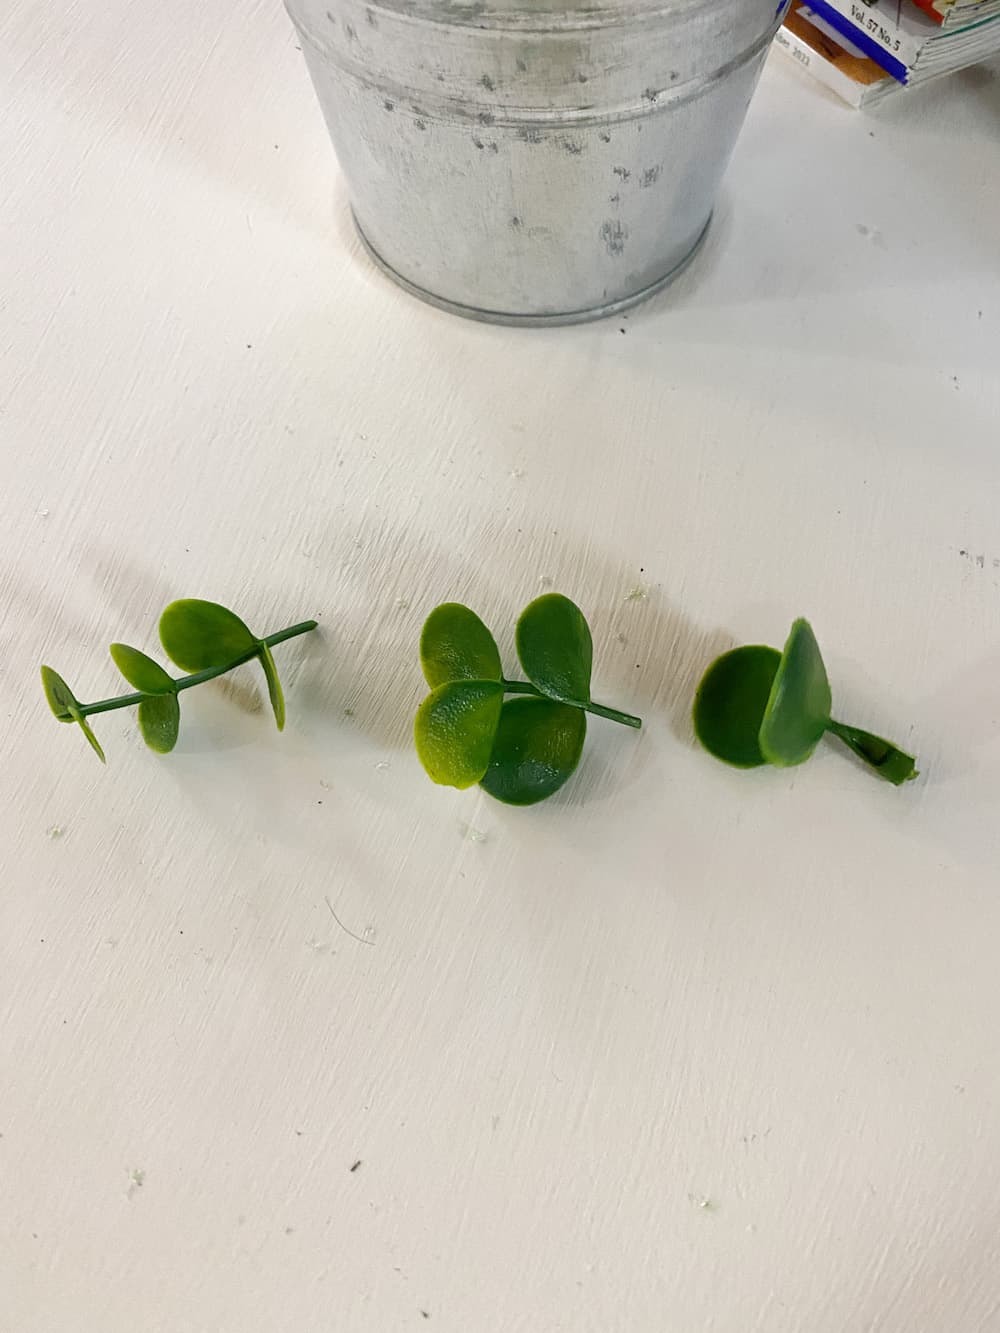
- The boxwood that I purchased has stems attached to a branch so I removed all the stems first and then I cut the stems to a size that was appropriate for my topiary. I was able to get two boxwood pieces from each stem.

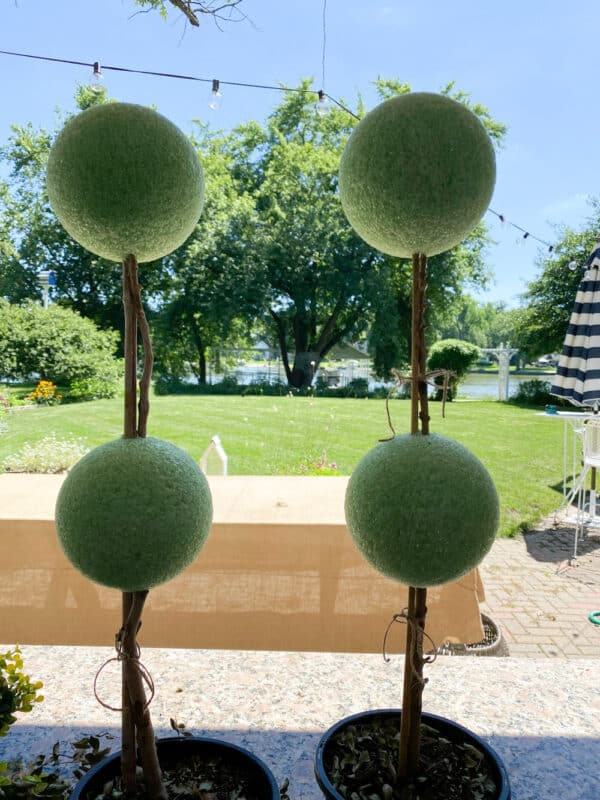
- Then I stuck the ends of each piece into the styrofoam ball, working around until it was completely covered. I found that I didn't have to have them right next to each other to fill it all in. I used (6) packages of six to cover all four balls.
- Once the balls are covered, you can put them on the stem or dowel and glue them into place.
- Even though mine are in dirt from being real plants, I'm going to remove the dirt and secure them into place with plaster of Paris
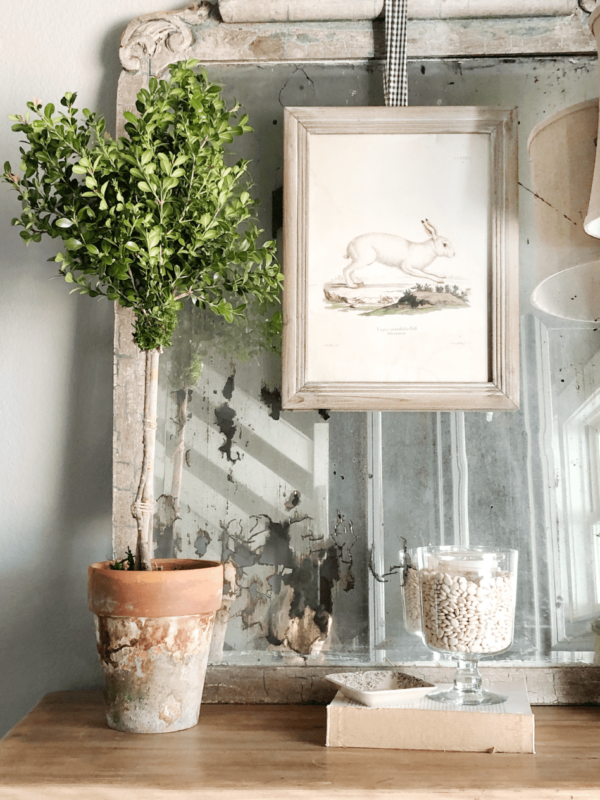
- Once set, I will put my topiaries into decorative terracotta pots.
Topiary Tips
I ordered my topiary floral balls, and boxwood foliage from Amazon as it was the best deal I could find with fast delivery.
This wasn’t originally boxwood but that’s what I chose for this project as it has dense foliage that I think will cover the faux ball nicely.
I also want faux topiaries that have a realistic look.
You however can choose any type of greenery to create your artificial topiary ball. There is such a wide range of faux topiary plants that you could choose from.
The project ended up taking more time than I imagined but I love how it turned out. I also haven’t had time for craft projects that weren’t wedding related for over a year.
I didn’t mind the process.
It was fun and relaxing to be able to create this for much less than it would have cost me to purchase it.
Now it’s time to cover the styrofoam balls with the boxwood branches.
I separated the boxwood stems from the main branch and then with each of the stems, I cut them into smaller littler stems. In the case of the stems that I bought I cut the very bottom leaves off and didn’t use them as they would have created a rather large hole in the ball and would have fallen out.

Working with the middle balls first, I gently pushed the ends of the branches into the styrofoam ball. Initially, I had thought that I would hot glue each piece. If I did that I would be working on this project for months. I also found that the stems stayed in the ball quite nicely. I just pushed the stem all the way up to the first set of leaves.
Would you like to save this?
The top ball was the easiest because I was able to take that off. Working with it without the stem was a simpler way to work.
When you are done you can place the tree into a cute decorative pot. I have two cute little black planters that I’m using. I will probably be changing the color of the planters but that’s a project for another time.
Other Topiary Ideas
You might want to even tackle something like a floor plant. It could be a focal point in an outdoor area such as your front porch.
I love the look of spiral topiary trees flanking a front door. If you are planning to use these outdoors, I would suggest looking for faux plants that have UV-resistant leaves. This is especially true if they will be in direct sunlight.
While I plan to use mine on an outdoor dining space for one event, they will likely be in the house.
Different Types of Topiaries
My sweet friend Michele at Vintage Home Designs recently created a topiary from her dead plant. Her version was much easier and has a more informal look to it. You can see what she did HERE

Tools you’ll need


If you aren’t interested in making your own there are plenty available for you to buy. Here are just a few.

Peace,
A great way to save this article is to save it to your Pinterest boards. You can find the pin button in the top left corner of the photo below. Also, don’t forget to follow me on Pinterest

What a great idea! Love the look on your fireplace, perfect for Christmas too!
I think decorating my fireplace mantel (especially for Christmas) is one of my favorite things to do. It will be the first year for me decorating with the TV there so I’m not sure how that will go but I’ll make it work.
Gorgeous Lynn! I’m with you on saving money! Pinned????
It was definitely a budget-friendly way to go but it did take some time.
These turned out so great! I love topiaries and I’m all about the maintenance-free kind! You’ll enjoy these for years to come!
Love your faux topiary, nothing seems to live under my care so faux it is all the way for me! Thank you for sharing this idea!
I’m great with things outside but I can’t get a houseplant to grow to save my life!