How to Makeover Your Fireplace Surround on a Budget
Fireplaces are often the focal point of a living room, providing warmth and comfort on chilly evenings. However, outdated or worn fireplace surrounds can detract from the overall aesthetic of the room.
The good news is that it’s possible to give your fireplace surround a whole new look without breaking the bank.
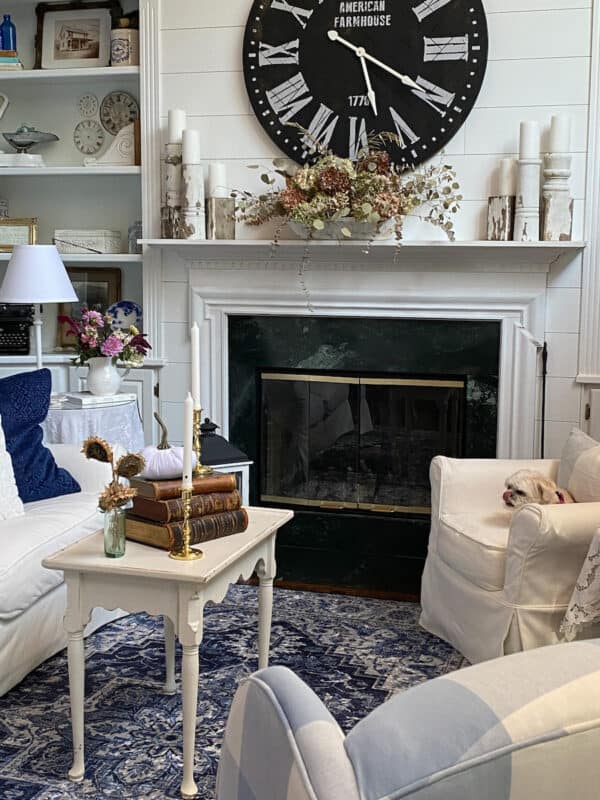
With a little creativity and some elbow grease, you can transform your fireplace surround on a budget. Our fireplace surround had a green granite piece both on the surround and the hearth. “Handy’s” favorite color is green and it’s the last of the green that we have in our home.
Getting “Handy” On Board
I knew it would be a hard sell even though the green doesn’t match our white and blue room at all. I decided to buy a very inexpensive white brick peel-and-stick wallpaper that I could put up. This was a great way to give Keith an idea of what a refresh might look like. If he didn’t like it, I could easily take it down and call it a day.
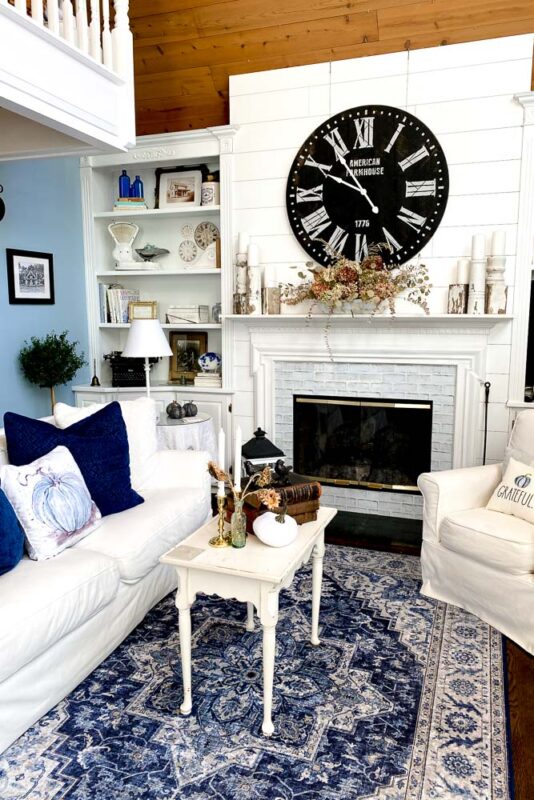
I knew that he would see my vision and within days of putting up the wallpaper, we were at the tile store.
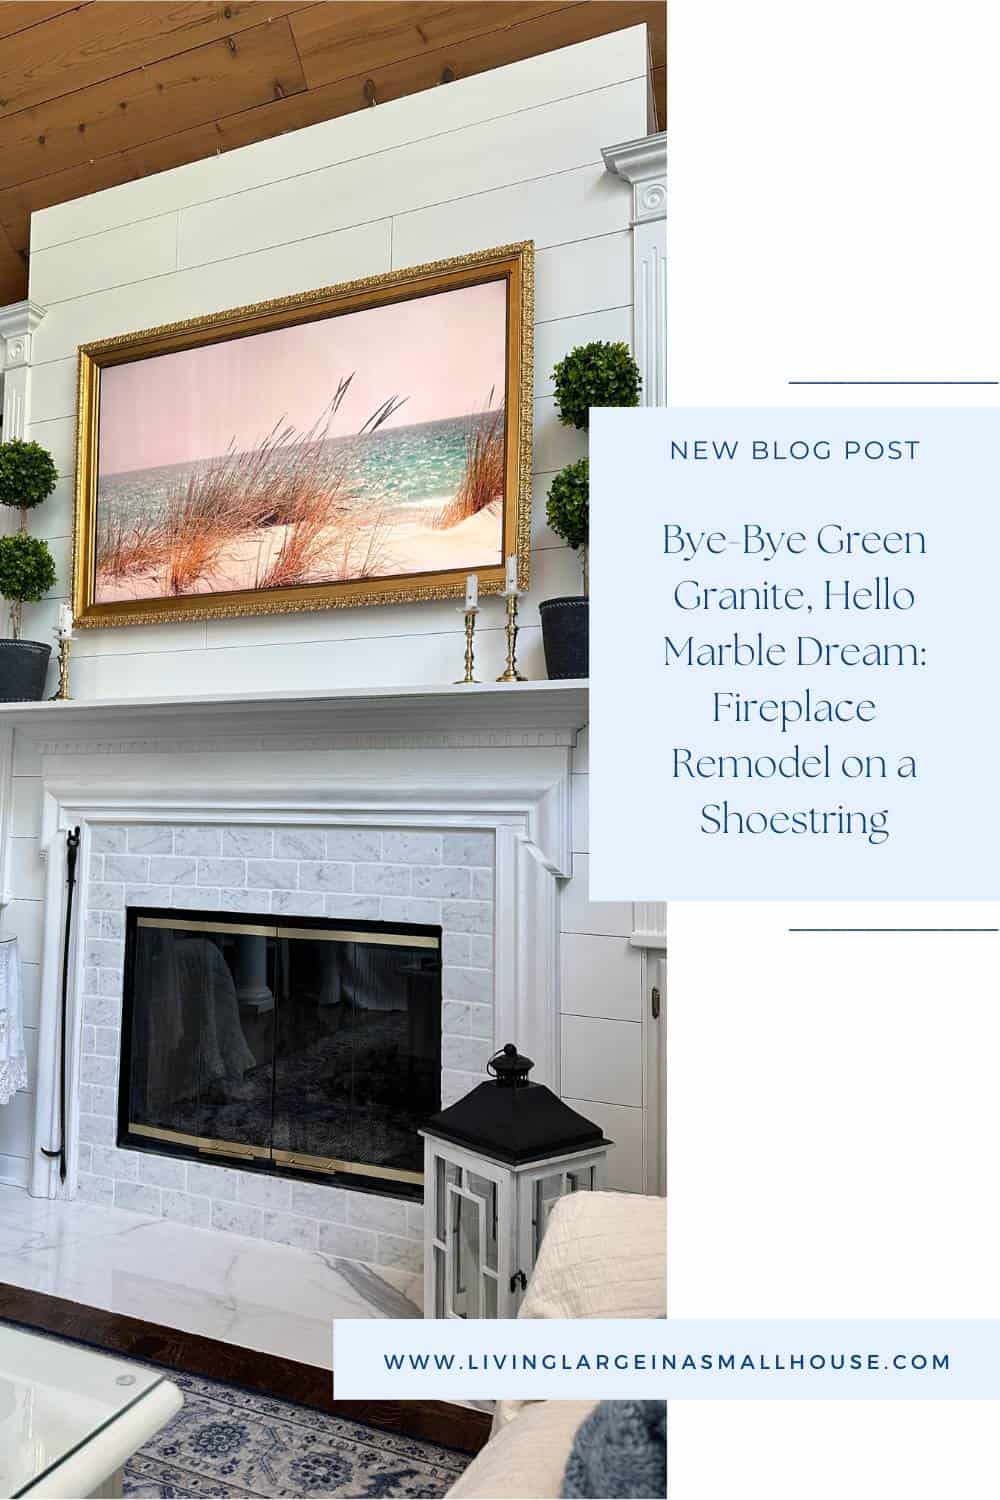
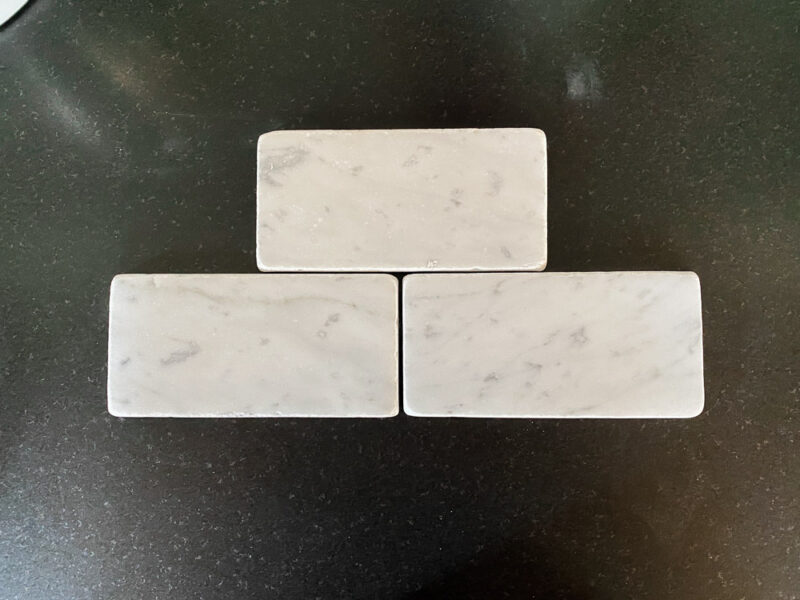
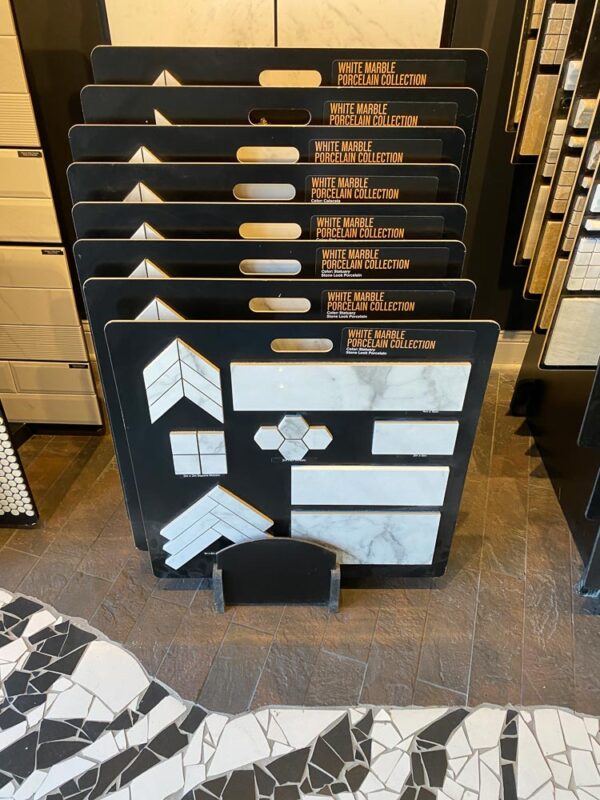
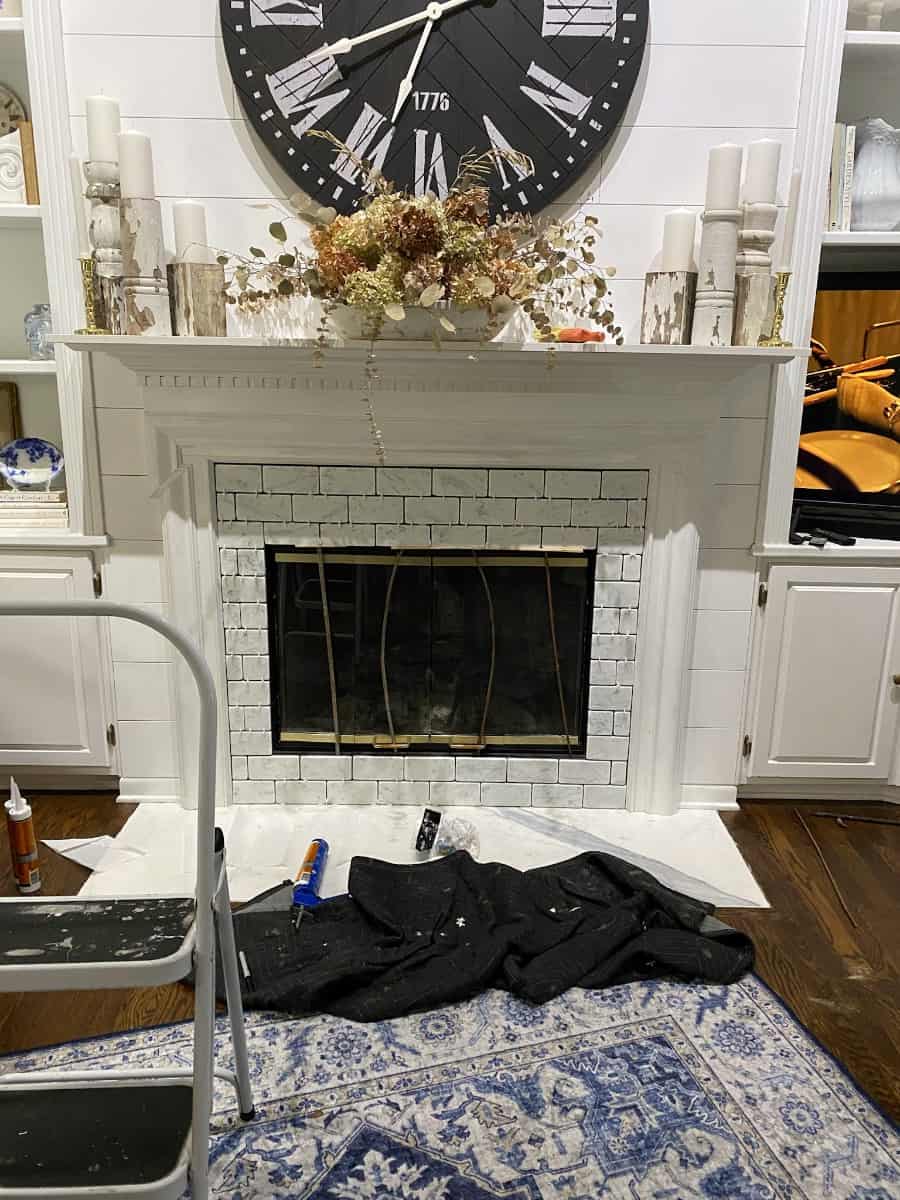
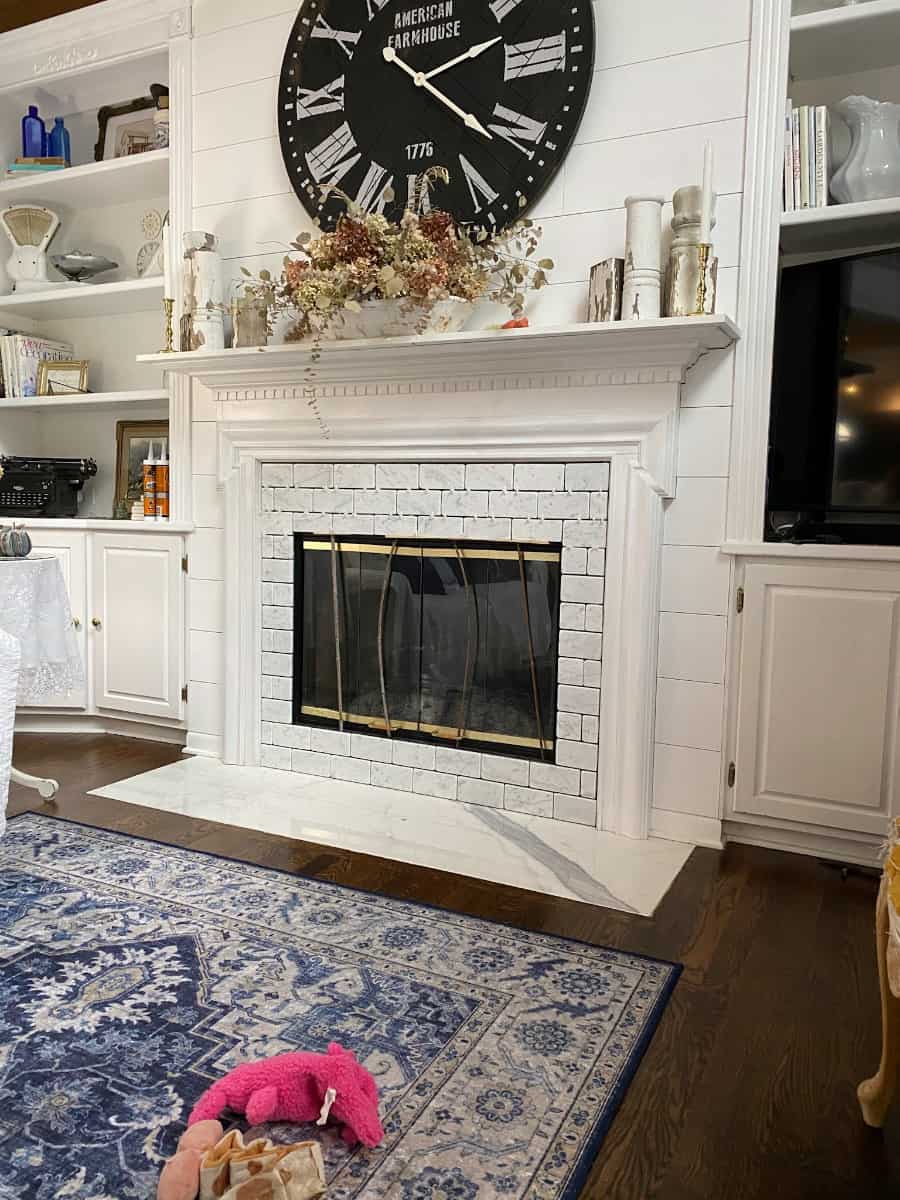
Because the area is small, I was able to find white marble subway tile that was deep-discounted because it was overage from another job. Perfect amount for my project but not enough for something like a floor or shower wall. They were happy to get it off their hands.
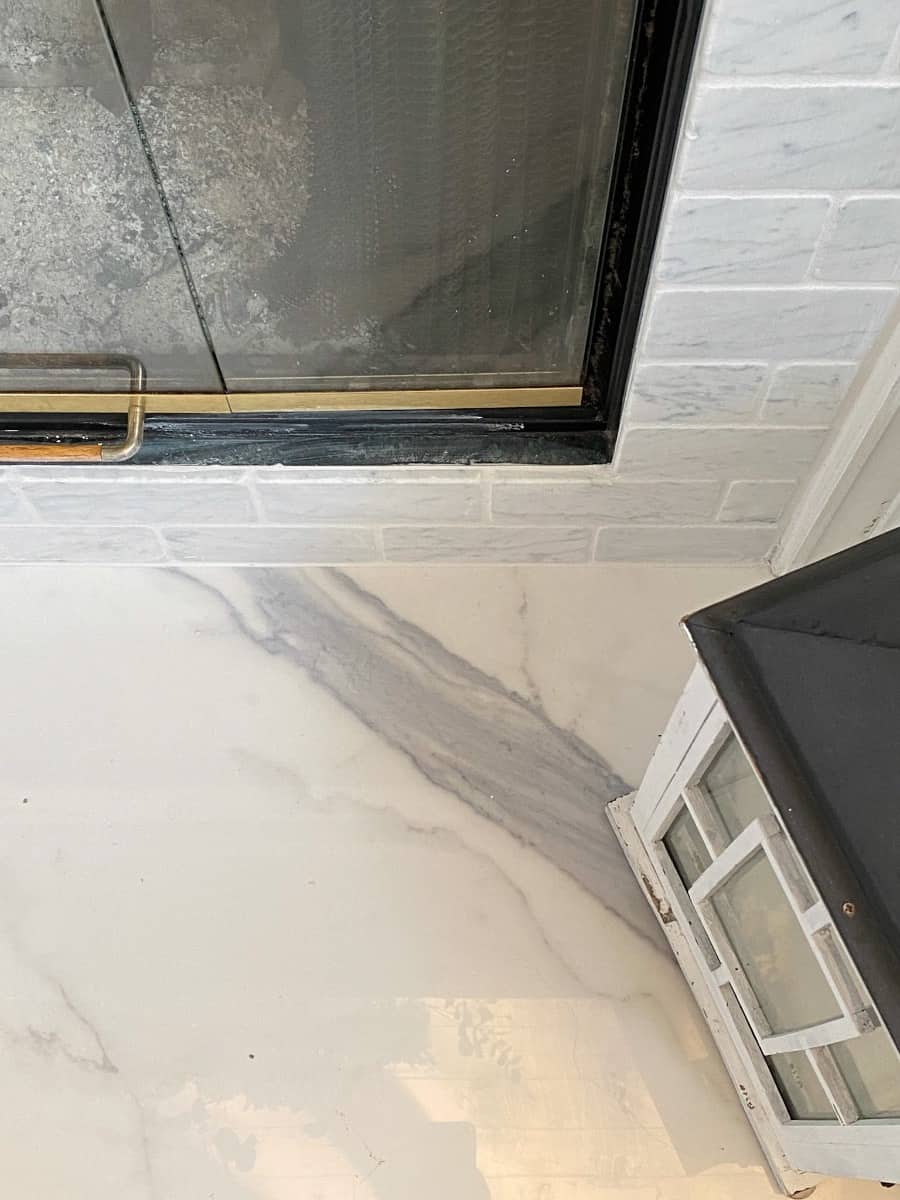
We also found a slab of marble that again was salvaged from another job and we were able to get a cut for our fireplace hearth. He just charged us to cut the piece.
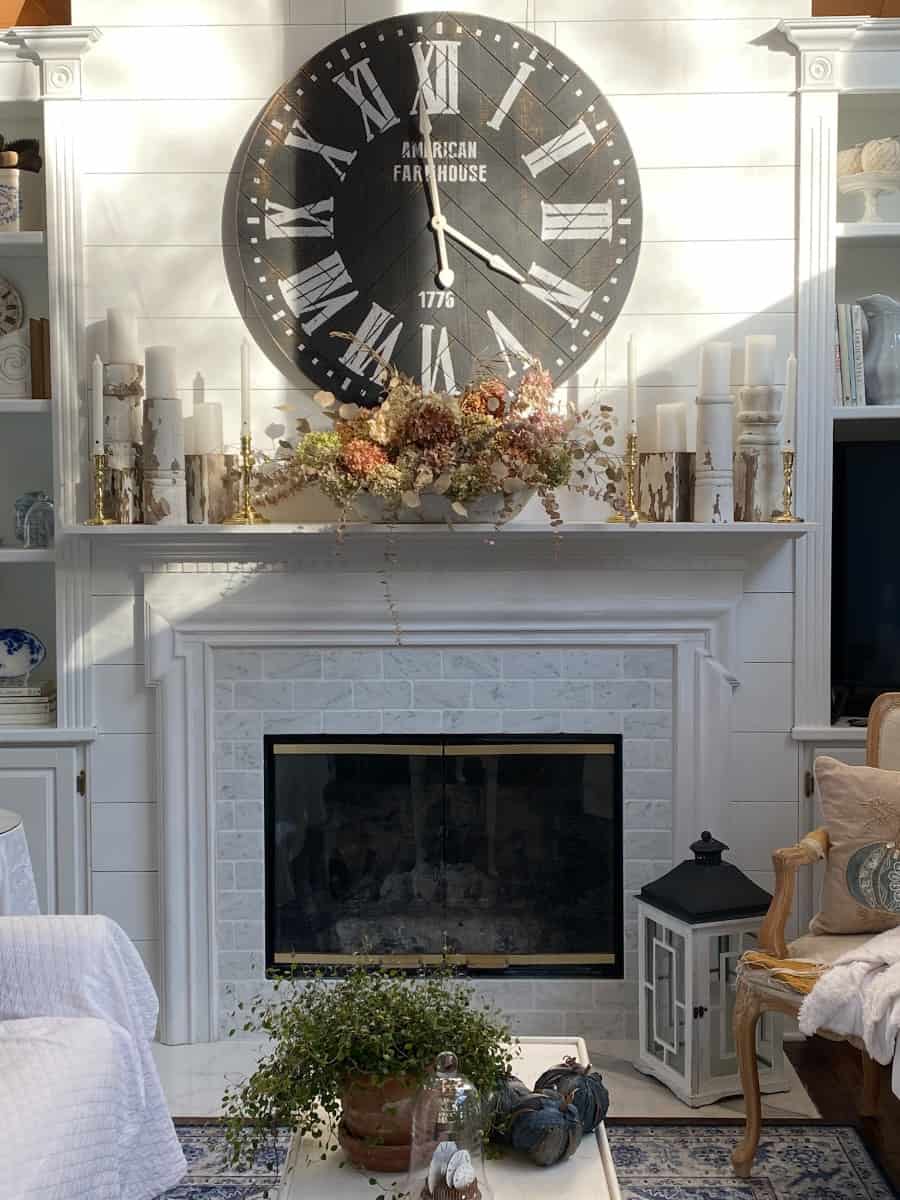
The marble surround and hearth elevated the original fireplace to another level. It gives it a clean look that I want for this space.
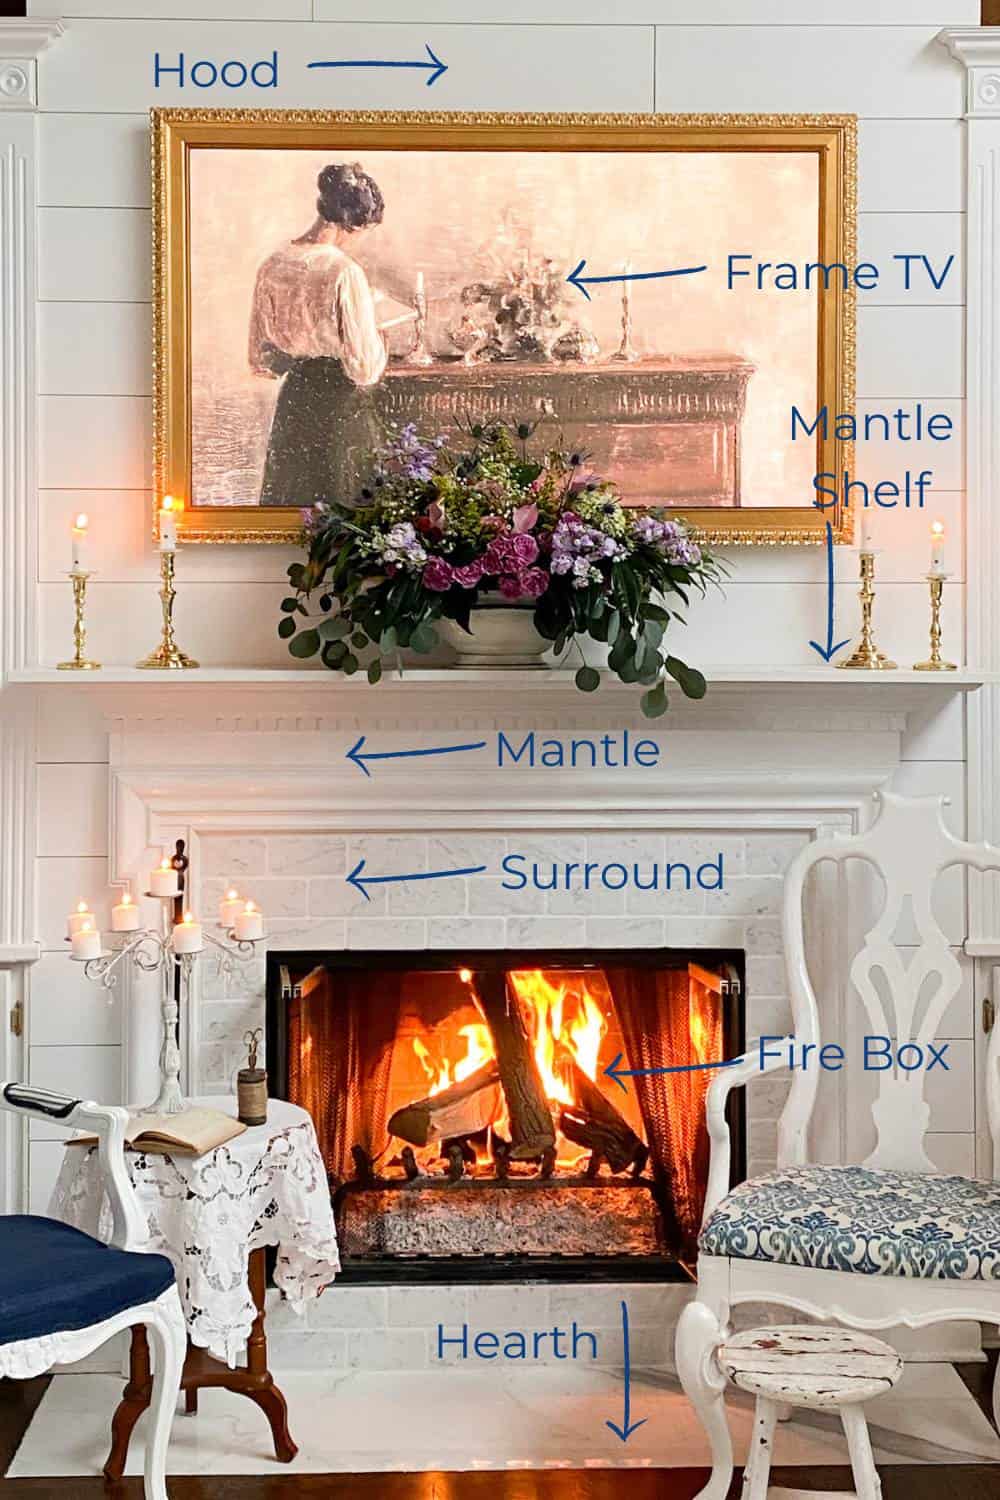
Assessing Your Current Fireplace
Before you start with the fireplace makeover, it’s essential to assess the current condition of your fireplace. This step will help you determine the scope of the project and the budget needed. In this section, we will discuss two critical aspects of assessing your fireplace: evaluating the existing fireplace and considering the design style.
Evaluating the Existing Fireplace
The first step is to evaluate the current condition of your fireplace. Check for any damages, cracks, or missing parts. If you have an old fireplace, it might have accumulated dirt and soot over the years, making it look unattractive. You can clean it with a simple solution of warm water and vinegar.
Next, check the chimney and flue for any blockages or damage. A damaged chimney can lead to a fire hazard, so it’s essential to address it before you start the makeover. If you’re not sure about the condition of your chimney, consider hiring a professional chimney sweep.
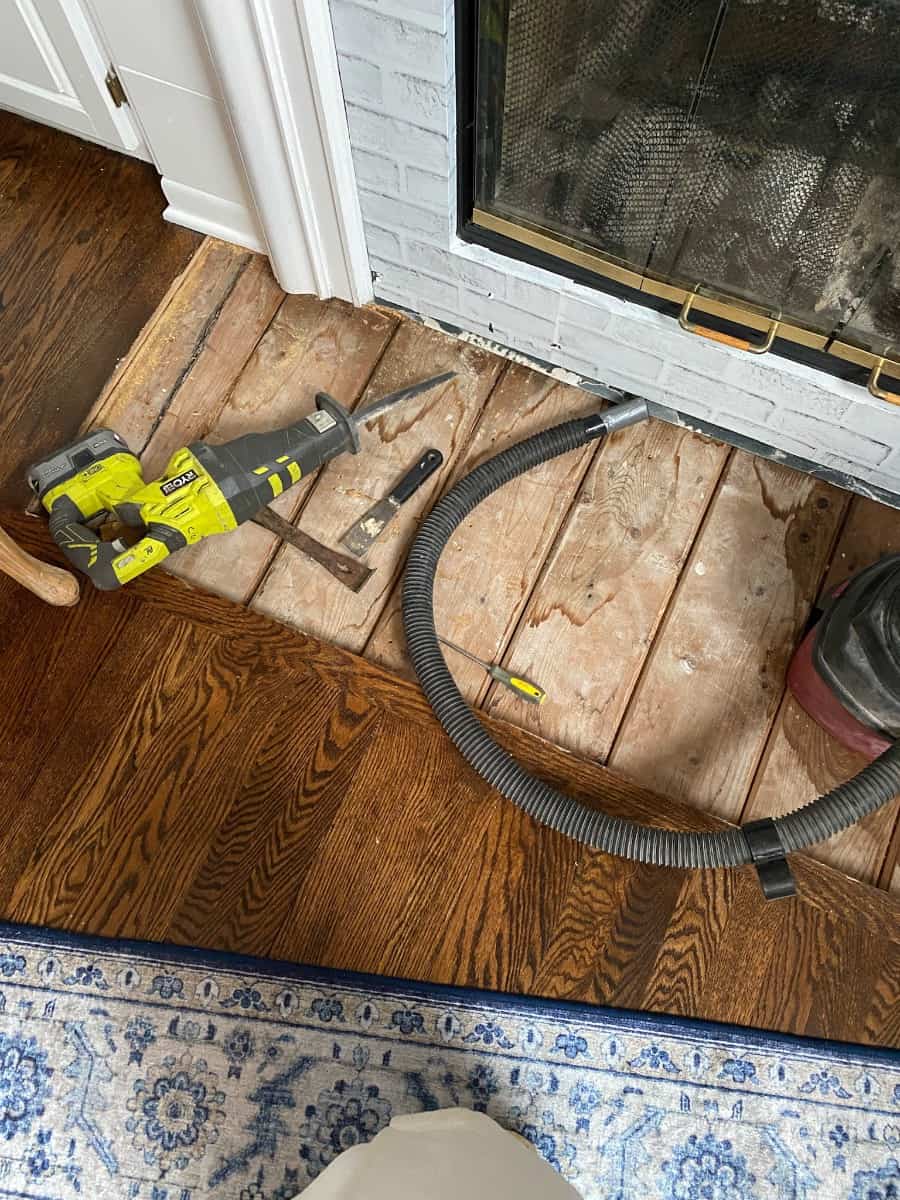
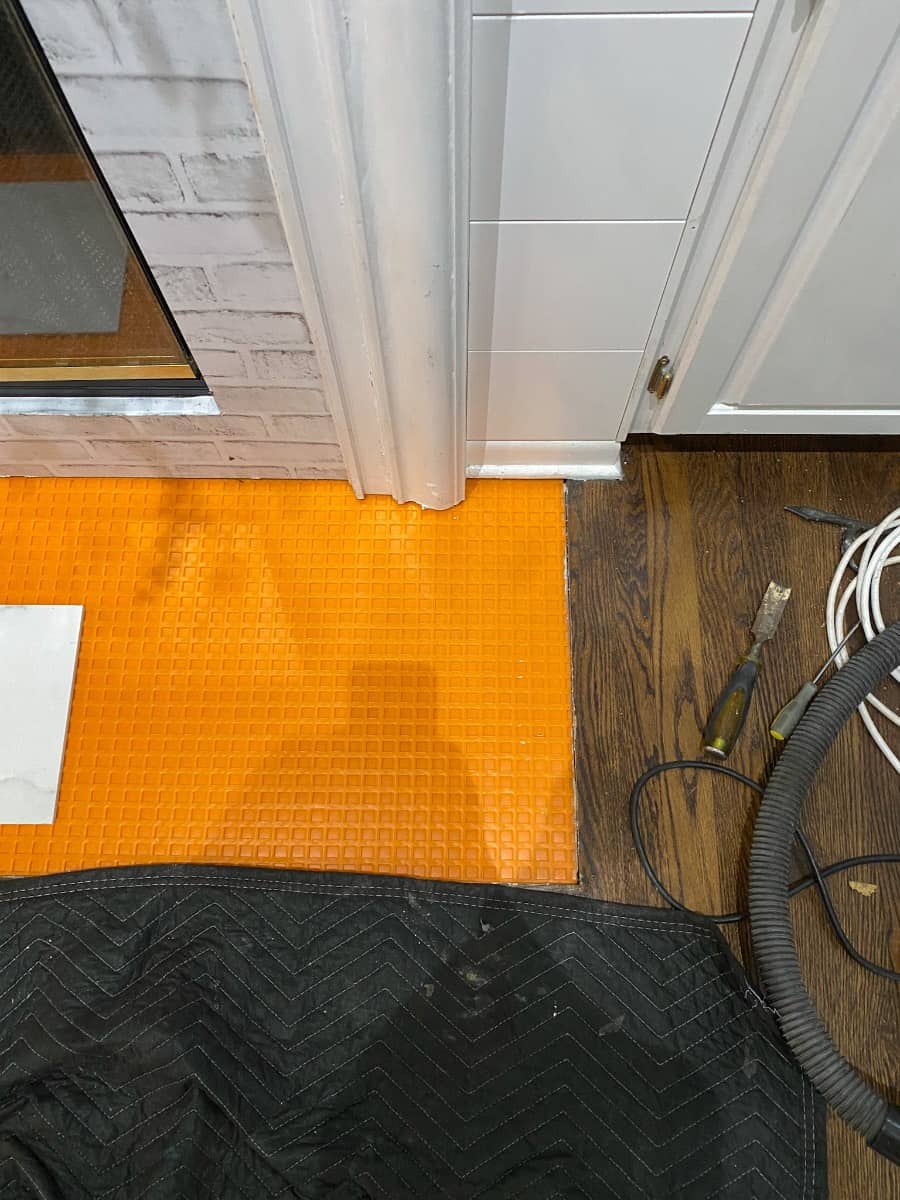
We have yearly maintenance on our fireplace so we knew that it was in good shape. We also were however going to tile over the existing granite so we did check to make sure it was secure. In the case of the hearth, since it is level with our hardwood floors, Handy had to lift the existing piece to make room for the new slab.
He also put down Schluter membrane for a couple of reasons. To add a layer between the raw floor and the marble. Also to give the area more depth because the new slab wasn’t as thick as the original granite piece.
Considering the Design Style
The design style of your fireplace plays a crucial role in determining the overall look of your living room, dining room, or family room. Consider the current design style of your room and choose a fireplace design that complements it.
For instance, if you have a modern living room, you might want to opt for a sleek, minimalist fireplace design. On the other hand, if you have a traditional dining room, a classic fireplace design with ornate details might be more suitable.
Take note of the materials used in your fireplace surround. If you have an old red brick fireplace, you might want to consider painting it or adding a new veneer to give it a fresh look. If you have a wooden mantel, you can sand it down and refinish it for a new look.
In summary, evaluating your existing fireplace and considering the design style are crucial steps in making over your fireplace on a budget. By doing so, you can determine the scope of the project and choose a design that complements your living room, dining room, or family room’s overall look.
Planning Your Fireplace Makeover
When it comes to giving your fireplace surround a budget-friendly makeover, planning is key. Here are a few things we recommend considering before getting started:
Choosing a New Mantel
We wanted to keep our classic white mantel but we did decide to give it a fresh coat of paint to go with the new look of the surround.
However, one of the easiest ways to update your fireplace is by replacing the mantel. Consider the style and design of your space when selecting a new mantel. If you have a traditional fireplace design style, opt for a classic new wood mantel. For a more modern look, consider a sleek metal or concrete mantel.
Selecting Materials and Colors
When it comes to selecting materials and colors for your fireplace surround, there are a few things to keep in mind. If you want to brighten up your space, consider painting the brick or stone surround white. This will create a clean and modern look. On the other hand, if you want to add some drama to your space, consider painting the surround black. This will create a bold and sophisticated look.
In addition to paint, consider adding tile or shiplap to your surround. These materials can add texture and interest to your space.
Overall, when planning your fireplace makeover, consider the style and design of your space, and choose materials and colors that will complement your existing decor. With a little planning and creativity, you can give your fireplace surround a fresh new look without breaking the bank.
DIY Fireplace Makeover Techniques
Giving your fireplace a fresh new look does not have to break the bank. With a little creativity and some DIY skills, you can transform your fireplace surround into a stylish focal point of your living room. Here are some budget-friendly techniques that you can use to makeover your fireplace.
Applying Peel and Stick Wallpaper
Keep in mind that the peel-and-stick wallpaper that I put up originally looked great and would be a great option if you are on a tight budget. It was such an easy way to give our fireplace a new look.
Peel-and-Stick wallpaper is self-adhesive, making it easy to install and remove. You can choose from a variety of patterns and colors to match your decor.
To apply peel-and-stick wallpaper to your fireplace, first, clean the surface of the fireplace surround thoroughly. Then, measure the area you want to cover and cut the wallpaper to size. Peel off the backing and carefully apply the wallpaper to the surface, smoothing out any bubbles or wrinkles as you go.
Adding a Marble Tile Surround
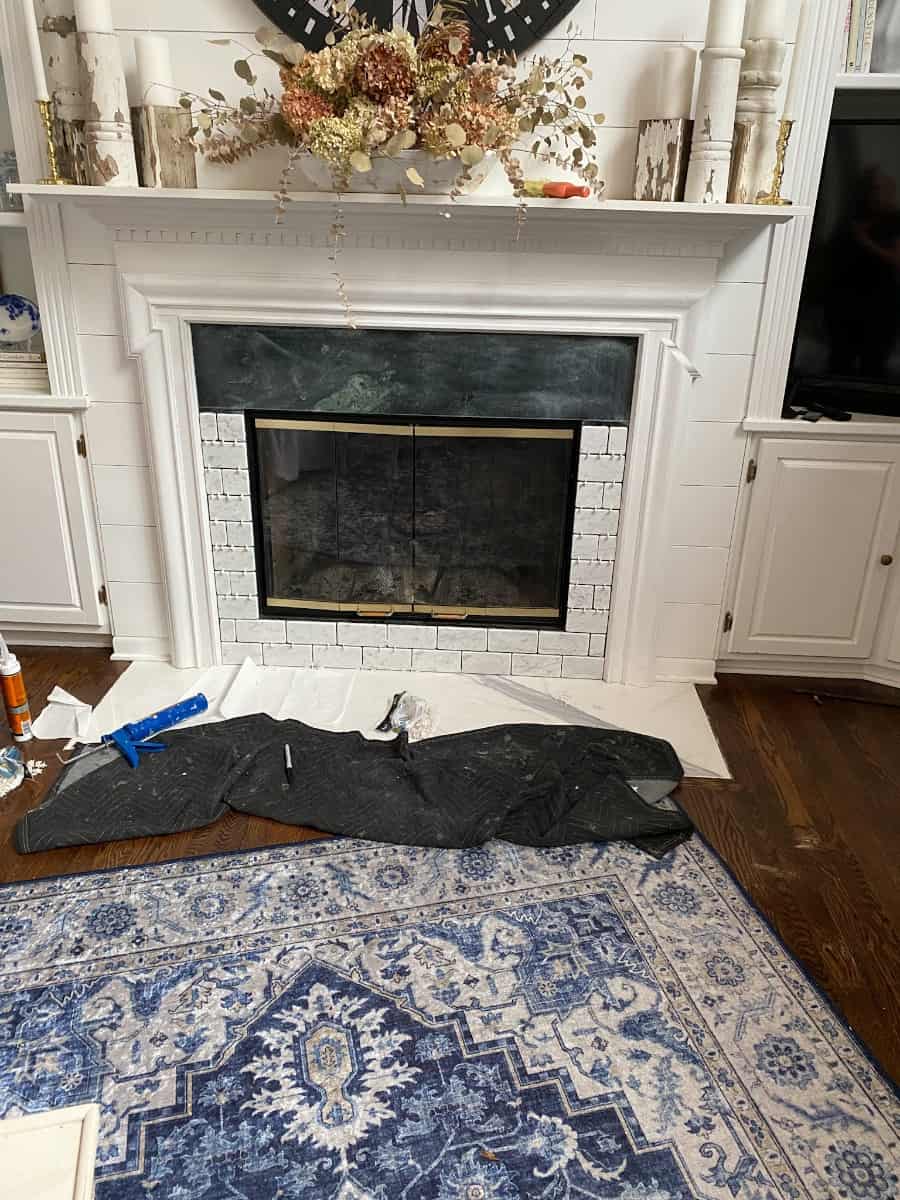
Marble tile is a timeless and elegant choice for a fireplace surround. While it can be expensive to hire a professional to install marble tile, you can save money by doing it yourself. You can purchase marble tile at your local home improvement store or tile store like we did and install it using tile adhesive and grout.
To install marble tile, first, measure the area you want to cover and purchase enough tile to cover the surface. Then, apply tile adhesive to the surface and carefully place the tile on top. Once the adhesive has dried, apply grout to the spaces between the tiles and wipe away any excess.
Painting for a Fresh New Look
A fresh coat of paint can do wonders for your fireplace surround. You can choose a bold color to make a statement or a neutral color to blend in with your decor. Painting is a budget-friendly option that can be done in a day.
To paint your fireplace surround, first, clean the surface thoroughly and apply painter’s tape to any areas you do not want to paint. Then, apply a coat of primer to the surface and let it dry. Once the primer has dried, apply the paint using a brush or roller, being careful not to leave any brush marks. You may need to apply multiple coats of paint to achieve the desired look.
If you want to do a stone fireplace makeover on a budget, your best bet is to paint it or whitewash the stone. If you want to add stone, you can get a pre-fab stone that has the look of real stone without the weight or cost.
In conclusion, these DIY fireplace makeover techniques are a great way to update your fireplace without spending a lot of money. Whether you choose to use peel-and-stick wallpaper, marble or ceramic tile, or a fresh coat of paint, your fireplace will look brand new in no time.
Finishing Touches and Accessories
Once you’ve upgraded your fireplace surround with a fresh coat of paint or new tile, it’s time to add the finishing touches to make it a true focal point in your living space. Here are a few budget-friendly ideas to take your fireplace to the next level:
Upgrading with Glass Doors
If your fireplace doesn’t already have glass doors, consider adding them to give it a sleek, modern look. Not only do glass doors add style, but they also increase the efficiency of your fireplace by preventing heat loss. You can find glass doors in a variety of styles and finishes to match your decor, and many are easy to install yourself.
Freshen up the Firebox
The inside of the firebox can start to look bad over time. Especially if you have a wood-burning fireplace like we do. You can use black paint to freshen it up. If you opt to paint the interior box, be sure to use heat-resistant spray paint.
Updating the Fireplace Hood
The hood is the area above the fireplace mantel. For most, this is typically just a dry-walled area. That was the case on our fireplace wall. A few years ago we added shiplap to that wall and I still love it. It adds texture and interest to the wall but still allows us to style it any way that we would like.
Styling the Mantel and Hearth
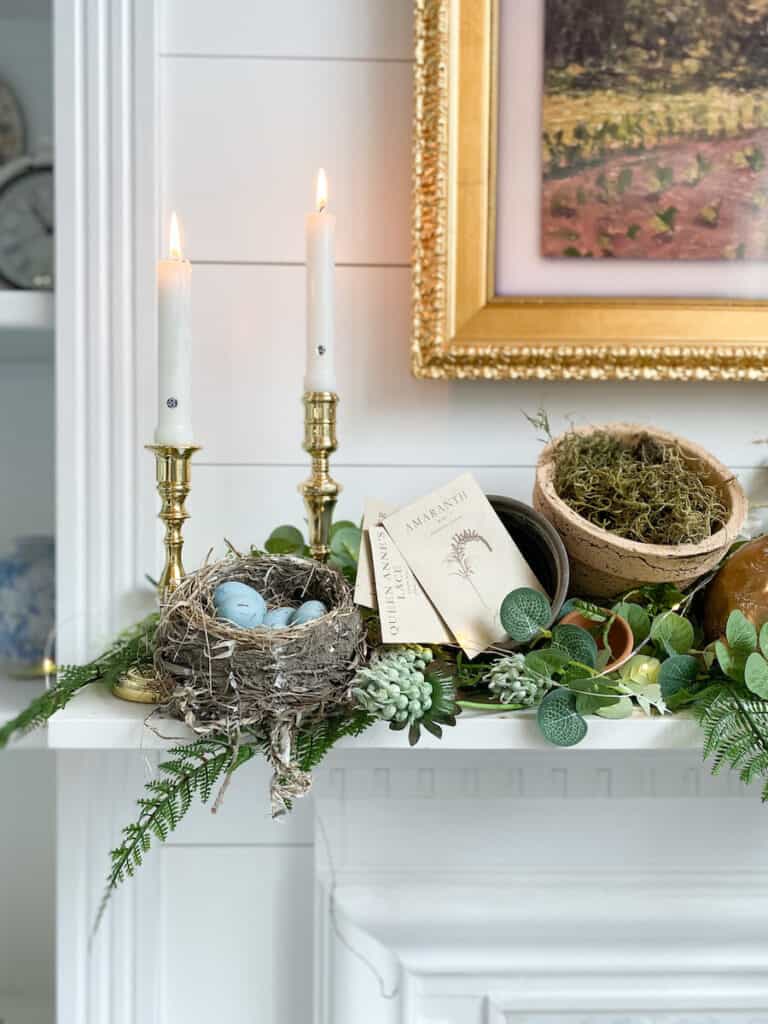
The mantel and hearth are the perfect spots to showcase your style and add a pop of color or texture to your fireplace surround. Start by selecting a few decorative items that complement your decor, such as candles, vases, or framed photos. You can also add texture by layering different materials, such as a woven basket or a stack of books.
When styling your mantel, consider creating a focal point with a large piece of artwork or a mirror. This will draw the eye to your fireplace and make it a true centerpiece in your room. You can also add height and dimension with tall candlesticks or a vase of flowers
With these simple upgrades, your fireplace surround will be transformed into a stylish and functional focal point in your living space.
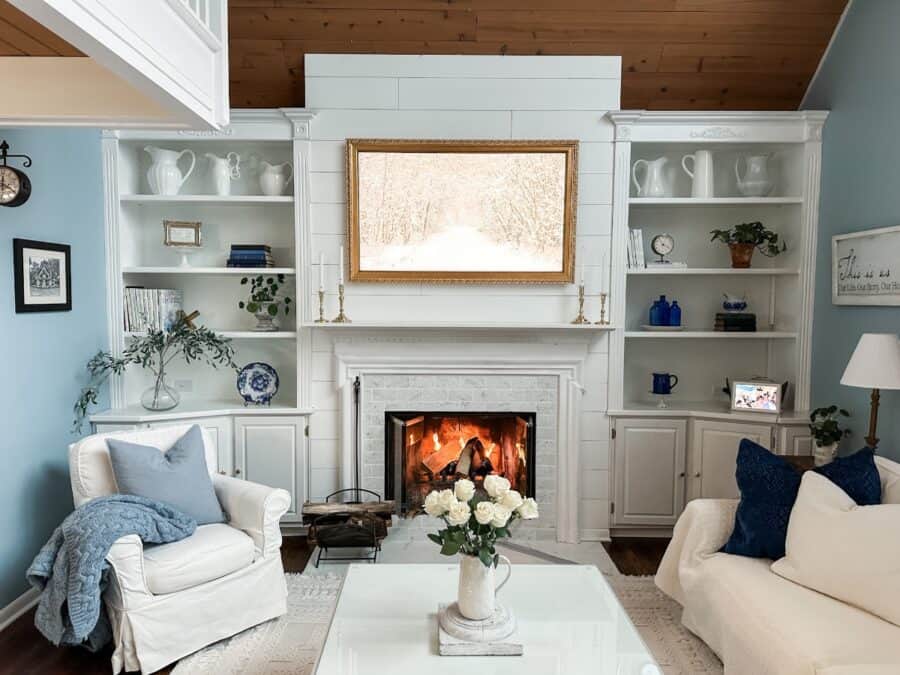
We chose to upgrade our fireplace area by adding a Frame TV. It is now truly the focal point in our home and when the TV is not in use, it’s a beautiful piece of art that I can change up with the seasons.
Maintaining Your Updated Fireplace
Now that we have updated our fireplace surround on a budget and achieved the desired look, it’s important to maintain it properly. Here are a few tips to keep your updated fireplace looking great for years to come:
Regular Cleaning
To keep your fireplace looking its best, it’s important to clean it regularly. Use a soft-bristled brush to remove any dust or debris that has accumulated on the surface. You can also use a vacuum cleaner with a soft brush attachment to clean the area around the fireplace.
Avoid Harsh Chemicals
When cleaning your fireplace, avoid using harsh chemicals or abrasive cleaners. These can damage the surface of your fireplace and cause it to lose its updated look. Instead, use a mild soap and water solution to clean the surface.
Protect the Surrounding Area
To prevent damage to the surrounding area, it’s important to protect it when using your fireplace. Use a fire screen to prevent sparks from flying out of the fireplace and damaging the surrounding area. You can also place a non-flammable mat in front of the fireplace to protect the floor.
Check for Damage
Regularly check your fireplace surround for any signs of damage. If you notice any cracks or chips, it’s important to repair them as soon as possible to prevent further damage. You can use a touch-up kit to repair small chips or cracks.
By following these simple tips, you can maintain your updated fireplace and enjoy its updated look for years to come.
Conclusion
With a little time and patience to find the right discounted tiles and a fresh coat of white paint, we made a huge difference in the look of our outdated fireplace. The entire project cost us right around $100 and it was done in a weekend.
I couldn’t be happier with the new look. Using the peel-and-stick wallpaper was a great idea to help us visualize what;) the end result would look like. It’s a trick I’m also going to use on my black granite kitchen countertops that I want to change. Stay tuned to see how that works out for me!
Peace and Love,


Meet Me
My name is Lynn. I live in the suburbs of Chicago in a 1,300 sq. ft. home with my Handy husband, Keith.
I’m an open book about my life on my blog. You can find out more about me by visiting my About page.


A great way to save this idea is to add it to one of your Pinterest boards. You can find the pin button on the top left of the photo when you click on it. Also, don’t forget to follow me on Pinterest
