The Perfect Loaf of Einkorn Sourdough Bread
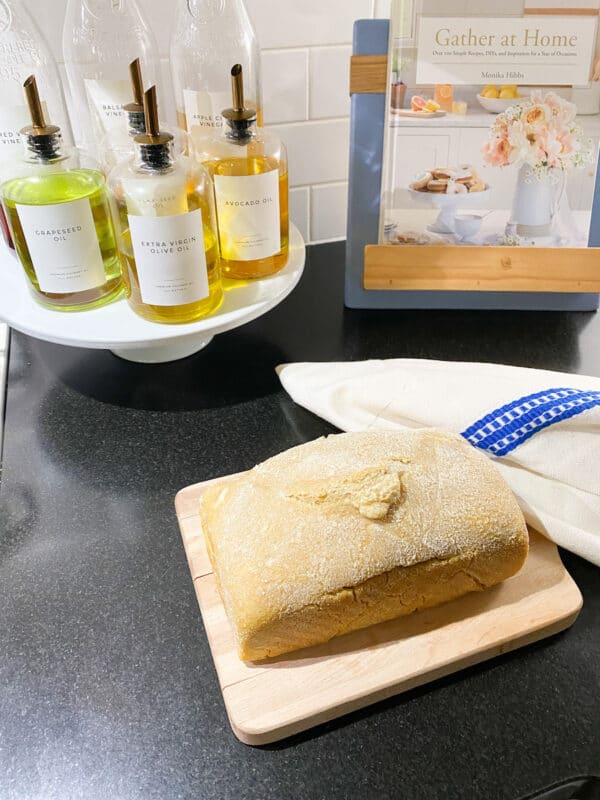
It took me a year but I’ve finally made the perfect loaf of Einkorn Sourdough Bread.
I posted last week my recipe for my sourdough starter. I also mention that making sourdough bread is not for the faint of heart. The more I tried and failed, the more determined I became to perfect my loaf.
I had loaves that I could have painted and used for doorstops. There were a few loaves that tasted much like fingernail polish. After a few of these fails, I first played around with my starter to get it to that nice sourdough smell and not something that you get from a bootlegger! My luck with my starter came when I switched to Einkorn Flour.
I’m such a fan of Einkorn Flour because like the sourdough starter, it’s healthier for you than bleached all-purpose flour. I’ve shared in other blog posts, why I love Einkorn. You can read more about it HERE.
Once I felt like I had perfected my starter, I started playing around with different recipes until I found one that worked for me. If you Google it, you can find hundreds of Sourdough Bread Recipes. I found one that was suggested to me by my sister but I have changed it to make it work for me. Because I use Einkorn Flour, the recipe had to be modified to finally produce that nice loaf with the beautiful sourdough holes in the baked loaf.
Bread Making Tools
I shared this in my post on the sourdough starter but it’s worth mentioning again. These are the tools that I found useful for making sourdough bread.
- Food Scale
- Einkorn All-Purpose Flour
- Purified Water
- Quart Wide-Mouth Ball Jar (2 or 3)
- Large Glass Bowl
- Danish Dough Whisk
- Dough Scrapper
- Dough Proofing Basket
- Cast Iron Dutch Oven
- Parchment Paper
The Timing of Making Bread
Making sourdough bread is a 24 to 48-hour process for me.
- I take my starter out of the fridge at around 10am and let it come to room temperature. At around noon I feed my starter with 30 grams of water that I stir into my starter, then ad 30 grams of Einkorn flour.
- Allow the starter to sit for 3-4 hours to become bubbly and active. Once you get to this stage you can start putting your bread together
Einkorn Sourdough Bread
Ingredients
- 1-1/2 tsp salt This is optional and you can use more or less salt – I use sea salt
- 50 grams sourdough starter
- 350 grams purified water
- 550 grams Einkorn Flour I divide mine into two bowls
Instructions
- Start by measuring out your flour 275 grams into two separate bowls350 grams of water into a bowl
- Add salt to a large mixing bowl. Place the mixing bowl on your scale and reset, add 50 grams of sourdough starter to salt.
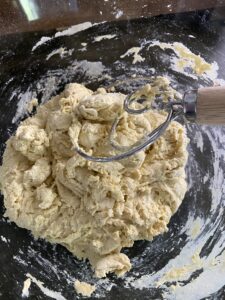
- Next mix your pre-measured water with your salt and starter, add flour one bowl at a time, mixing well with a wooden spoon or dough whisk
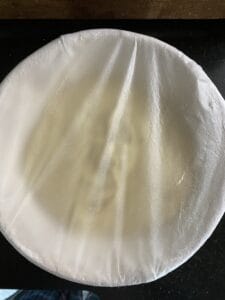
- Cover the bowl with plastic wrap and let sit on the counter for one hour.
- You are now going to perform a lift and fold process that can be quite tricky until you get the hang of it. I started by having a small bowl of water to dip my fingers into to keep the dough from sticking to my hands. I now have gotten the hang of it and I don't have to do that anymore.
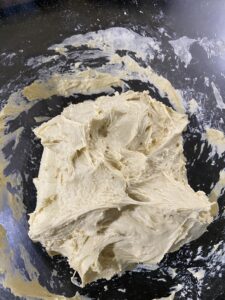
- Lift and fold is when you grab the dough from the bottom of one side, lift it up and fold it over the rest of the dough. Then turn the bowl and repeat the process. It takes me four turns to get around the bowl. You will want to lift and pull around 20-25 times. It will start to form a more structured ball in the center. Mine is always a little sticky. (I've added a video for you to see my lift and fold process)
- After the initial lift and fold, cover the bowl and let sit for 1 hour. After the hour, repeat the lift and fold but only 10 times. Cover and let sit for 30 minutes, then repeat the lift and fold 10 times. Cover and let sit for 30 minutes, then lift and fold again 10 times. Cover and let sit for 30 minutes and then lift and fold 10 times.
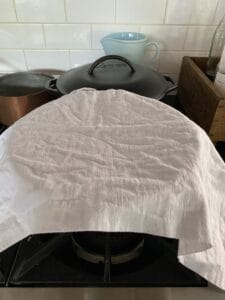
- After the fourth lift and fold you will want to cover your dough with plastic wrap and let sit out overnight. About 8-10 hours. (I top my plastic wrap with a towel to keep warm)
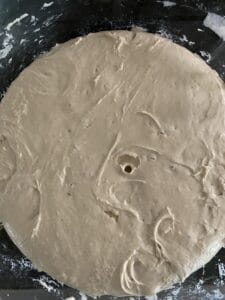
- In the morning your bread should have doubled in size. It may or may not have bubbles. Mine just has a few.
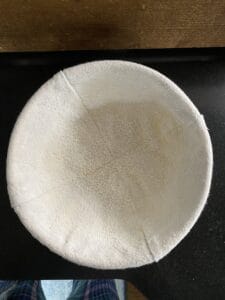
- Now you will want to generously flour your banneton liner, all the way up the sides with flour. I haven't washed my liner so it has become quite "seasoned" like my cast iron skillets and my dough never sticks to my liner.
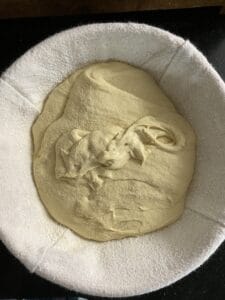
- In the bowl, you will want to gently perform the lifts and folds a few times around the bowl. Maximum 10 times. It is supposed to come to a loose ball at this point. Mine is always very sticky and using a dough scraper I gently push my dough from the bowl into my banneton.
- I sprinkle the top of my bread dough with flour so that the plastic wrap doesn't stick to it. You will want to then cover it with plastic wrap and pop it into the refrigerator
- You can let your dough sit in the refrigerator for a minimum of 3 hours, up to 24 hours. I actually let my last batch sit in the refrigerator for 3 days before I baked it. It was a little bit on the sour side but it still tasted good. Basically, you want to leave it in the refrigerator all day and then bake it for dinner.
- When I'm ready to bake, I put my cast iron dutch oven into the oven and turn the oven on to 450°. I let the pan heat in there for 40 minutes. Please don't forget to use oven mitts. The dutch oven is extremely hot!!!!!
- I carefully take the dutch oven out and then flip my dough onto a large piece of parchment paper, take the lid off the dutch oven, and holding all four corners of the paper, set the dough into the dutch oven, replacing the cover.
- If you want to make your dough fancy, you can score the top with a very sharp knife and it will make interesting designs when it bakes
- Put the dutch oven back in the oven and bake for for 45-50 minutes. Until golden brown. Some people like theirs a very crispy brown. It's all a personal preference and that will determine how long you keep your bread in the oven.
- This week I made a sandwich loaf. I preheated the oven to 375° dropped my dough into a greased sandwich loaf pan and baked for 40 minutes, uncovered. It was delish and perfect to slice for sandwiches.
I sure hope that you make the perfect loaf on your first attempt. That certainly wasn’t the case for me. I had to experiment with my starter and my recipe until it worked for me. But now I make the perfect loaf of Einkorn sourdough bread every time.



When placing einkorn dough in Dutch oven, do you keep it cvered for the entire 45 minutes or do you remove the cover after 25 minutes or so?
Hi Steve – I have done both. When I take the cover off for the last 10-20 minutes the bread is browner with a more crunchy crust. We personally prefer it to be lighter and not as hard of a crust so I usually keep my lid on. Thank you so much for visiting Living Large in A Small House!
When you made this in a loaf pan, did you shape it before dropping it into a loaf pan? Is the process the same for a loaf pan, as far as putting the dough in the fridge?
I did shape it before dropping it in the pan. I put it in a Banneton basket which creates the round shap and put that in the fridge.
Hi! You use this same recipe for your sandwich loaf then?
Hi Erin – Yes I use the same recipe for a sandwich loaf – just a different pan. I however will typically use my easy sourdough artisian bread recipe because it’s a bit easier to work with.