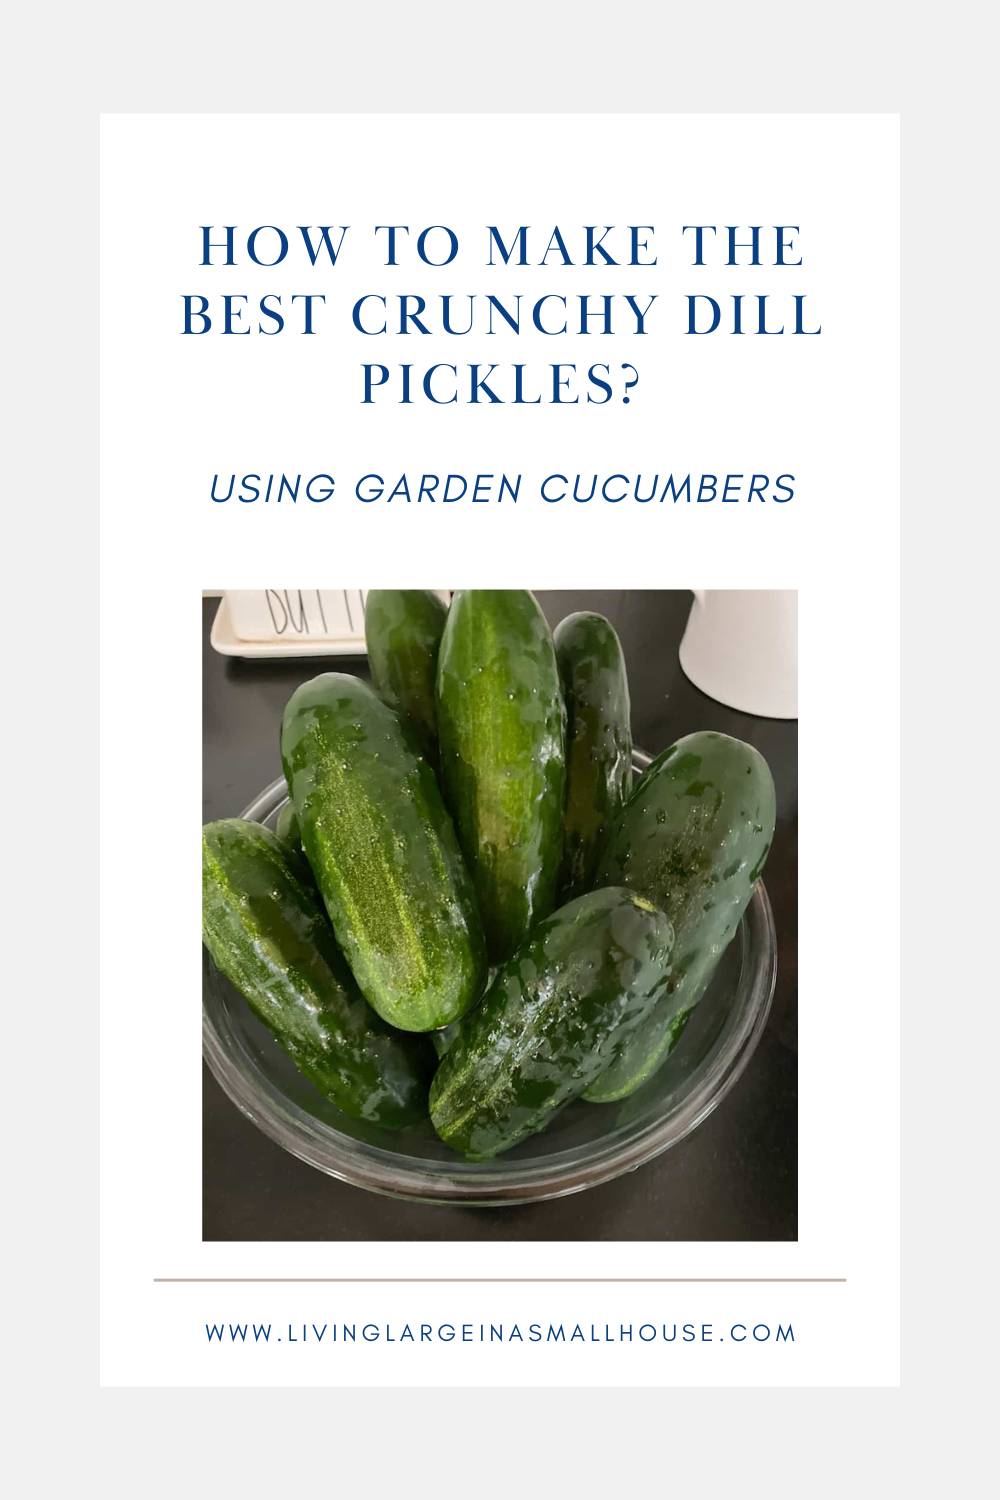
Crunchy Dill Pickles: A Foolproof Canning Recipe
Are you wondering how to make the ultimate crunchy dill pickle? I’ve got the perfect recipe for homemade pickles, and it’s easy, even if this is your first time trying your hand at pickling.
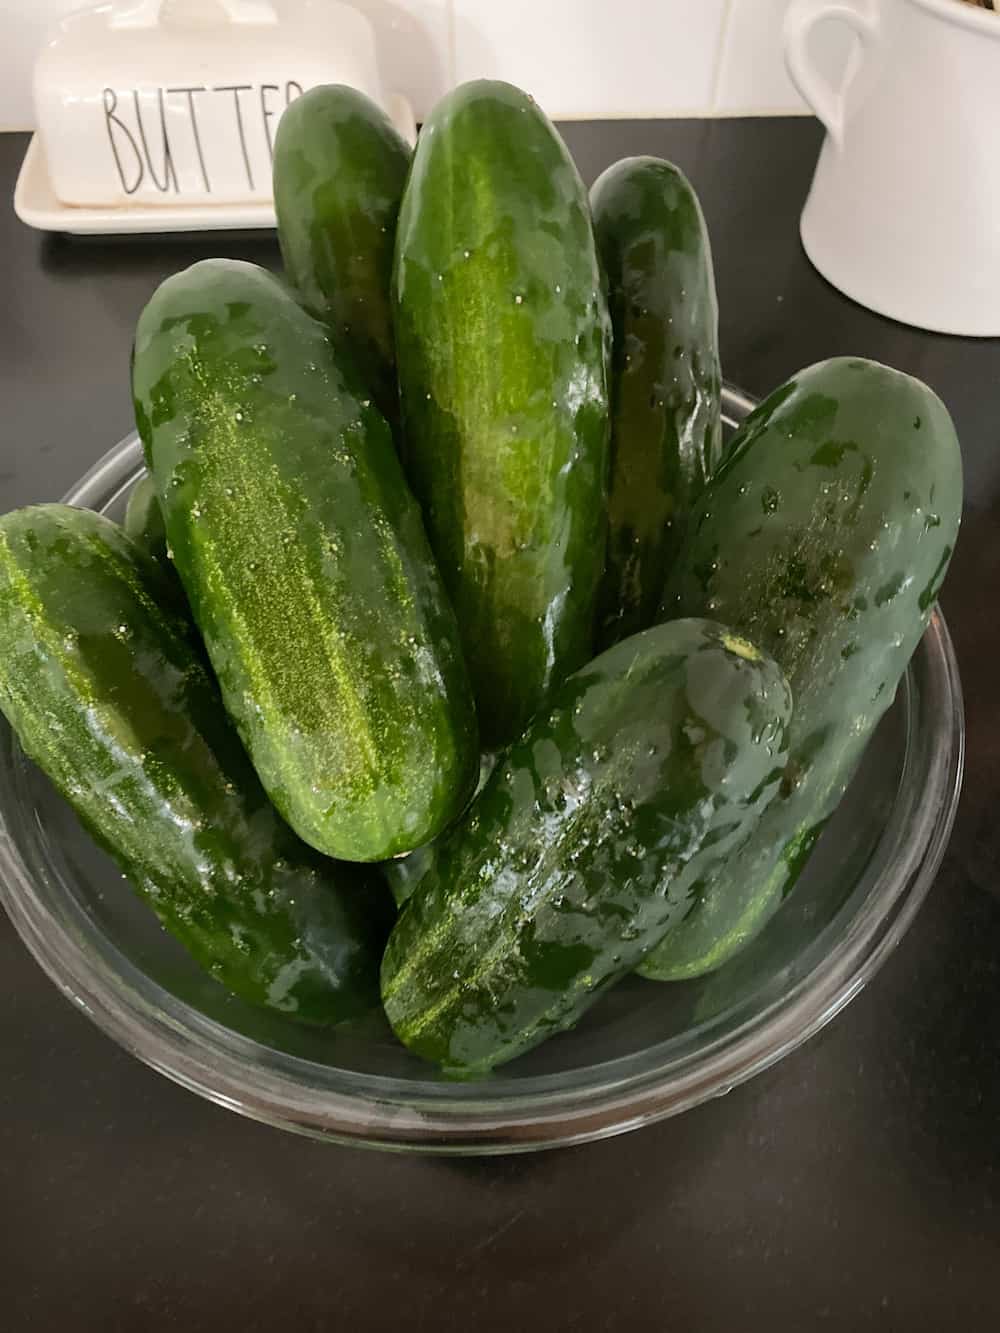
If you’re like me and have an abundance of cucumbers, there’s no better way to preserve that harvest than by making crisp, tangy dill pickles at home. Nothing compares to the flavor and crunch of homemade pickles—and once you try them, you’ll never go back to store-bought.
I direct-seeded both pickling and regular cucumbers in my vegetable garden. The ones I planted just two weeks ago are already about 4 inches tall, with harvest still a good five or six weeks out here in Zone 5b. It’s the small pickling cucumbers that I put into jars. The regular ones are for everyday eating. If you’re somewhere warmer, you might already be knee-deep in cucumbers, lucky you! Either way, late June is exactly when I start getting ready: pulling out the canner, checking that I have enough jars and lids, and bookmarking this recipe so it’s ready the moment those cucumbers start coming in faster than I can keep up.
On my blog, Living Large in A Small House, I may sometimes use affiliate links, which means a small commission is earned if you purchase via the link. The price will be the same whether you use the affiliate link or go directly to the vendor’s website using a non-affiliate link. You can find my full Disclosure Policy HERE
Why Crunch Matters
When it comes to pickles, texture is everything. The goal is to avoid mushy pickles and instead achieve that satisfying snap when you take a bite. You know you’ve nailed it when your pickle delivers that pickle-crisp bite every time.

Crunchy Dill Pickle Recipe
Equipment
Ingredients
- 24 pickling cucumbers
- 10 garlic cloves, peeled and smashed
- 2 large bunches of fresh dill
- 5 tsp mustard seeds
- 5 tsp black peppercorns
Brine
- 4 cups water
- 4 cups white vinegar
- 1 tsp sugar You can use more, but I don't like my pickles at all sweet. The purpose of the sugar is to cut the acid taste of the vinegar.
- 4 tbsp Pickling or Kosher salt
Instructions
Preparing Jars
- Wash jars in the dishwasher and then preheat the oven to 200°. Place the jars on a cookie sheet and heat for 20 minutes in the preheated oven. While jars are heating in the oven put the lids and rings in a small saucepan, cover them with water and bring to a boil. Take off the heat and leave lids and rings in water until you want to use them.
Prepare the Whole Cucumbers
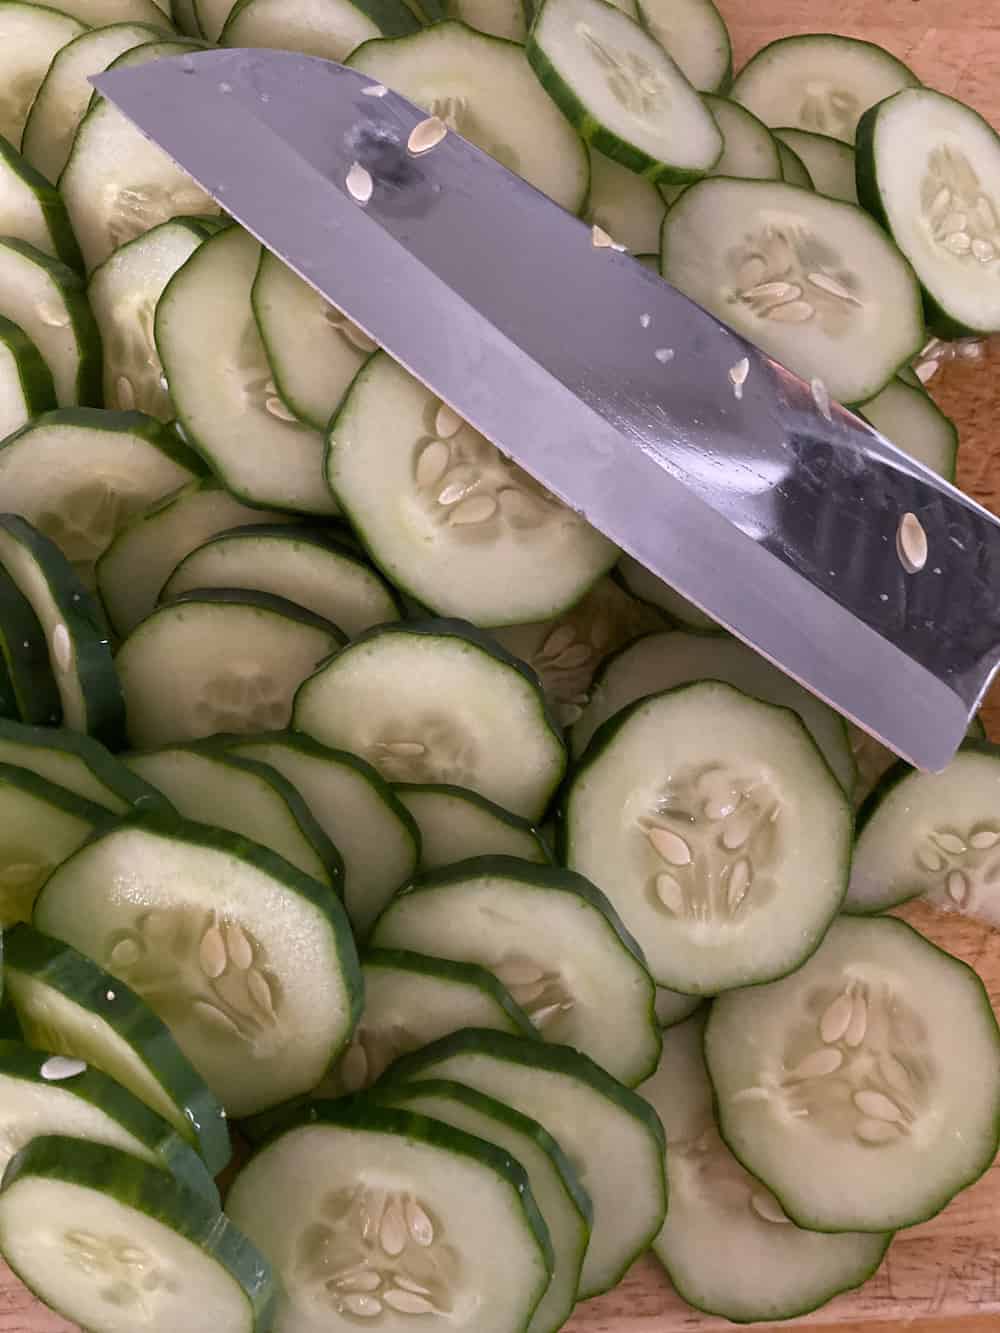
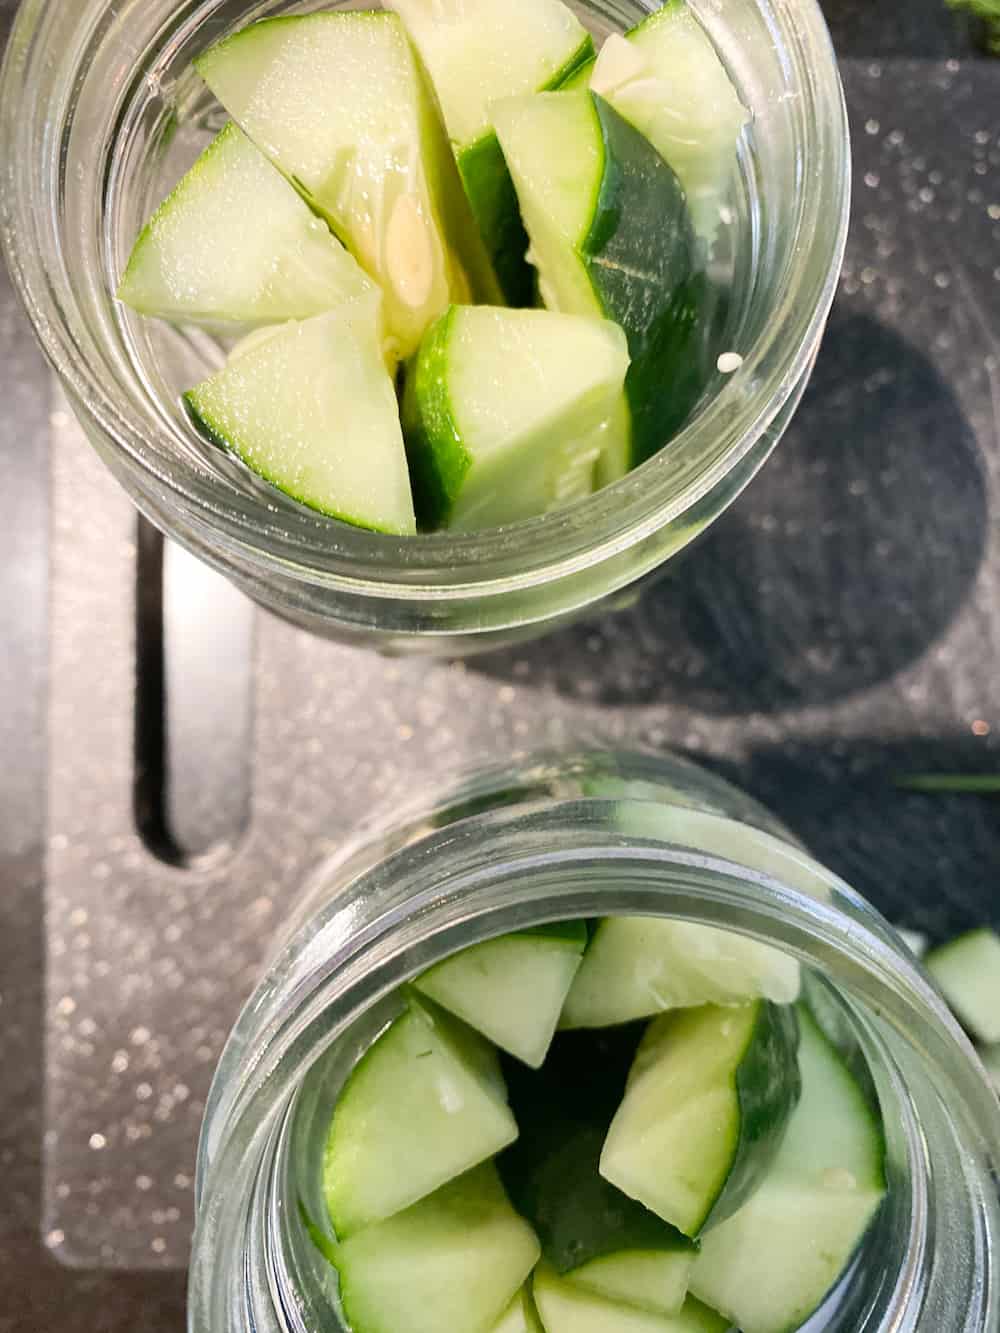
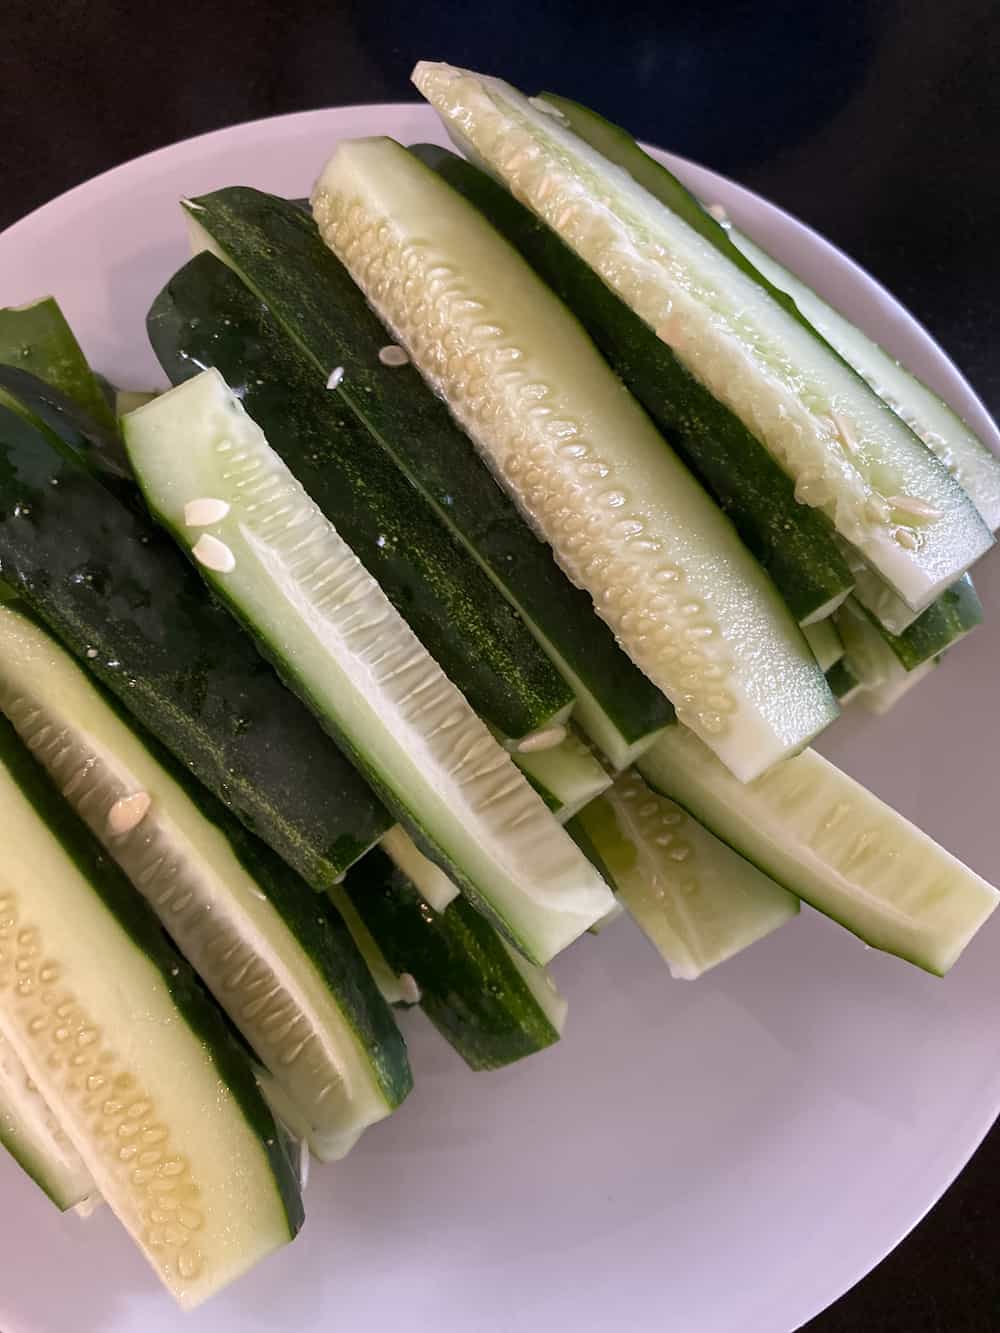
- Wash the cucumbers and then trim the tops and bottoms. Cut the cucumbers into spears or chips.
Prepare the Pickling Brine
- Combine the water, vinegar, sugar, and salt in a large pot. Bring to a boil over high heat, stirring to make sure the sugar and salt are dissolved.
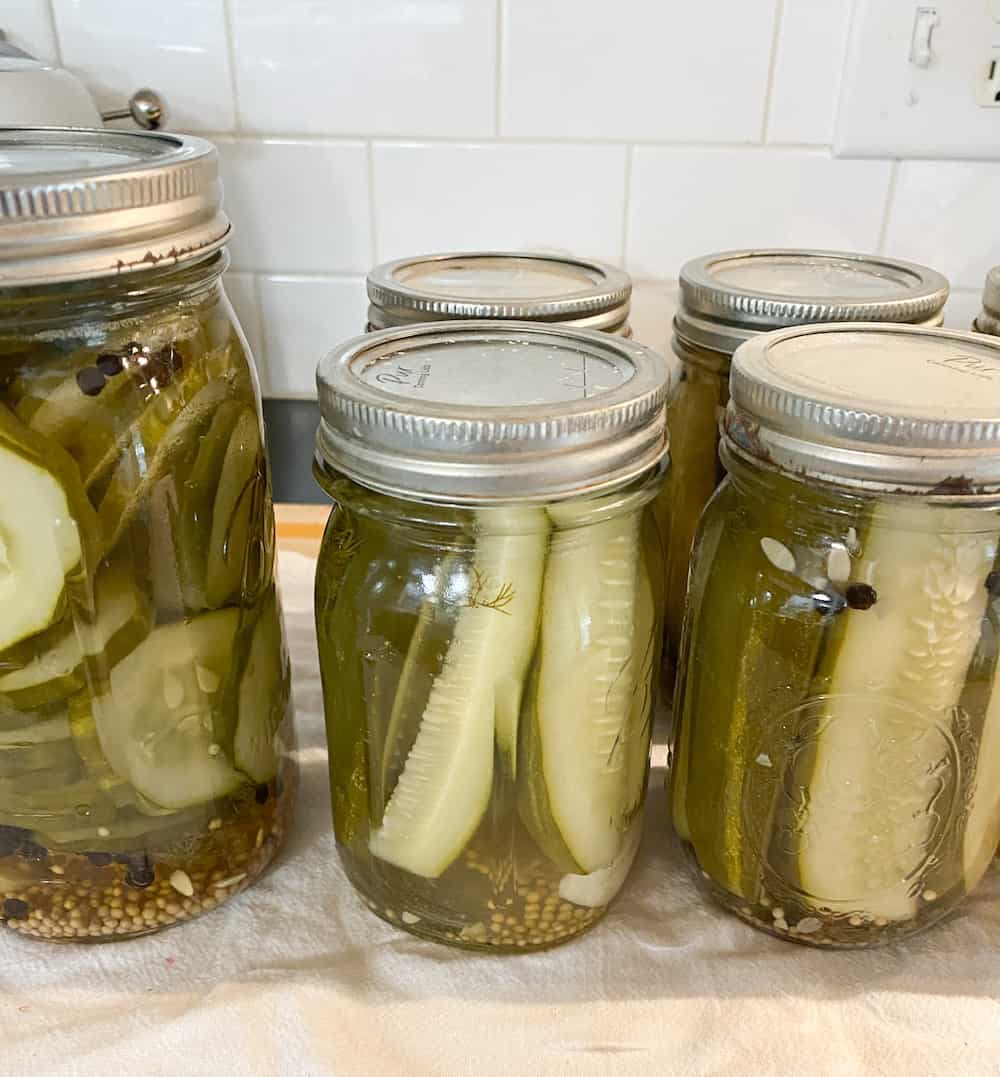
Putting the Jar of Pickles Together
- Put a large chunk of dill in the bottom of the jar, then a garlic clove, 1/2 tsp of mustard seeds, and 1/2 tsp of black peppercorns. If you're using quart jars double the ingredients.
- Cover the cucumbers with the brine mixture, leaving 1/2 inch head space.
- Put a lid and canner ring on the jars.
Refrigerator Pickles
- At this point, you can put your pickle jars into the refrigerator and let them sit for at least 24 hours. They will only get tastier the longer they sit. The best flavor is about 5-6 days.
- The pickles will be good for 4-6 weeks in the refrigerator.
Canning Process
- Fill the water canner 3/4 full with water, and add 1/4 cup vinegar to the water to help prevent lime film. Bring the water to a rolling boil.
- Load the jars into the canner basket. Carefully lower the canner basket into the boiling water. I use high-heat plastic gloves to protect my hands.
- The jars need to be completely covered if they aren't add more water and bring it back to a boil then let boil for 10 minutes. After 10 minutes carefully lift the basket out of the canner with the heat gloves and place it on a wooden cutting board. If you're using quart jars, process for 15 minutes.
- Once the jars have cooled and the lid has been sealed, I take the rings off, wash the outside of the jars, and store them in a cool to room temperature, dry place (my pantry).If the lid rises up and down with a slight push, it hasn't sealed You can change the lid and reprocess.
Choosing the Right Vinegar
For flavor and appearance, I always reach for white vinegar. While apple cider vinegar is sometimes used in canning recipes, I’ve found that white vinegar keeps the cucumbers a bright, beautiful green and gives them that classic dill pickle taste.
Prepping the Cucumbers
Start by thoroughly washing your cucumbers, and don’t skip this key step: cut off the blossom end. Leaving it on can lead to softer, less crisp pickles.
Next, decide how you want to slice them. I usually cut smaller pickling cucumbers (like Kirby) into spears, while larger cucumbers get sliced into chips. Choose the style that fits how you like to eat your pickles—or do a mix!
✅ Tips for Extra Crunchy Pickles
- 📌 Want guaranteed crunch? Here are my tried-and-true tips for the crispiest pickles:
- 💧 Avoid overcooking – Always use a water bath, not a pressure canner, and don’t boil longer than needed
- 🥒 Remove the blossom end – This tiny step makes a big difference. The blossom end contains enzymes that can cause softening.
- ❄️ Soak cucumbers in ice water for 2–4 hours before pickling to help firm them up.
- 🧂 Use pickling salt or kosher salt – Avoid table salt, which can contain additives that cloud the brine.
- 🧄 Add grape leaves or tannin-rich ingredients (optional) – Some swear by grape, oak, or horseradish leaves for crispness.
- 🧪 Use Pickle Crisp (calcium chloride) – A small amount added to each jar can help preserve crunch during processing.
- 📝 A quick note on the brine: the 8 cups makes enough for the entire batch of 10 pints, not 2 cups per jar. Once your cucumbers are pack in tightly, there’s only a small gap left for brine to fill, so the amount goes further than it looks. If you’re scaling up to quarts, double both the brine and the spices.
Be sure to check out the full recipe and ingredients list above.
Water Bath Canning vs Pressure Canning
While I typically prefer using a pressure canner for most home preservation projects, crunchy pickles are an exception. Pressure canning tends to soften cucumbers too much. Instead, I recommend sticking with a water bath canner, which preserves the crisp texture perfectly.
I use an old-school, vintage water bath canner that’s stood the test of time—and it still gets the job done beautifully
Pickle Storage & Shelf Life
Once your jars are processed and sealed, store them in a cool, dark place (like a pantry or basement shelf). Let your pickles sit for at least 2 weeks—a month is even better—for the flavors to fully develop.
After Opening:
- Store opened jars in the refrigerator.
- They’ll stay fresh for 2–3 months (though they’re usually gone long before that!).
Unopened Jars:
- Properly sealed pickles will last up to 1 year at room temperature.
- Discard any jars that show signs of bulging, leaking, or unusual smells when opened.
Why Homemade Pickles Win
Making your own dill pickles is a satisfying way to use up extra cucumbers, and they make for thoughtful, delicious gifts or pantry staples.
Become a Friend of Living Large
And be the first to see affordable decorating ideas, easy recipes, gardening tips and tricks, along with great organizing and entertaining ideas.
Enjoy,
FAQs
Would you like to save this?


A great way to save this recipe is to add it to one of your Pinterest boards. You can find the pin button on the top left of the photo when you click on it. Also, don’t forget to follow me on Pinterest.


This recipe looks so easy so I might give it a try. I canned pickles one time and they tasted terrible! It was a long time ago and I’m not sure what the recipe was. Thanks for sharing your recipe, Lynn! Also, it was good to see you on video!! Your home is beautiful!
It was easy and the water bath was only 10 minutes. I’m actually going to make another batch tomorrow.
You know how much I hate to be on video!!!
The ingredients do not list sugar but the directions have it listed. Sugar in dill pickles?
Hi –
Thank you for pointing that out to me, yes you put a little bit of sugar in dill pickles to cut the acid from the vinegar. It does sound wrong but it works.
Lynn, how much is a little bit of sugar??? Is it a 1/8 tsp, or 1/4 tsp or what??
Ruth –
I am so sorry to hear that. I really like a very tangy vinegar flavor. Everyone’s palate is so different. I’m sorry that they didn’t taste good to you.
Hi there,
How long are these pickles shelf stable for?
Hi Tina –
We typically eat ours within a year but I have some now that are a few years old. I’ll open up a jar and get back to you.Thanks for asking
I’m going to be canning my pickles in Quart jars. Would you increase any of the amounts for your Pint recipe?
Hi Dave – Yes you double the recipe for quart jars. Thanks for asking
Thanks – does cook time stay the same or do I double it to 20 minutes?
General consensus on the interweb seems to be 15 minutes for quarts so guess I’ll go with that…
Want to try your recipe, says water bath 10 minutes for pints. How long if I’m doing quarts?
Thanks so much
It’s suggested that you put quarts in a water bath for 15 minutes when your processing pickles. I will add that to the notes. Thanks
If you are doing pint jars as the recipe is written for, the amount of brine called for is simply astronomical. There are two cups in one pint and if you are doing eight pints, that’s sixteen cups. Are we canning pickles or brine because there is no way we’re fitting two cups of liquid per pint in addition to the cucumbers. Fortunately, I realized this before beginning and didn’t double the brine for my eight quarts, only the herbs and garlic. STILL had brine left over after canning a total of nine quarts using the 8 Cups vinegar + 8 Cups water called for. I can only hope that the salt and sugar measurements are correct.
Thanks Kate for binging that to my attention. When I’m canning I’m doing lots of quarts and pints. It’s sometimes hard for me to create the recipe for smaller batches. The ratios are still the same whether you are making more or less brine. It’s also a personal preference if you like your pickle to have more or less garlic, sugar, or vinegar. I’m going to go back and look at the recipe and make some adjustments per your suggestion. Thanks again!
If these pickles were just a tad too tart for me, would you recommend just adding a bit more sugar? Thanks!
Yes, adding more sugar is the answer to bringing the tart flavor down. Thanks for asking!