Do You Want to Plant Garlic?
Do you want to plant garlic this year? If so then this is the article for you.
I’ve been gardening for many, many years and last year is the first time that I planted garlic. In Illinois we plant garlic now in fall (end of October) and harvest it next year.
What Kind of Garlic to Plant
I did a little research this year because the garlic that I planted last year was given to me by a friend. Before I purchased my own, I wanted to know what kind to get for my area.
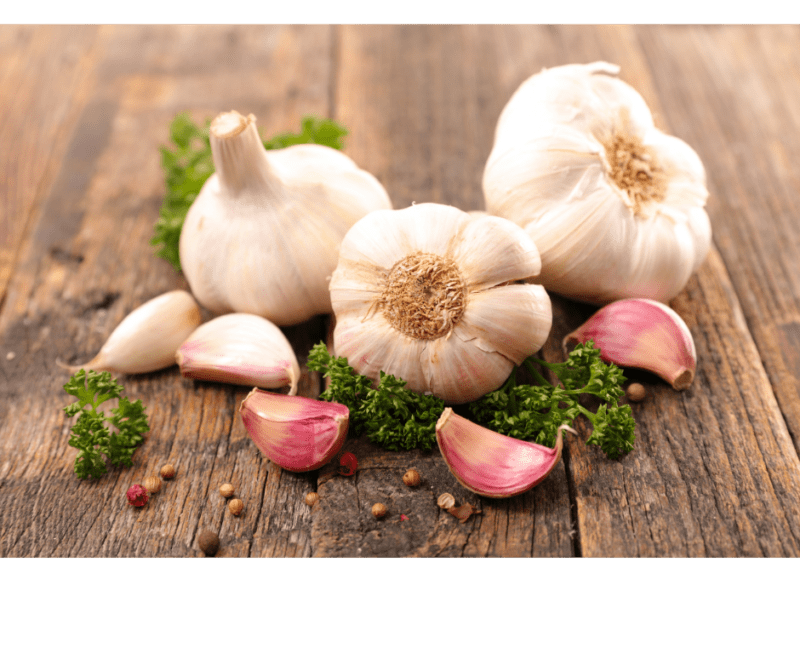
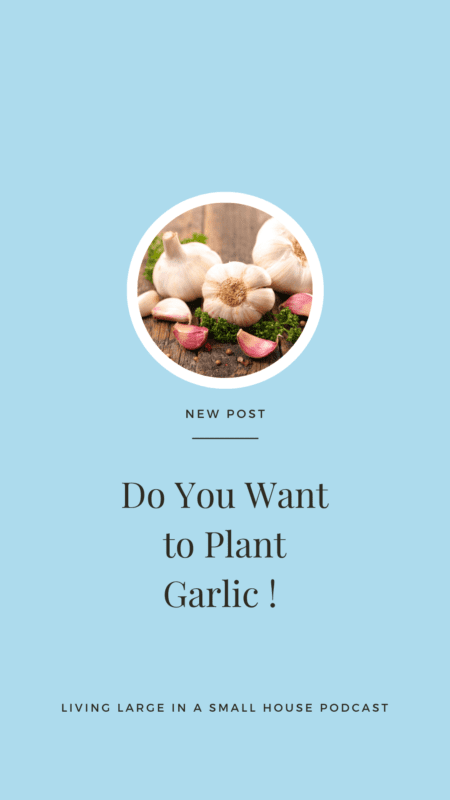
There are three different types of garlic
- Hardneck Varieties – The hardneck has a hard flower stalk that has fewer but larger cloves than soft neck. It’s also much hardier in colder areas. This is actually the variety that is suggested for my zone (5b)
- Softneck Varieties – This variety does not produce a flower stalk. It forms layers of cloves around a soft central core, and has the longest shelf life. I chose this variety because it’s the type to grow if you want to make garlic braids. And I want to make garlic braids!
- Elephant Garlic – This is a variety that is actually not garlic but more closely related to a leek. It produces a giant head.
I ordered my garlic form Gurney’s Seed & Nursery Co. I ordered it in late August because I had heard that the desired varieties were becoming sold out. The variety I ordered was Nootka Rose Softneck and I chose it because it has a robust flavor that is preferred by cooks. We love garlic and I love to cook. Win-Win
How to Plant Garlic
Planting garlic is very easy and takes up very little space. It’s pretty exciting to plant one clove and end up with a whole head the next year.
You want to plant your garlic four to six weeks before the first frost.
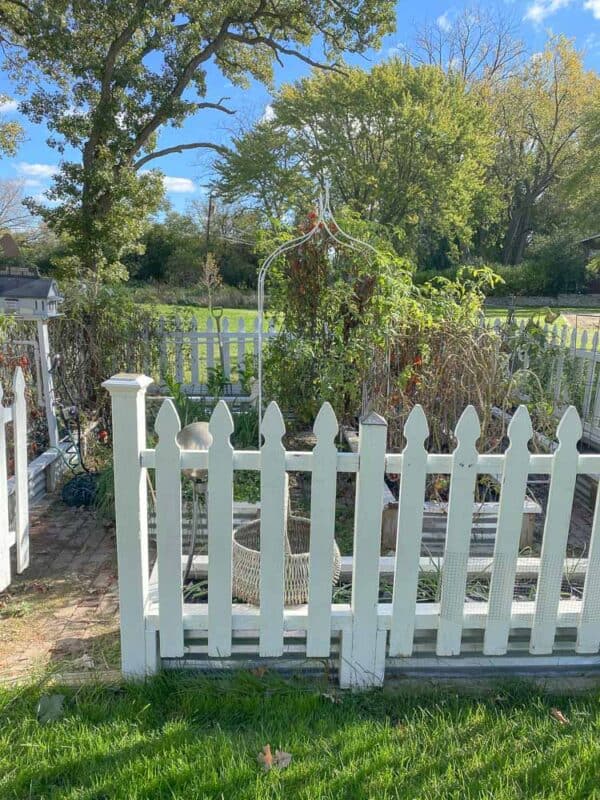
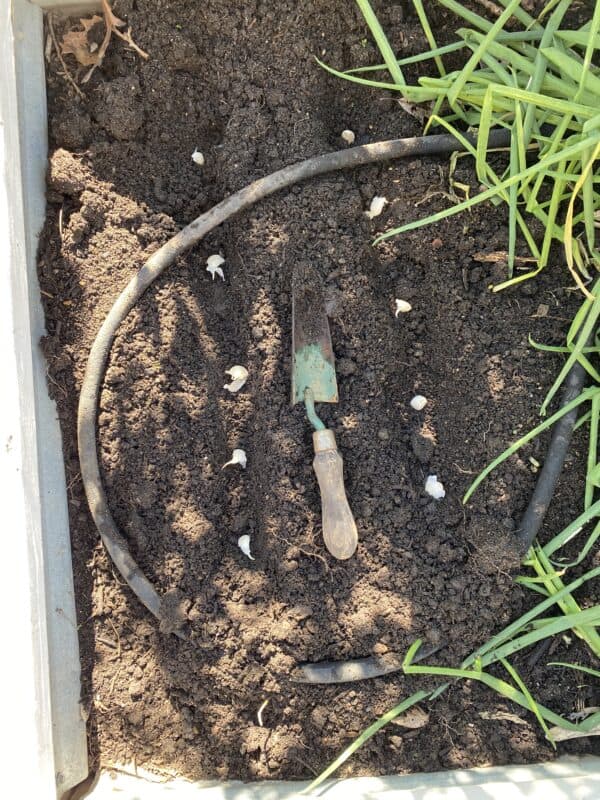
Once I clean out my veggie garden for the year and work the soil. I dig two 3″-4″ deep troughs in my soil. I sprinkle some good organic fertilizer in the bottom. You want to break the heads into individual cloves and place the cloves with the pointy part up about 4″-6″ apart. Cover up with soil. Water gently to settle in the soil. It’s just that easy!
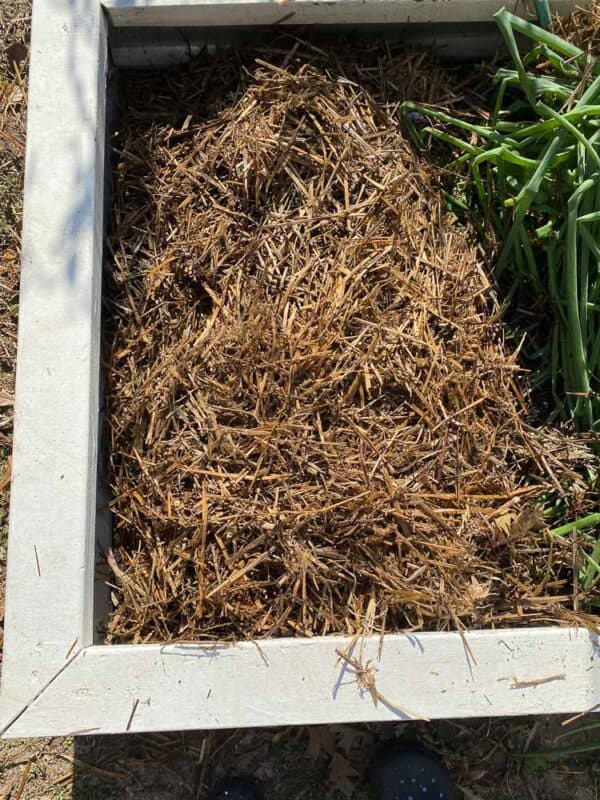
It’s suggested that the planted cloves be covered with a 4″-6″ layer of straw. I didn’t do that last year and mine were fine. Our winters are so tricky (we had a lot of snow last year – which acts as insulation for a garden) so I put the straw on this year. I especially want to make sure its well protected since I’m opting for a variety that isn’t particularly suited for my zone.
Would you like to save this?
Harvesting Garlic
This past year, I waited too long to harvest my garlic. I had read that you waited until the green tops die back and then you can harvest it. My paper that typically surrounds the heads was almost gone on some of the heads which means that it’s been in the ground to long. While it had a good taste we were only able to use one head. When I went to reach for another one, they were all dried out.
The variety I chose should be harvested 240 days from planting (late spring, early summer). I will be marking my calendar so that I am sure when to take them out next year. My more extensive research indicates that they are ready when they start to turn yellow (not dried out brown).
You also shouldn’t pull them out from the stalks. You want to gently loosen the soil around the garlic with a garden pitchfork and then us your hand to lift them out of the ground by the underside of the bulb.
After you harvest them, you need to cure your garlic. You will want to take about 10 heads of garlic in a bunch and tie them with twine at the end. Then hang them upside down so that they are getting good air circulation. You’ll want to do this is a protected shady area such as a garage, shed or greenhouse.
DO NOT wash them before this process.
It can take up to 3 weeks to dry. Once the roots are all dried out it is ready to store.
Once they are cured, I will be braiding mine and hanging them in my pantry. They will last for 12 to 18 months unless we use them all up before that. 🙂
Do you want to read about other things you can plant in your garden in the fall? Find it HERE.
If you’ve been wanting to grow garlic, now is the time! Happy Gardening
Peace,


I’m excited to see the braided garlic! Although I haven’t planted garlic in our garden yet, I will someday!! Pinned!
I’m excited about it too. 240 days is a long time 🙂 I hope I learned from my mistakes of this past year.
Love this post Lynn! I have been planning on planting garlic this year!